Halloween photo edits and fantasy portraits demand convincing supernatural details. Sharp, menacing fangs can transform any smile into something truly terrifying.
This tutorial demonstrates how to create realistic vampire teeth that look naturally integrated into any portrait, using a combination of sketching, pen tool precision, and digital painting techniques.
Watch the Video Tutorial
Essential Tips for Creating Realistic Fangs
These techniques ensure your vampire teeth look convincing and professionally integrated:
- Start with a rough sketch on a new layer to plan your fang shapes before using precise tools
- Use the pen tool to create clean, accurate selections around each tooth for professional results
- Paint darker colors toward the edges and lighter tones in the center to create natural depth
- Add subtle imperfections like chips and dings to avoid the "too perfect" look that screams fake
- Apply gentle gaussian blur to help new teeth blend seamlessly with the original mouth texture
Related Tutorials About Vampire and Portrait Effects
Explore more techniques for creating supernatural portrait effects and perfecting teeth in photos.
Turn a Portrait Into a Vampire in Photoshop
In this video tutorial by Andrei Oprinca, you'll learn how to create captivating vampire-themed effects in Photoshop. Learn how to craft realistic vampire teeth, transform ordinary eyes into sinister, evil gazes, and seamlessly integrate bloody stock images for a dramatic impact. Andrei's step-by-step guidance ensures that even complex edits are accessible, making it perfect for both beginners and advanced users.
Enhance your Photoshop skills and add a touch of the macabre to your projects. Dow

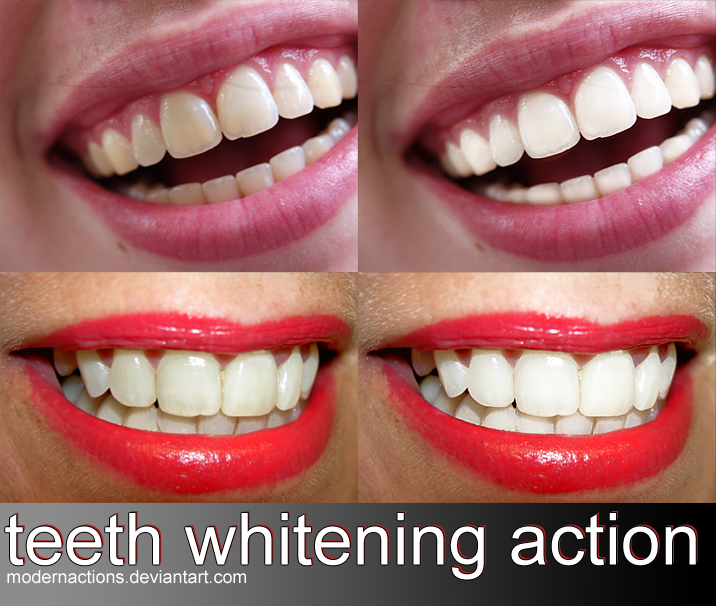
Teeth whitening Photoshop action
Are you looking for an easy way to enhance your photos? The free teeth whitening Photoshop action is a great tool for you. With just a few clicks, it can transform your images, making smiles brighter and more appealing.
This Photoshop action streamlines the process, saving you precious editing time. You don't need extensive expertise in photo editing to achieve professional results. Simply apply the action, and watch as teeth become whiter and more vibrant.
Whether you're a photographer aiming
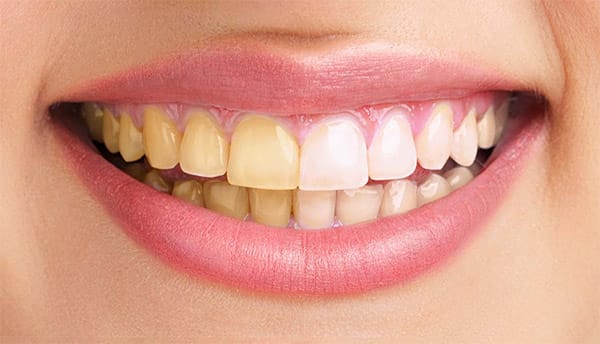
Fix teeth in Photoshop and Lightroom
In this tutorial by Howard Pinsky, discover effective techniques for whitening yellow teeth using tools in both Lightroom and Photoshop.
Yellow teeth can be a challenge that makeup can't cover, but with the right methods, you can correct dark, yellow teeth to achieve a bright, natural smile. This tutorial is ideal for photographers and retouchers looking to enhance their portrait editing skills, providing multiple approaches to ensure your subjects look their best.
Learn how to transform a pho
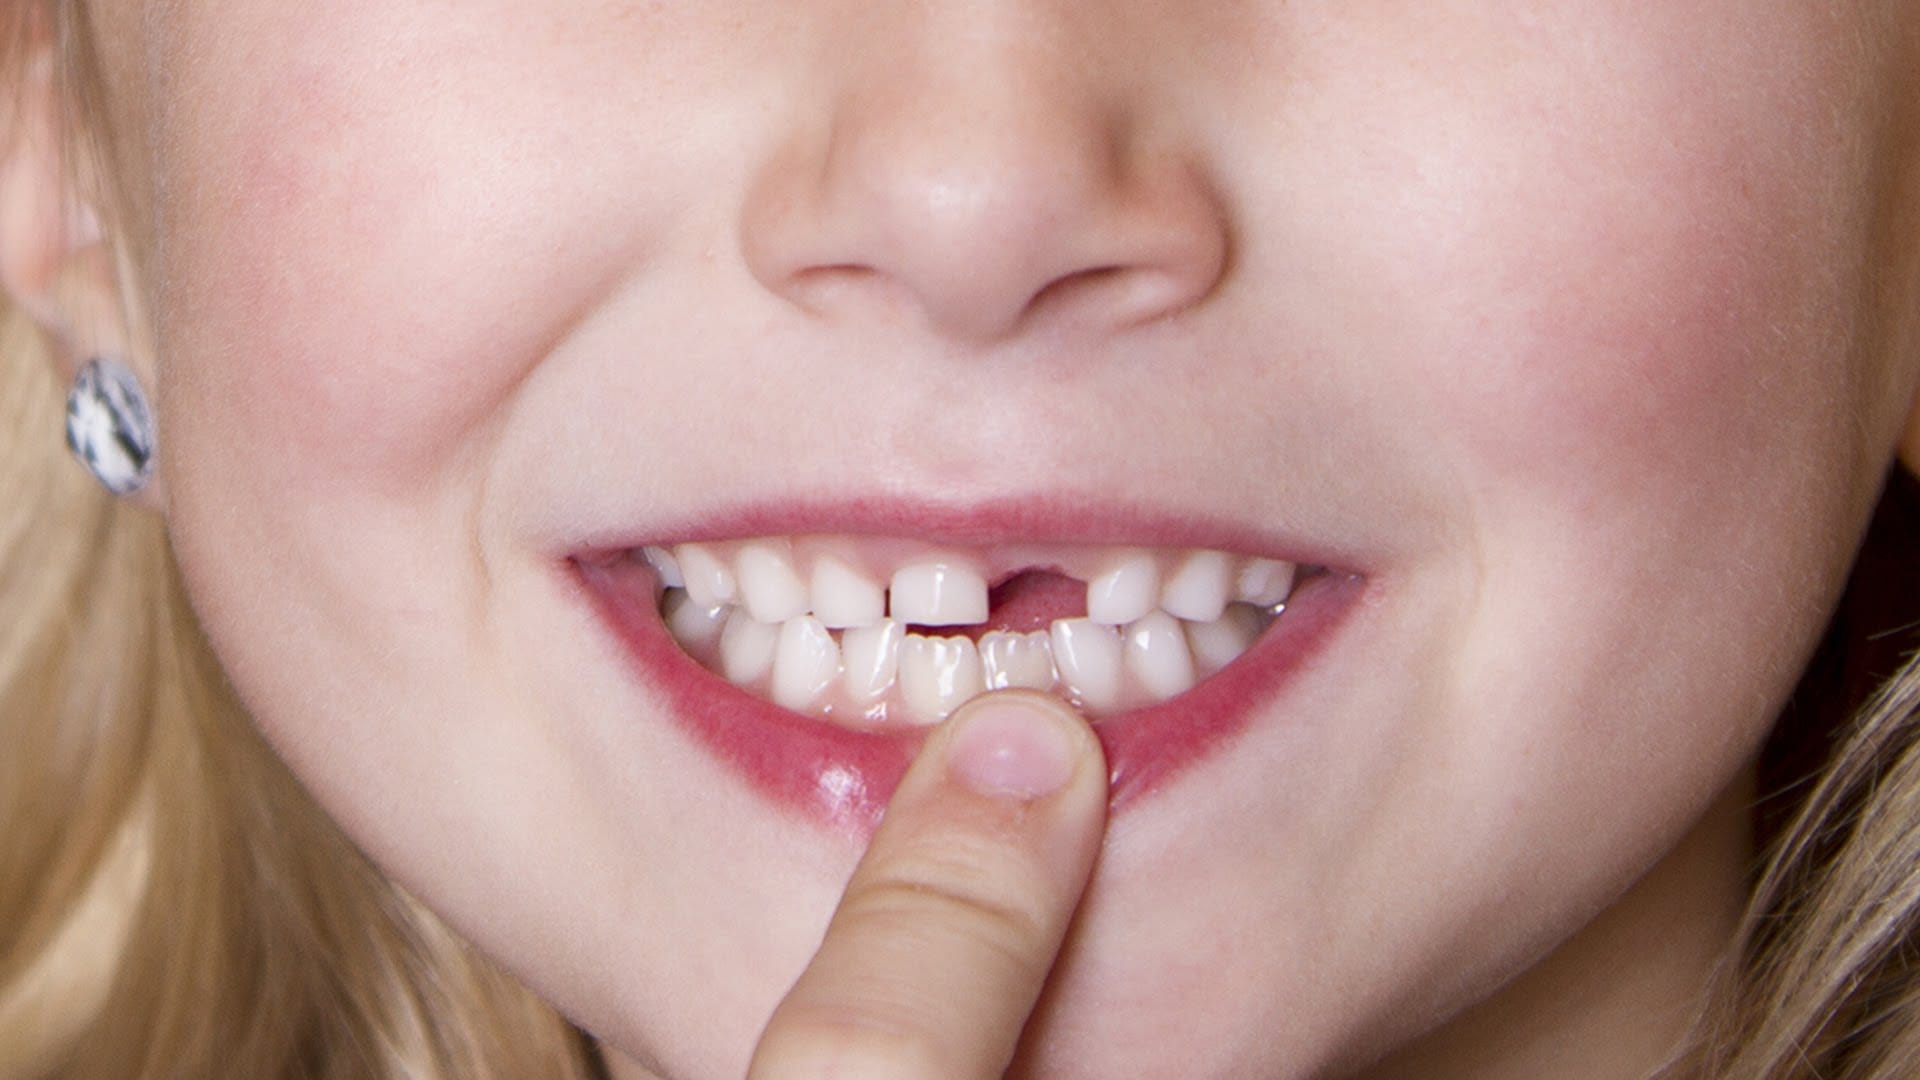
How to Fix Missing Teeth in Photoshop
Have you ever needed to fix missing teeth in a photo? It's a common issue, but luckily, Photoshop makes it easy to address. In this quick tutorial, you'll learn a simple technique to make those gaps disappear.
The process is straightforward. First, use the Stamp Tool to copy the surrounding tooth enamel and fill in the missing area. Then, refine the edges using the Healing Brush to blend it seamlessly. Finally, add some subtle shading to make the repair look natural.
The whole thing can be don