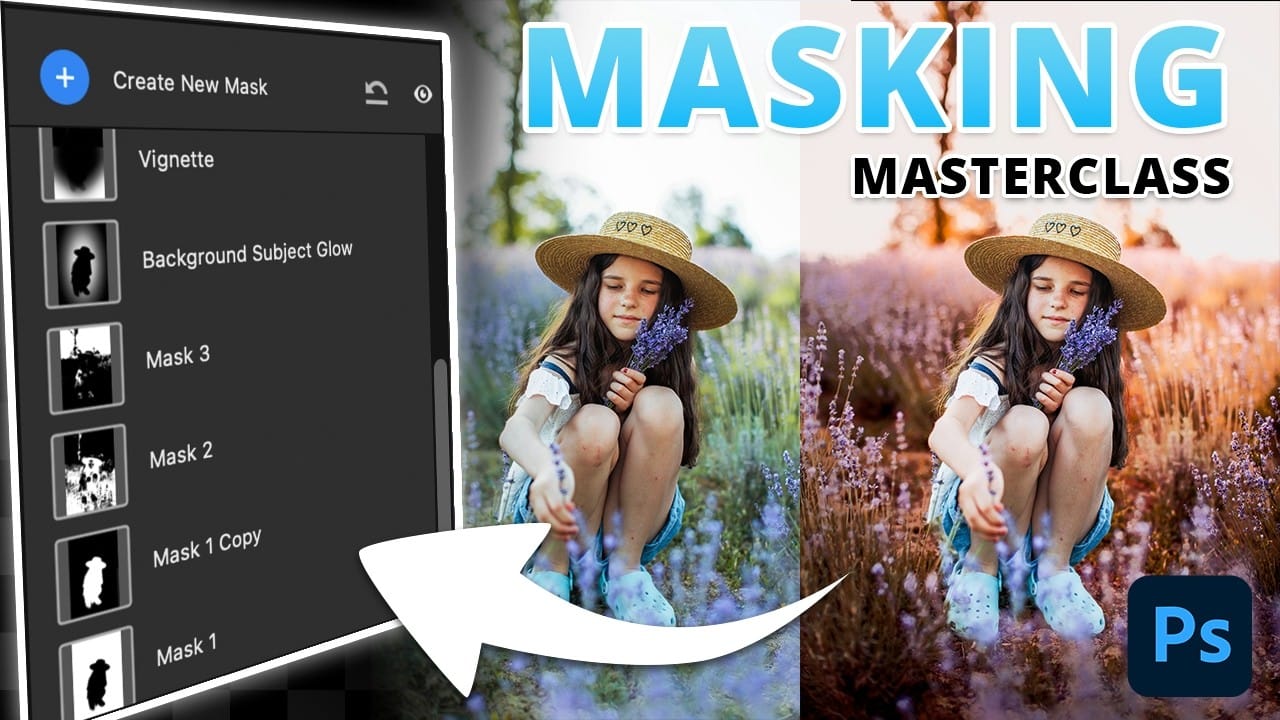
Masking in Photoshop is a powerful technique to isolate and enhance different parts of an image. However, many users find it complicated and time-consuming, often sticking to basic masks or selections that limit creative control. This can make photo editing feel frustrating and slow, especially when trying to achieve subtle but impactful adjustments.
This tutorial introduces a structured masking workflow within Camera Raw that simplifies the process while giving you precise control over highlights, shadows, colors, and lighting. Learning these methods improves your editing efficiency and helps create professional, polished photos with greater ease.
Watch the Video
Any links or downloads mentioned by the creator are available only on YouTube
Understanding the Power of Masking for Photo Stylization
Masking goes beyond just selecting parts of an image; it’s about controlling where and how adjustments apply with precision. By layering masks that target specific tones, colors, or areas, editors can shape the mood and depth of an image without affecting unwanted parts. This selective editing creates more natural and sophisticated results than global adjustments.
One of the reasons masking feels complex is the variety of tools and modes available, such as luminance range masks, color overlays, and gradients. These allow for refined edits that respond to exposure levels or color tones. The layering of masks with varying transparency and feathering creates a smooth transition between edited and non-edited areas, avoiding harsh lines.
Key concepts to consider when approaching masking:
- Range Masks allow adjustments only on specified brightness or color ranges, refining detail.
- Smart Objects preserve edit flexibility by enabling non-destructive adjustments.
- Combining Masks (add, subtract) tailors effects precisely where needed.
Practical Tips for Masking in Photoshop Camera Raw
- Convert layers to Smart Objects to keep all mask edits editable later in your workflow.
- Use subject and background automatic masks as a first step to separate major areas quickly.
- Leverage luminance range masks to target adjustments only on highlights, midtones, or shadows for finer control.
- Apply gradients (radial or linear) to create natural lighting effects such as vignettes or subject glows.
- Use the subtract mask option to exclude areas like the subject or sky when applying overall adjustments, maintaining focus.
Related Articles and Tutorials about Photoshop Masking
Explore more resources to deepen your understanding of Photoshop’s masking capabilities and enhance your photo editing skills.


