Transform Photos into Realistic Watercolor Paintings in Photoshop

Transform Photos into Realistic Watercolor Paintings in Photoshop

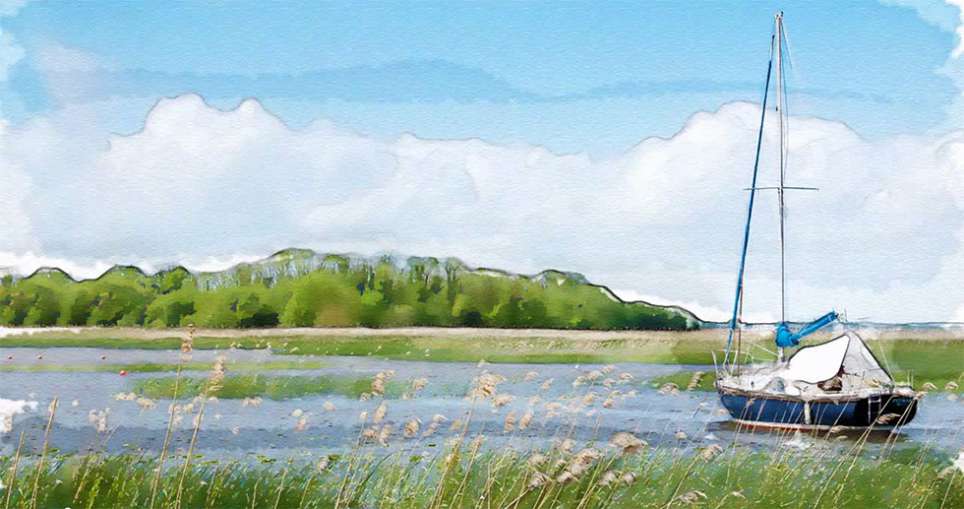
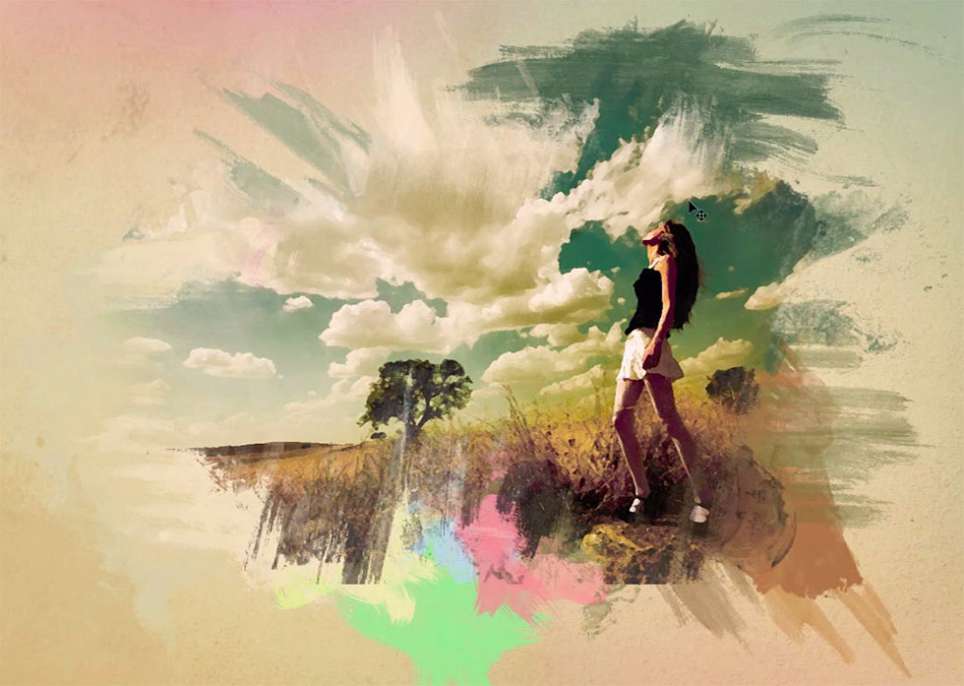
Watercolor paintings capture a unique blend of spontaneity and control that's instantly recognizable. The way pigments blend and flow creates organic textures that feel both deliberate and accidental, with soft edges that seem to breathe life into static images.

This tutorial demonstrates how to recreate that distinctive watercolor look using Photoshop's built-in filters, paper textures, and specialized brushes. The technique builds layers of effects that mimic real watercolor behavior, from the initial paint application to the final paper texture.
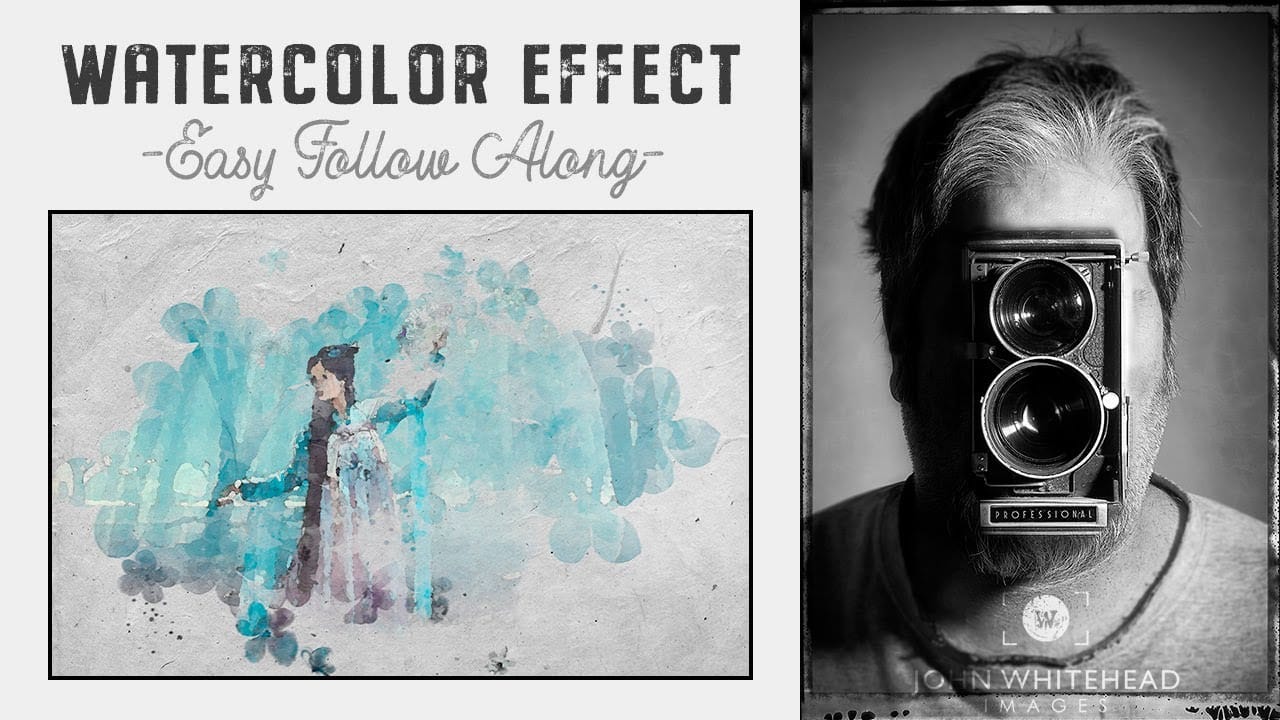
Watch the Tutorial

Video by Spoon Graphics. Any links or downloads mentioned by the creator are available only on YouTube

The Anatomy of Digital Watercolor Effects

Creating convincing watercolor effects requires understanding what makes traditional watercolor painting distinctive. Real watercolor involves transparent pigments that interact with paper fibers, creating unpredictable bleeding and texture variations.

The digital approach layers multiple filter effects to simulate these organic qualities. Each filter addresses a different aspect of watercolor behavior, from the Dry Brush effect that creates paint texture to the Find Edges filter that mimics pencil underdrawings.

  • Smart Objects enable non-destructive editing and effect reusability
  • Blending modes control how filter layers interact with the base image
  • Paper textures provide the physical foundation that watercolors require
  • Custom brushes add authentic paint application patterns
  • Layer masks create natural edge variation and opacity changes

Essential Tips for Watercolor Photo Effects

  • Convert your image to a Smart Object before applying filters to maintain editing flexibility
  • Use the Pin Light blending mode on the Cutout filter to create realistic color interactions
  • Set Find Edges to Multiply mode for authentic pencil sketch lines beneath the paint
  • Enable Shape Dynamics with maximum Angle Jitter on watercolor brushes to avoid repetitive patterns
  • Apply effects from the center outward, leaving irregular borders to simulate natural paint flow

Explore more watercolor techniques and photo manipulation methods.

Learn How to Create a Watercolor Photo Effect in Photoshop
Transforming a photograph into a convincing watercolor painting opens up a world of creative possibilities. This artistic effect adds depth and emotion, turning ordinary images into unique pieces of art. The result captures the delicate washes and textures of traditional watercolor, bringing a hand-painted feel to your digital art. This tutorial guides you through creating a hand-painted effect in Photoshop, going beyond basic filters. By using a combination of smart blurs, glowing edges, and c
How To Make a Watercolor Photo Manipulation In Photoshop
This tutorial by Maarten Rietdijk provides a step-by-step guide on how to combine watercolor brushstrokes and photos in Photoshop. The author explains the process in a clear and concise manner, making it accessible to both beginners and experienced Photoshop users. The tutorial begins by teaching the reader how to create a set of custom watercolor brushes. These brushes are then used to add a unique, artistic touch to the photograph. The author emphasizes the importance of experimenting with di
Easy Watercolor Painting Effects in Photoshop
Creating watercolor painting effects in Photoshop is easy and fun with this step-by-step tutorial by John Whitehead. In this guide, you'll learn how to transform any image into a beautiful watercolor painting using Adobe Photoshop. John walks you through the entire process, from selecting the right brushes to applying the effects. If you don't already have watercolor brushes, don't worry! John also shows you how to create your own brushes from watercolor images, allowing you to customize and en
How to create a watercolor text effect in Adobe Photoshop
In this tutorial by Chris Spooner from Spoon Graphics, you'll learn how to create a watercolor text effect in Photoshop using a combination of filters. One of the best features of this technique is the use of a Smart Object, allowing the styling to be applied to live text. This means you can easily go back, edit the wording, and fine-tune the settings to achieve the desired result. This tutorial offers a flexible and creative way to produce a beautiful watercolor style effect for your text. W

Get tutorials & freebies delivered to you.

Subscribe to the Photoshop Roadmap newsletter, a weekly roundup of new tutorials, insights and quality downloads, trusted by 6500+ readers.

You might also like

Complete Photoshop Editing Workflow: 5 Steps from Raw to Polished

Photoshop offers endless possibilities for photo enhancement, but many photographers never move beyond basic adjustments because the software feels overwhelming. This comprehensive workflow breaks down photo editing into five manageable stages that work consistently across different photography styles. The systematic approach covers everything from initial raw processing to advanced lighting...

Photoshop Workspace Basics: Navigation, Zooming, and Essential Interface Elements

Photoshop's interface can feel overwhelming when you first open the program. Dozens of panels, tools, and menus compete for attention, making simple tasks feel complicated. This tutorial breaks down the essential workspace elements and teaches fundamental navigation skills that form the foundation of efficient Photoshop work. Watch the...

How to Restore Old Damaged Photos Using Nano Banana in Photoshop

Old family photos with scratches, tears, and missing sections can seem beyond repair. Google's Nano Banana AI model, now integrated into Photoshop, makes full restoration possible in minutes rather than hours. This powerful tool excels at maintaining facial characteristics while automatically filling in damaged areas and adding realistic...

How to Get Higher Quality Results from Photoshop's Generative Fill Tool

Photoshop's Generative Fill creates impressive AI extensions, but the results often look blurry and pixelated when viewed at full size. This quality limitation makes many AI-generated areas unusable for printing or large displays. This technique shows how to work around the 1024x1024 pixel quality limit to create much...

How to Use Photoshop's Liquify Tool for Non-Destructive Portrait Retouching

Clothing wrinkles, hair that lacks volume, and awkward fabric bunching can distract from an otherwise great portrait. Photoshop's Liquify tool offers a powerful solution for smoothing out these issues while preserving the natural look of your subject. This tutorial demonstrates how to use the Liquify tool non-destructively with...

You’ve successfully subscribed to Photoshop Roadmap
Welcome back! You’ve successfully signed in.
Great! You’ve successfully signed up.
Success! Your email is updated.
Your link has expired
Success! Check your email for magic link to sign-in.