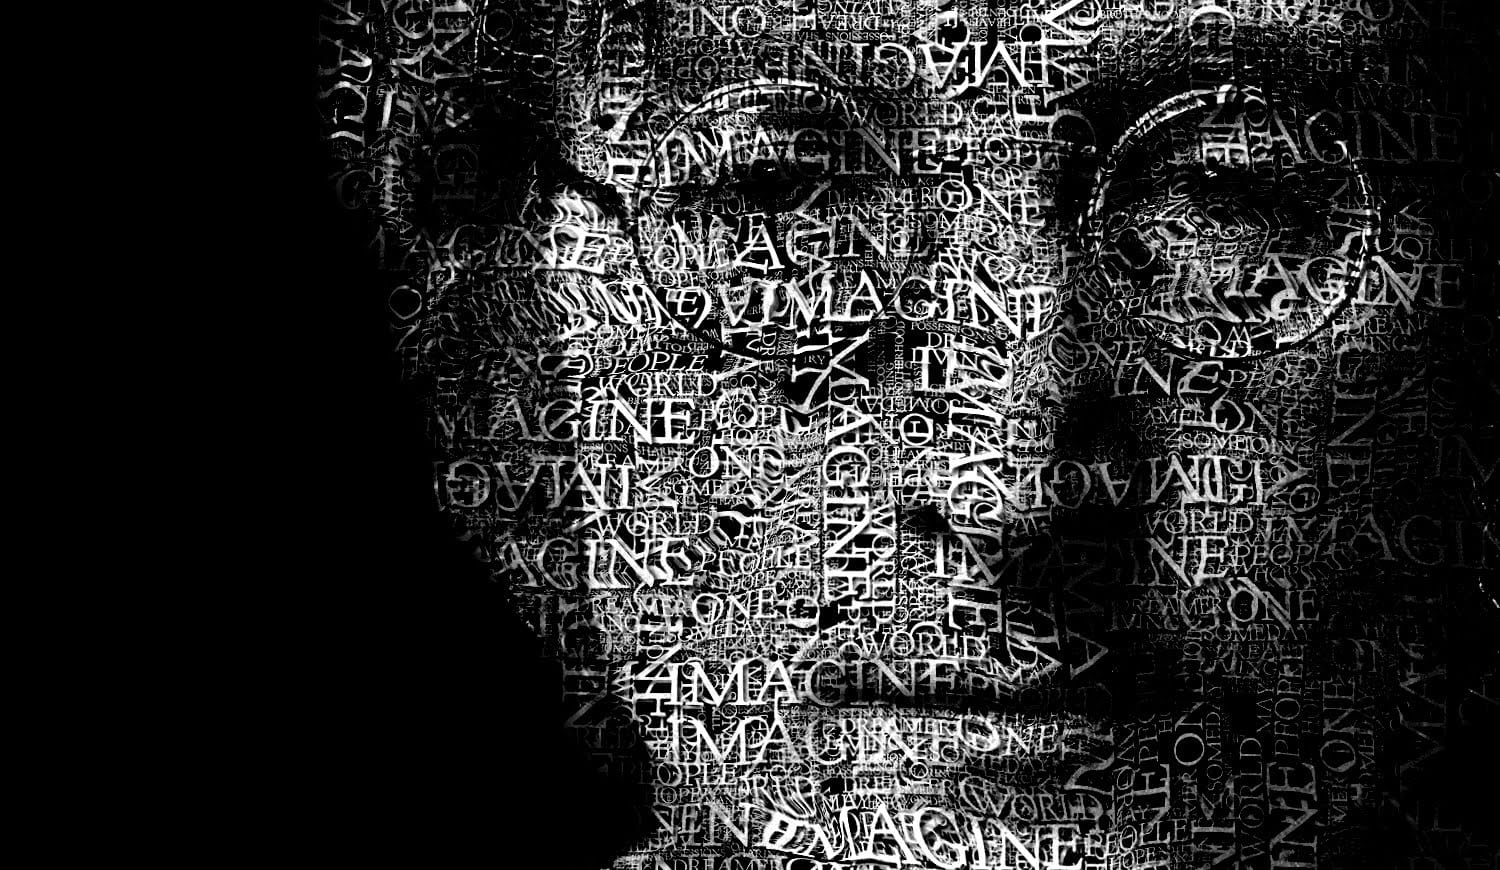
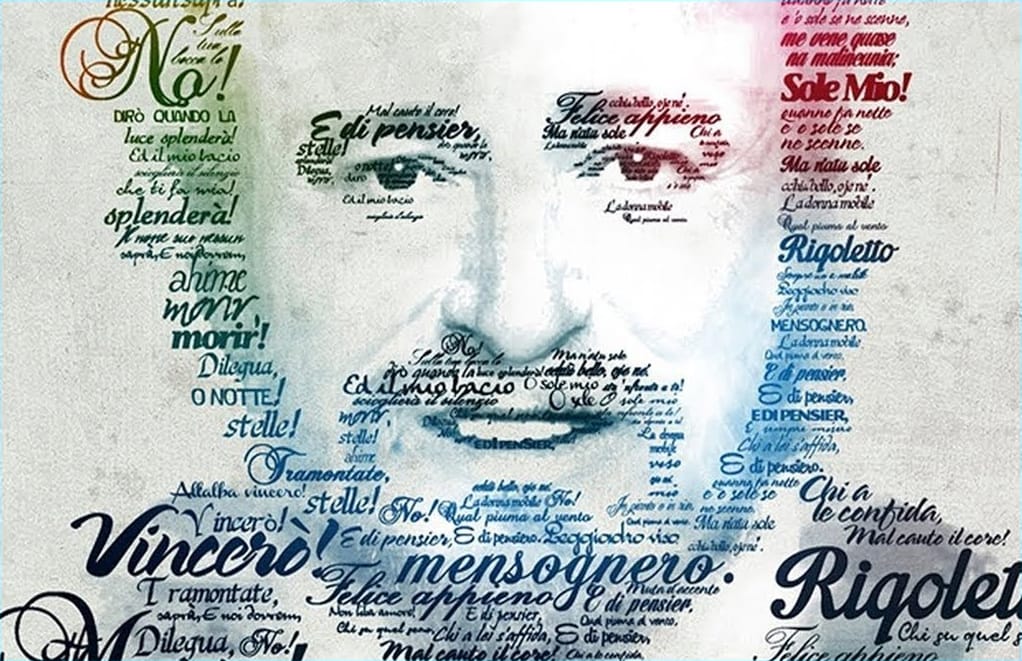
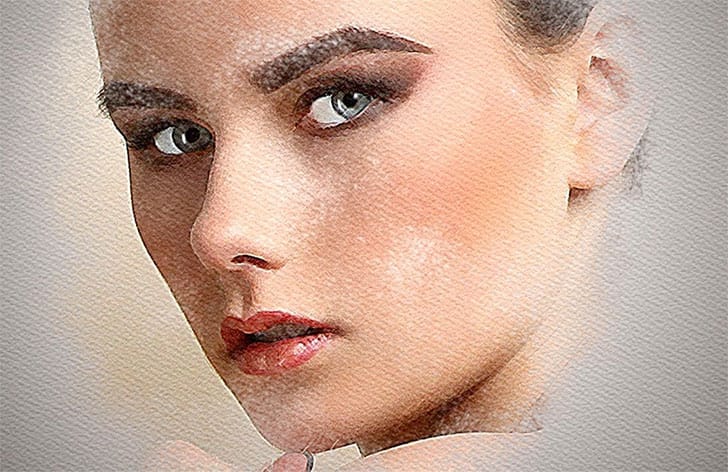
This tutorial demonstrates a powerful Photoshop technique for transforming standard photographs into dynamic mixed media portraits. It explores how to achieve a unique artistic aesthetic that blends traditional art elements with digital imagery.
Viewers will learn a non-destructive workflow to apply textured effects and patterns to a portrait, with the added benefit of easily replacing the subject without redoing the entire process. This approach is ideal for artists and designers seeking efficiency and flexibility in their creative projects.
Watch the Tutorial: Mixed Media Portrait Effect
The Art of Mixed Media in Digital Portraiture
Mixed media art traditionally involves combining different art forms and materials within a single piece, creating a rich, layered aesthetic. In the digital realm, this concept translates into blending photographic elements with textures, patterns, and brushstroke effects to achieve a similar tactile and artistic quality.
Digital tools allow for extensive experimentation without the constraints of physical materials. This freedom enables artists to integrate diverse components—such as *paper textures*, *paint splatters*, *collage elements*, and *drawing lines*—seamlessly into a portrait. The goal is to move beyond a simple photograph, imbuing the image with character and depth that evokes a handmade feel.
The beauty of digital mixed media lies in its non-destructive nature. Techniques like Smart Objects and layer masks provide flexibility, allowing artists to adjust or replace elements long after the initial creation, ensuring a versatile and adaptable workflow.
Practical Tips for Mixed Media Portraits in Photoshop
- Convert your photo to a Smart Object early for non-destructive editing and the ability to adjust filters at any time.
- Utilize the Channels panel to create precise selections from texture layers, ensuring accurate masks.
- Unlink the layer and layer mask to independently reposition or resize your subject within the applied texture, offering greater control.
- Name your layers, especially Smart Objects, for better organization and easier identification during subject swaps.
- Reduce opacity when aligning a new subject to see the original placement underneath, aiding in accurate resizing and positioning.
More Tutorials about Photoshop Portrait Effects
Explore additional resources to further enhance your skills in transforming portraits and blending images within Photoshop.


