Using Curves adjustments in Photoshop often creates unwanted color shifts that can make images look oversaturated or unnatural. While the traditional solution involves switching to Luminosity blend mode, this approach tends to drain the vibrancy from your photos, leaving them flat and lifeless.
This tutorial reveals a superior technique using Camera Raw's refined saturation control that gives you precise command over color intensity while maintaining natural-looking results. You'll discover how to achieve the perfect balance between contrast and color saturation that standard Curves adjustments can't deliver.
Watch the Tutorial
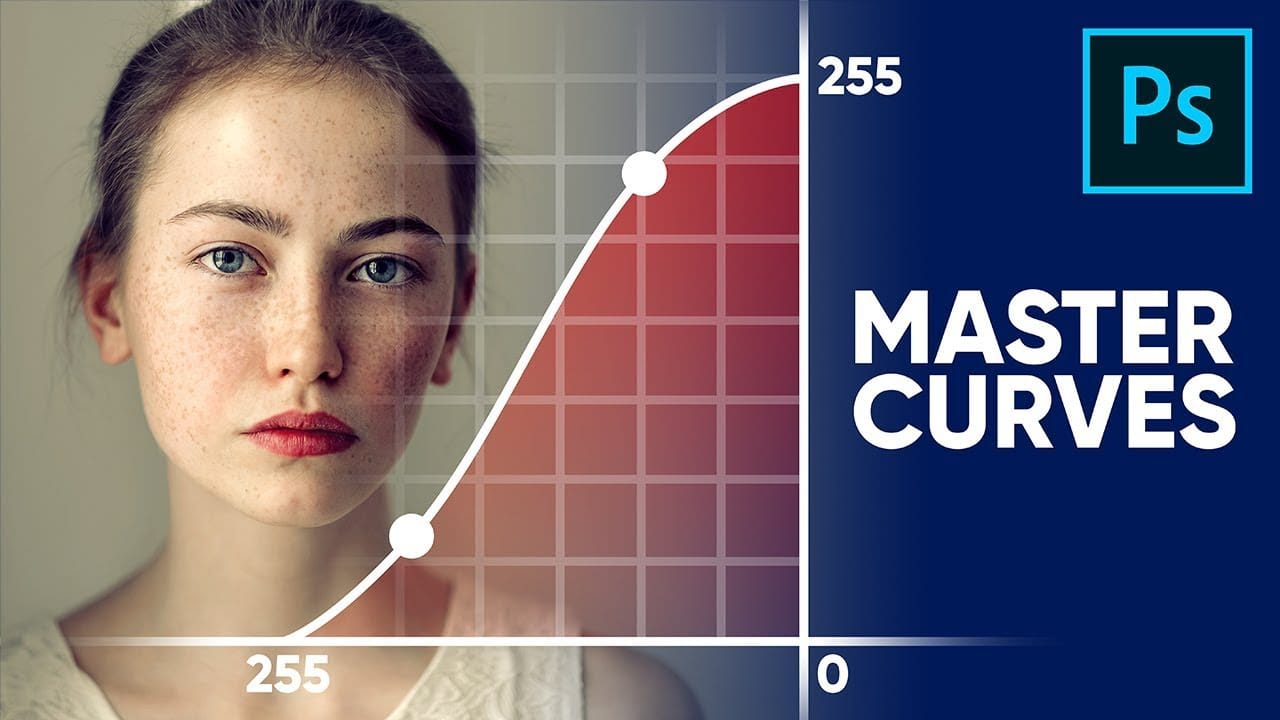
Understanding Color Behavior in Curves Adjustments
The Curves adjustment layer affects both luminosity and chromaticity simultaneously, which explains why images often become oversaturated when you increase contrast. This happens because the tool doesn't distinguish between brightness values and color intensity—adjusting one inevitably impacts the other.
The standard workaround involves changing the blend mode to Luminosity, but this creates its own problems. While it preserves the original color saturation levels, it often results in images that appear dull or lacking in color depth. The Camera Raw filter offers a more sophisticated approach through its refined saturation slider, which provides granular control over how much the color intensity should be affected by your curve adjustments.
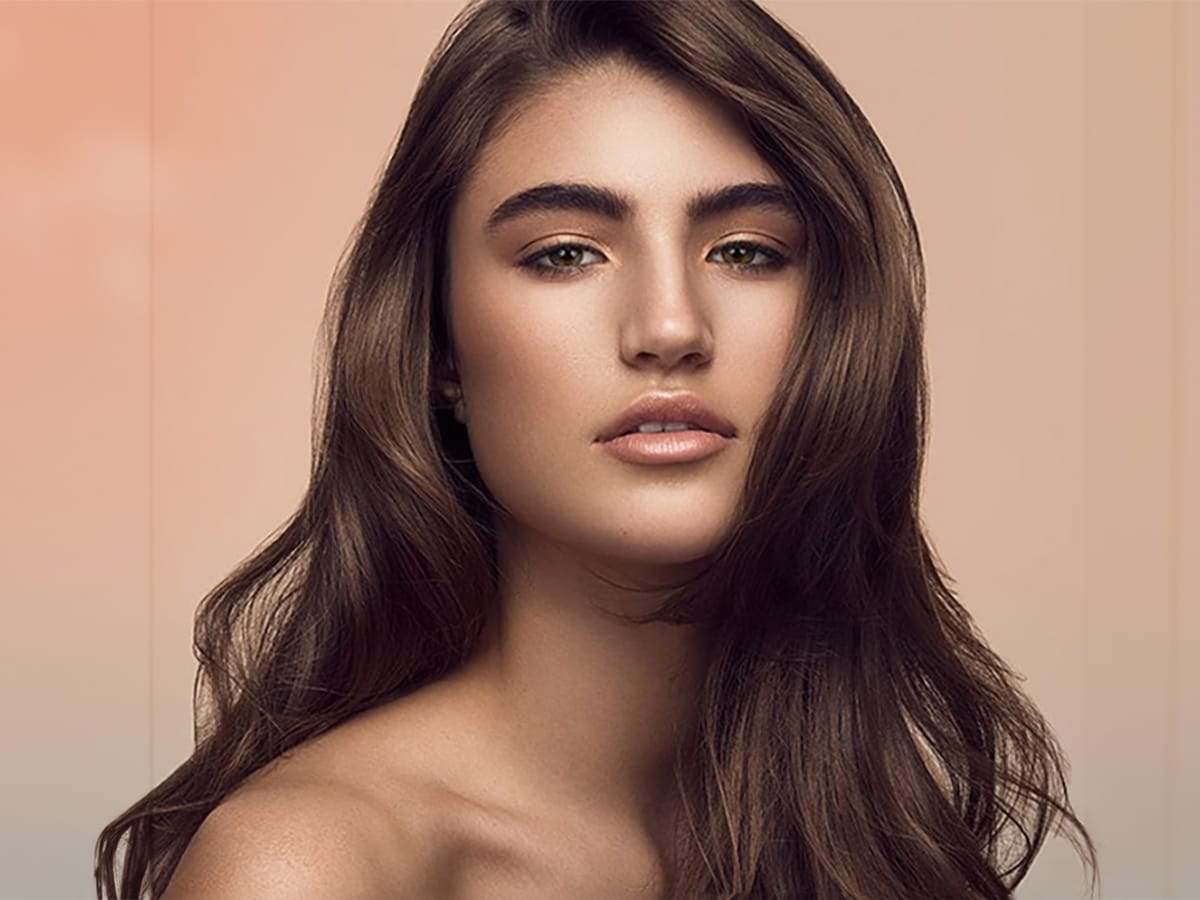
This technique works particularly well for portrait photography, landscape images, and any situation where maintaining natural skin tones or accurate color representation is crucial. The ability to dial in the exact amount of saturation change gives you creative flexibility that traditional methods simply can't match.
Essential Tips for Color-Controlled Curve Adjustments
- Convert your layer to a Smart Object before applying Camera Raw filter to maintain non-destructive editing capabilities
- Use the refined saturation slider at around 50% as a starting point, then adjust based on your image's specific needs
- Access the RGB curve panel in Camera Raw rather than the default parametric controls for precise point adjustments
- Target specific color ranges with Hue/Saturation adjustments if you need additional fine-tuning after applying the Camera Raw technique
- Compare your results by toggling the filter on and off to ensure you're achieving the desired balance between contrast and natural color
More Tutorials About Curves and Color Correction
Explore these related resources to expand your color adjustment skills in Photoshop.