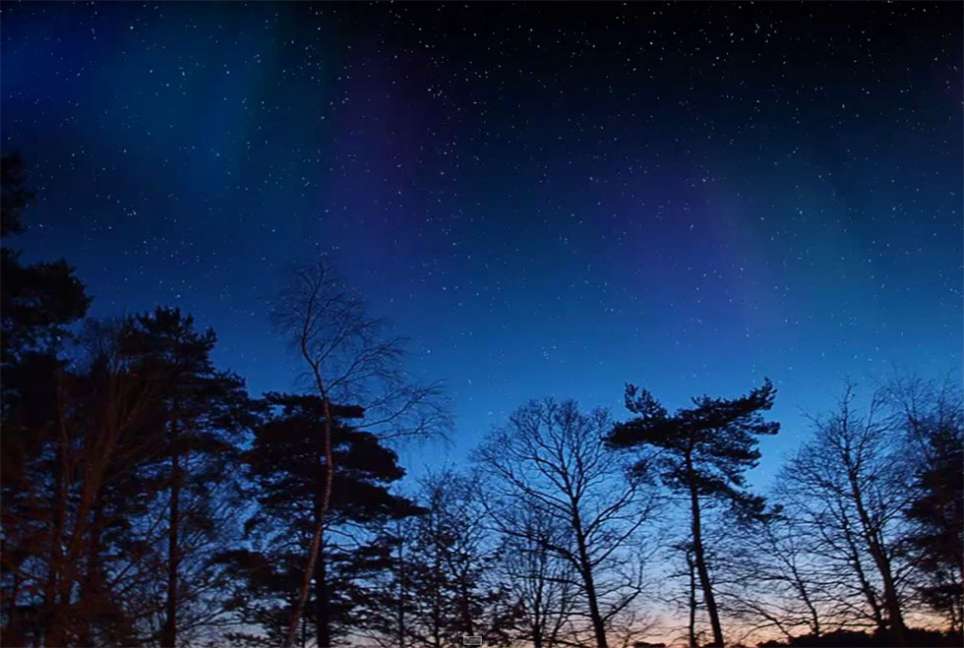
This tutorial demonstrates how precise selection techniques are crucial for isolating elements like trees and landscapes. It ensures that the subsequent addition of detailed celestial phenomena, such as stars and aurora borealis, seamlessly integrates with the original image.
The process goes beyond simple overlays, showcasing how to invert layer masks to precisely apply effects to the sky while preserving the foreground. This unexpected inversion step is vital for achieving a visually compelling and realistic starry night sky with Northern Lights, illustrating the power of non-destructive editing.
Watch the Full Photoshop Tutorial
Video by Blue Lightning. Any links or downloads mentioned by the creator are available only on YouTube
Building Atmospheric Effects Through Layering and Blending
When crafting intricate digital compositions in Photoshop, particularly those involving atmospheric elements like skies or natural phenomena, a layered approach proves indispensable. Each element, from the subtle shimmer of distant stars to the dynamic flow of Northern Lights, can be developed on its own dedicated layer. This allows for individual adjustments without affecting other parts of the image.
This method harnesses the power of Photoshop’s blending modes and layer masks. Blending modes, such as Screen for stars or Color for light effects, dictate how layers interact with those beneath them, creating luminous or subtle integrations. Layer masks offer unparalleled control, allowing artists to precisely reveal or conceal portions of a layer, ensuring effects appear only where desired. For instance, creating a selection of the landscape and then applying it as a mask on the star layer ensures stars only appear in the sky.
This non-destructive workflow allows for iterative refinement and experimentation. It ensures that every creative decision can be revisited and adjusted, providing flexibility in achieving the desired visual impact for dramatic sky transformations.
Useful Tips for Creating Dynamic Skies
- Utilize the
Refine Edgetool for precise selections of complex foreground elements, such as trees, ensuring clean integration with a new sky. - Rename layers descriptively, like "Stars" or "Lights," to maintain an organized and understandable workflow.
- Employ the
Channelspanel to recall previous selections, which is crucial for applying masks accurately to specific areas. - Invert layer masks (Control or Command + I) when an effect needs to be applied to the opposite area of the initial selection.
- Experiment with blending modes, such as
Screenfor adding light effects orColorfor subtle hue shifts, to enhance the visual impact of your sky elements.
More Tutorials about Sky Manipulation
Explore additional resources to deepen your understanding of creating stunning sky effects and atmospheric enhancements in Photoshop.


