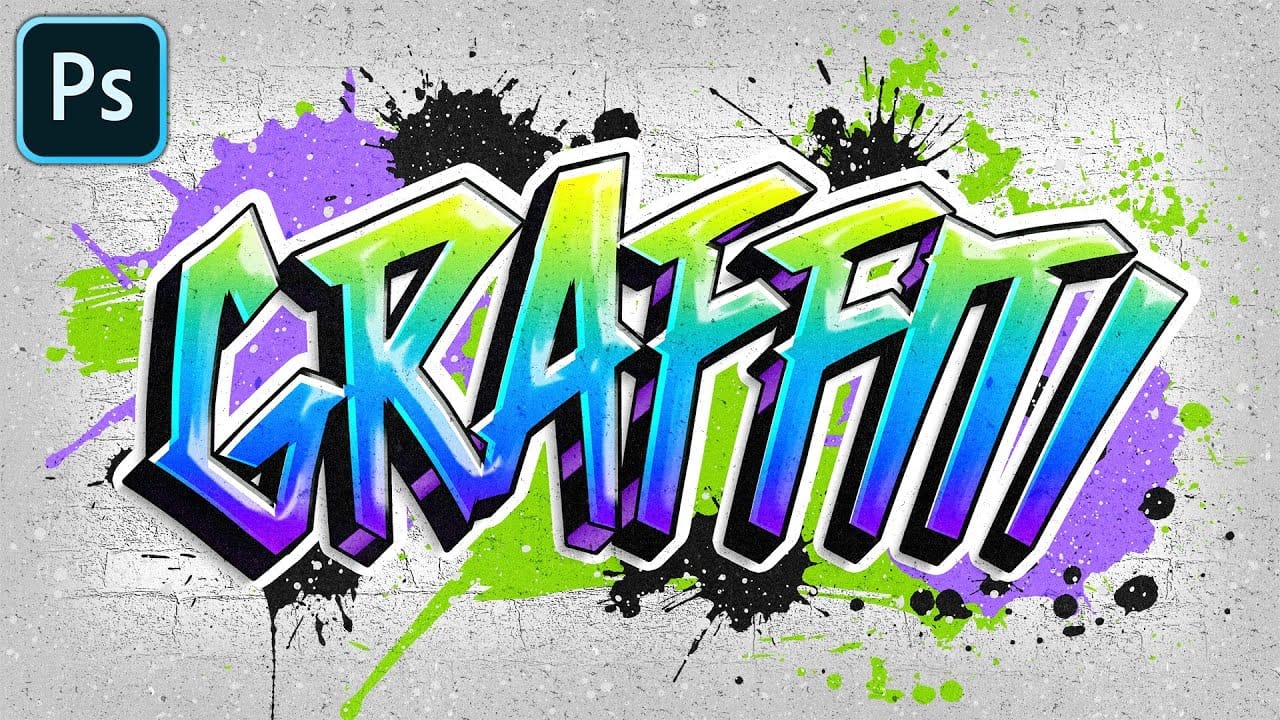
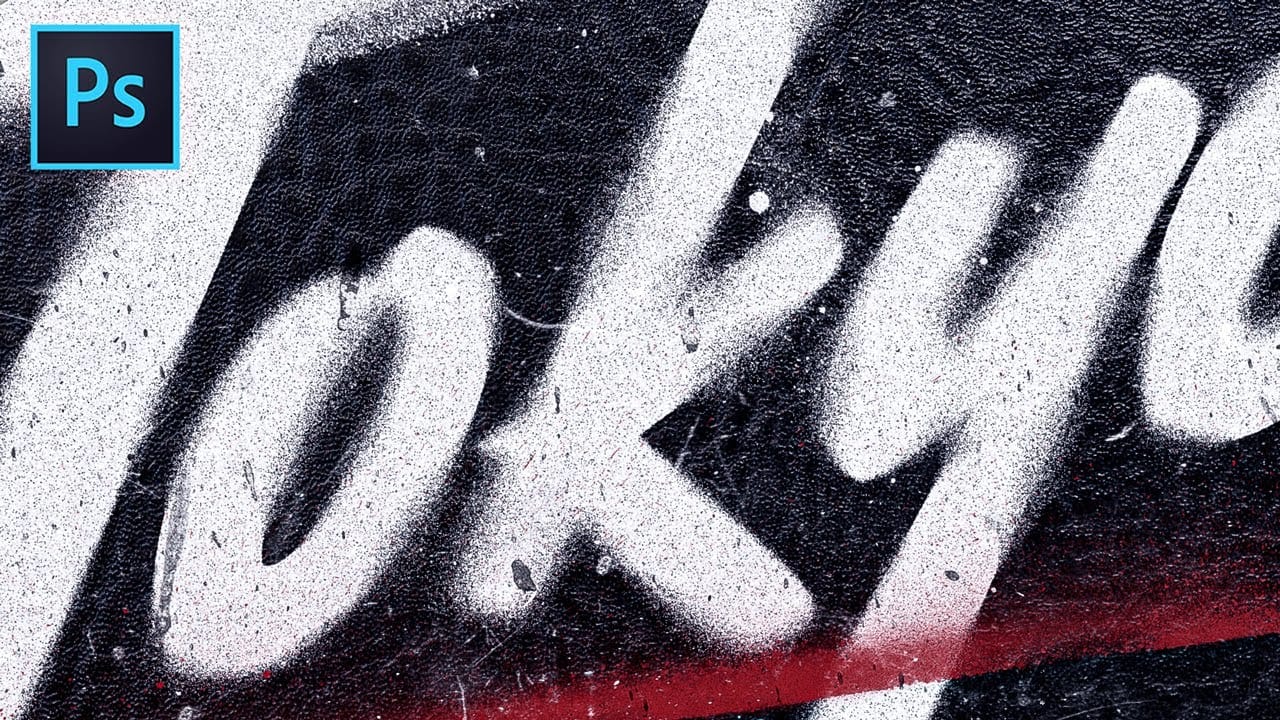
Achieving the raw, unrefined look of spray paint can add a distinctive, urban edge to your digital designs. This style often feels complex to recreate without freehand artistry. However, Photoshop offers powerful tools that allow designers to capture this aesthetic through systematic application, mimicking the spontaneous nature of spray paint without requiring any manual brushwork.
This tutorial guides you through using filters, blend modes, and textures to generate natural-looking overspray, speckles, and grungy details. You can transform ordinary text into a compelling, street-art inspired graphic with precise settings and layered elements.
Learn to Create a Spray Paint Effect
Video by Texturelabs. Any links or downloads mentioned by the creator are available only on YouTube
Mastering Digital Spray Paint Textures
The creation of a convincing spray paint effect in Photoshop goes beyond simply adding noise or blur. This technique leverages specific filters and blend modes in a calculated sequence to simulate the organic imperfections inherent in real spray paint. Key to this process is the strategic use of features like the Lens Blur filter, which, when paired with a custom mask, can generate varying degrees of blur to mimic both overspray and areas of sharp focus.
Further realism is achieved by applying the Dissolve blend mode at low opacity, which introduces a speckled, gritty texture. The method emphasizes combining these digital manipulations with actual paint and grunge texture assets, then refining the overall composition with targeted Levels adjustments. This layered approach ensures a rich, authentic finish that looks less like a digital effect and more like a physical art piece.
- Lens Blur with a depth map for varied spray patterns.
- The Fade option to precisely control filter intensity.
- Dissolve blend mode to generate natural speckle textures.
- Incorporating diverse texture assets for enhanced realism.
- Strategic use of Levels adjustments to refine contrast and mood.
Practical Tips for Spray Painted Text Effects
- Rasterize your type layer before applying filters to enable full layer manipulation.
- Utilize the Fill (Shift+F5) command with the "Behind" blending mode to efficiently convert transparent text backgrounds to solid black.
- Apply Lens Blur using a custom layer mask as a depth map to create randomized areas of blur and sharpness, simulating spray inconsistencies.
- Immediately after applying a filter, use the Fade (Command+Shift+F) option to fine-tune its opacity or blending mode, preserving definition.
- Set the layer's blend mode to Dissolve and slightly reduce its opacity to introduce a speckled, gritty texture across the effect.
More Tutorials about Text Effects
Explore additional creative text effects to enhance your design skills in Photoshop.
