The smoke dispersion effect transforms ordinary portraits into striking artwork where parts of the subject appear to dissolve into wisps of smoke. This dramatic technique creates movement and mystery in static images.
This tutorial demonstrates how to achieve professional-looking smoke dispersion using custom smoke brushes, layer masks, and strategic painting techniques in Photoshop CS6.
Watch the Tutorial
Essential Tips for Smoke Dispersion Effects
These key techniques will help you create more convincing and varied smoke dispersion effects:
- Expand your canvas first — Use the crop tool to add extra headroom around your subject before starting the effect
- Rotate smoke brushes frequently — Change the angle and size of each brush stroke to avoid repetitive patterns
- Use both ends of brushes — Flip brushes 180 degrees and use different portions to create varied smoke shapes from the same brush
- Paint on black layer masks — Use white paint on a black mask to reveal the dispersed areas gradually and controllably
- Apply contrast curves — Create an S-shaped curve adjustment to boost contrast and make the smoke effect more dramatic
More Tutorials About Dispersion Effects
Explore additional techniques for creating stunning dispersion and particle effects in Photoshop.
Easy Smoke Dispersion Effect in Photoshop
This Photoshop tutorial from Visual-Pixels will show you how to create the dispersion effect in just five minutes. Begin by isolating the model from the background in your image. Duplicate the model onto a new layer and apply the Liquify filter to distort its shape. Conceal this layer and add a black mask to the top layer. Utilize white smoke brushes to paint over the mask, generating the dispersing smoke effect.
Lastly, employ white brushes on the black layer to unveil the dispersion effect in

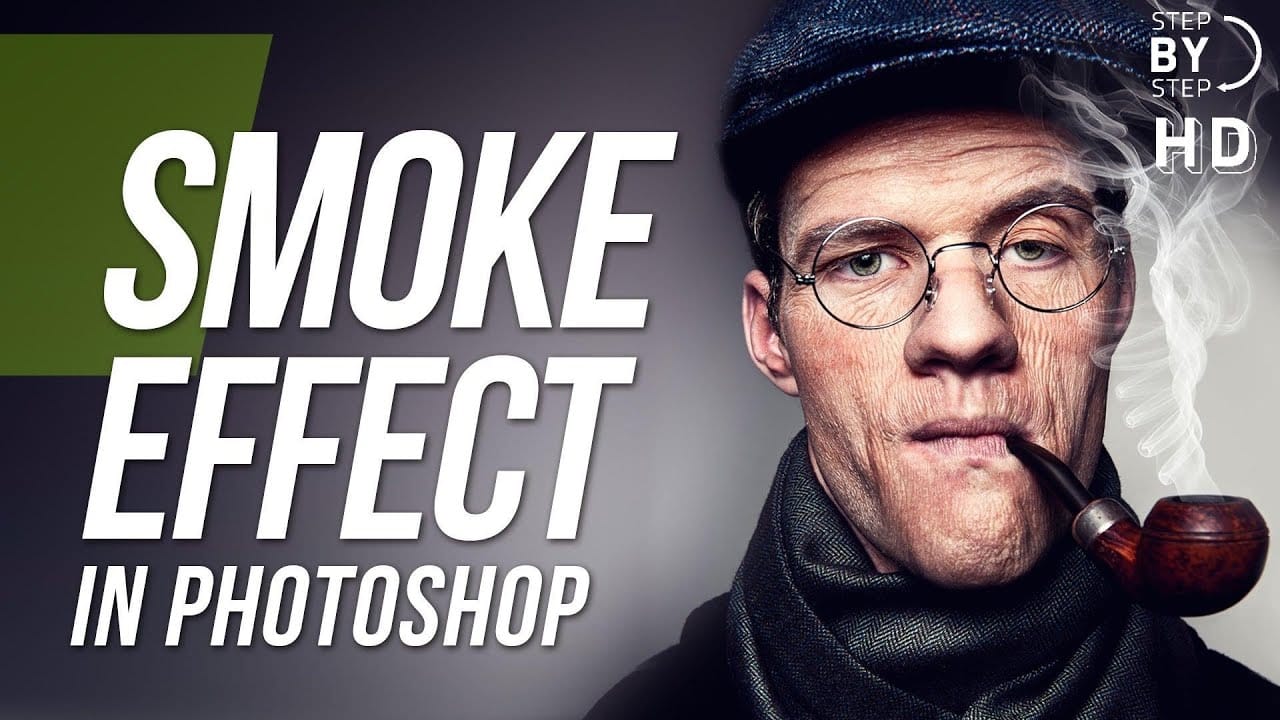
Create a smoke effect in Photoshop
This step-by-step tutorial by RetutPro shows you how to produce a realistic plume of smoke emerging from a pipe.
The tutorial walks you through the entire process, from setting up the initial layers to adding the finishing touches. You'll learn useful techniques like using brushes to shape the smoke, adjusting the opacity and blending modes, and incorporating lighting effects.
By following along, you'll be able to create a visually striking smoke effect that can be used in a variety of design
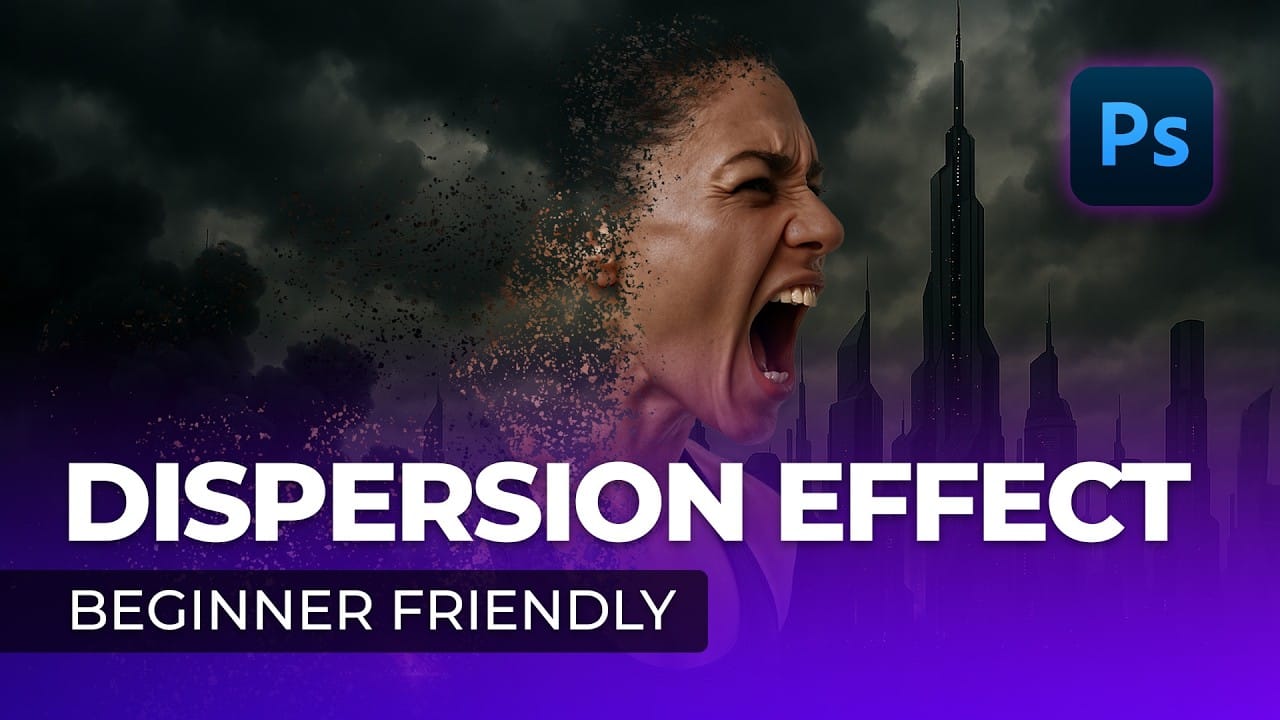
Create a Dispersion Effect in Photoshop
The dispersion effect transforms ordinary photographs into dynamic artwork, creating the illusion that parts of the subject are breaking apart and scattering into particles. This popular technique adds movement and a surreal quality to static images, making them ideal for creative projects and eye-catching digital content.
This tutorial provides a step-by-step guide to achieving a professional dispersion effect using Photoshop's versatile tools. You will learn how to combine custom brushes, lay
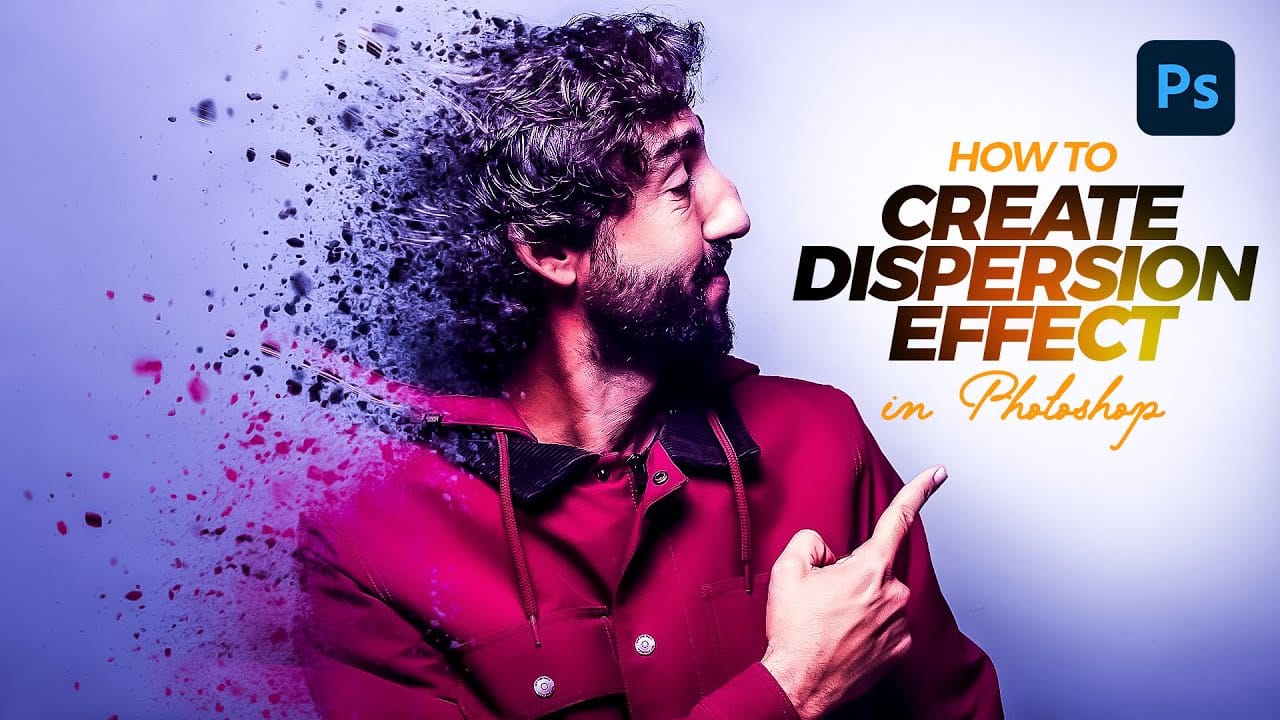
Creating a Dispersion Effect in Photoshop
The dispersion effect transforms ordinary portraits into dynamic artwork by creating the illusion that parts of the subject are breaking apart and scattering into particles. This popular technique adds movement and drama to static images, making them perfect for creative projects, album covers, or eye-catching social media content.
This tutorial demonstrates a streamlined approach to creating professional dispersion effects using Photoshop's built-in tools. The process combines automated backgr