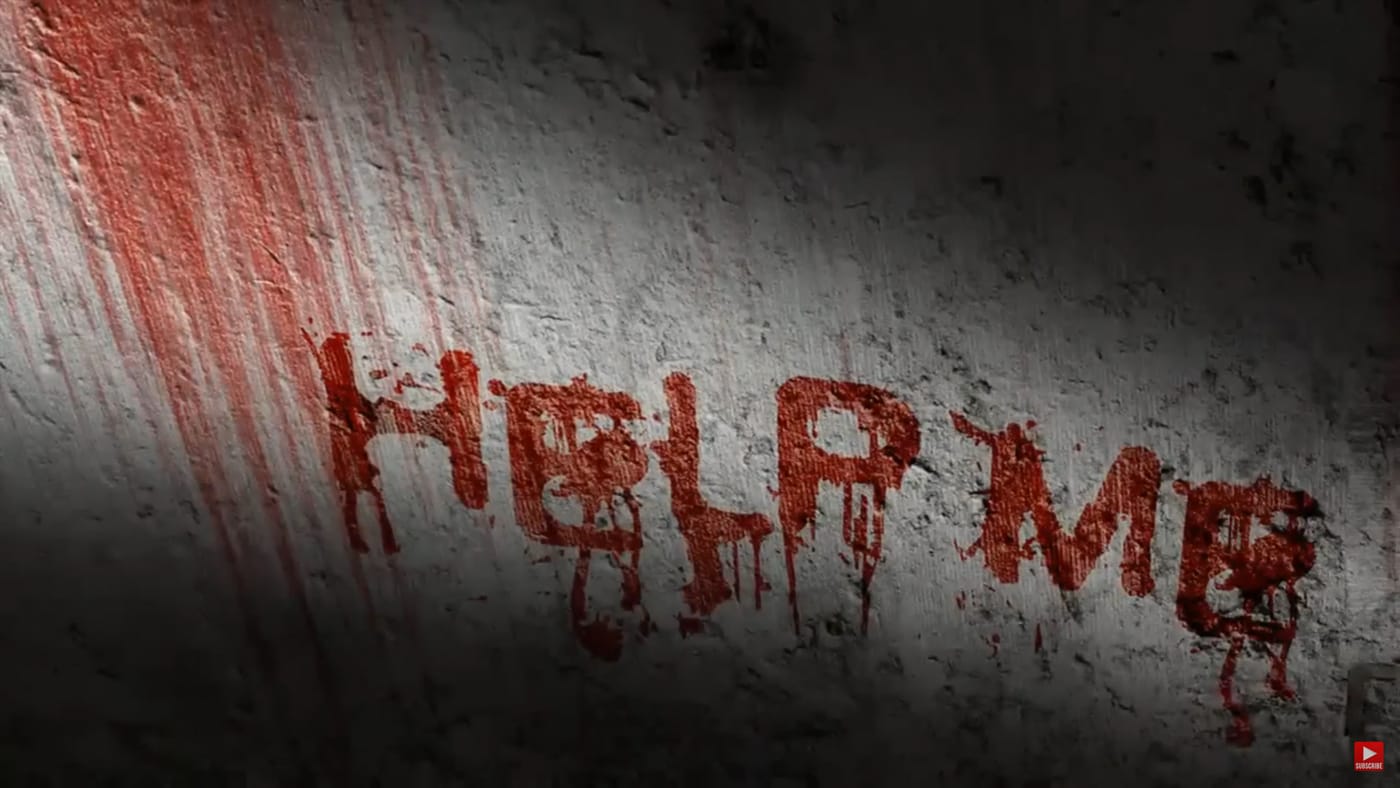
Horror design demands precision and creativity. This Photoshop tutorial transforms an ordinary wall into a chilling backdrop, using texture, color, and strategic layering to craft a terrifying visual experience.

Watch the Tutorial

Video by Blue Lightning. Any links or downloads mentioned by the creator are available only on YouTube

Practical Tips for Horror Wall Design

Master the art of creating haunting wall textures with these key techniques:

  • Use dark red tones with reduced saturation to create a realistic, aged blood effect
  • Leverage Photoshop's fiber and levels filters to generate organic, textured backgrounds
  • Apply blend modes like Color Burn to enhance depth and contrast in your design
  • Experiment with text positioning and rotation to add dynamic visual interest
  • Create atmosphere by adding strategic shadows and light streaks

Explore more dark and creative design techniques across various horror-inspired projects.
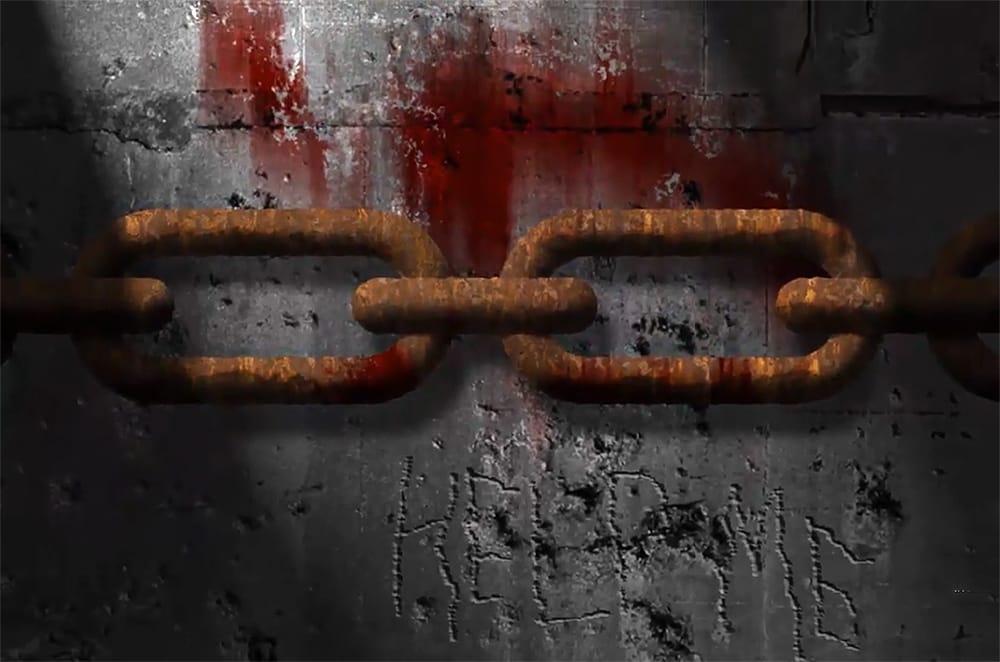
How to Make a Scary Dungeon Wall in Photoshop
Horror and macabre art often rely on textures and effects to convey a sense of decay and dread. One of the most effective elements is the rusted chain, suggesting confinement, age, and neglect. Learning to create this effect can significantly enhance your digital art, lending an authentic and chilling feel to your projects.
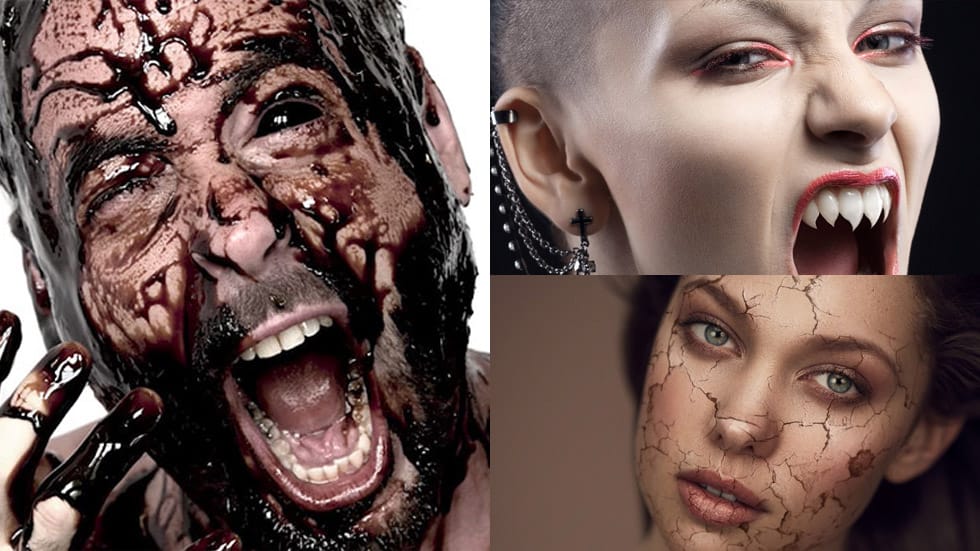
Horror, Blood and Gore Photoshop Effects Tutorials
As a child, I compulsively painted punched eyes, missing teeth, and bloody scars on almost every magazine or newspaper photo I found interesting. Time passed, and while I didn't become a special effects makeup artist, I still enjoy a good horror movie with decent gore and splatter effects.

Thanks for Reading — Want More Like This?

Subscribe to the Photoshop Roadmap newsletter for more expert tutorials and insights delivered directly to your inbox.