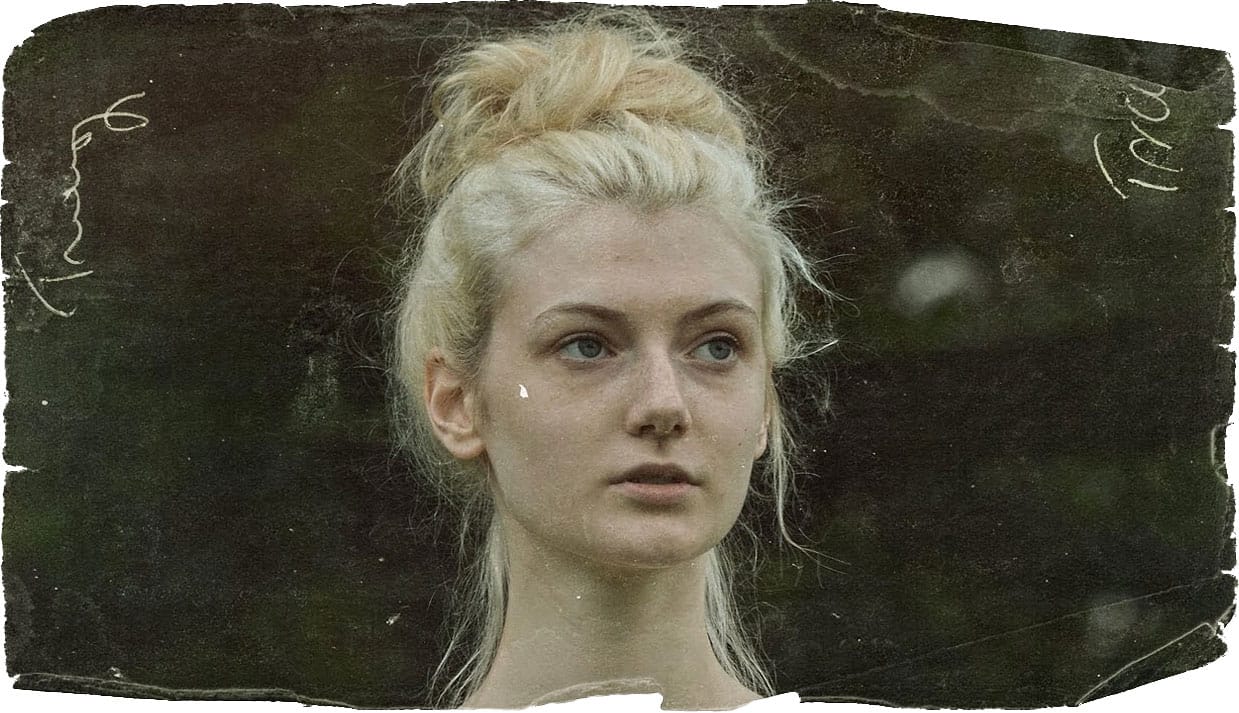
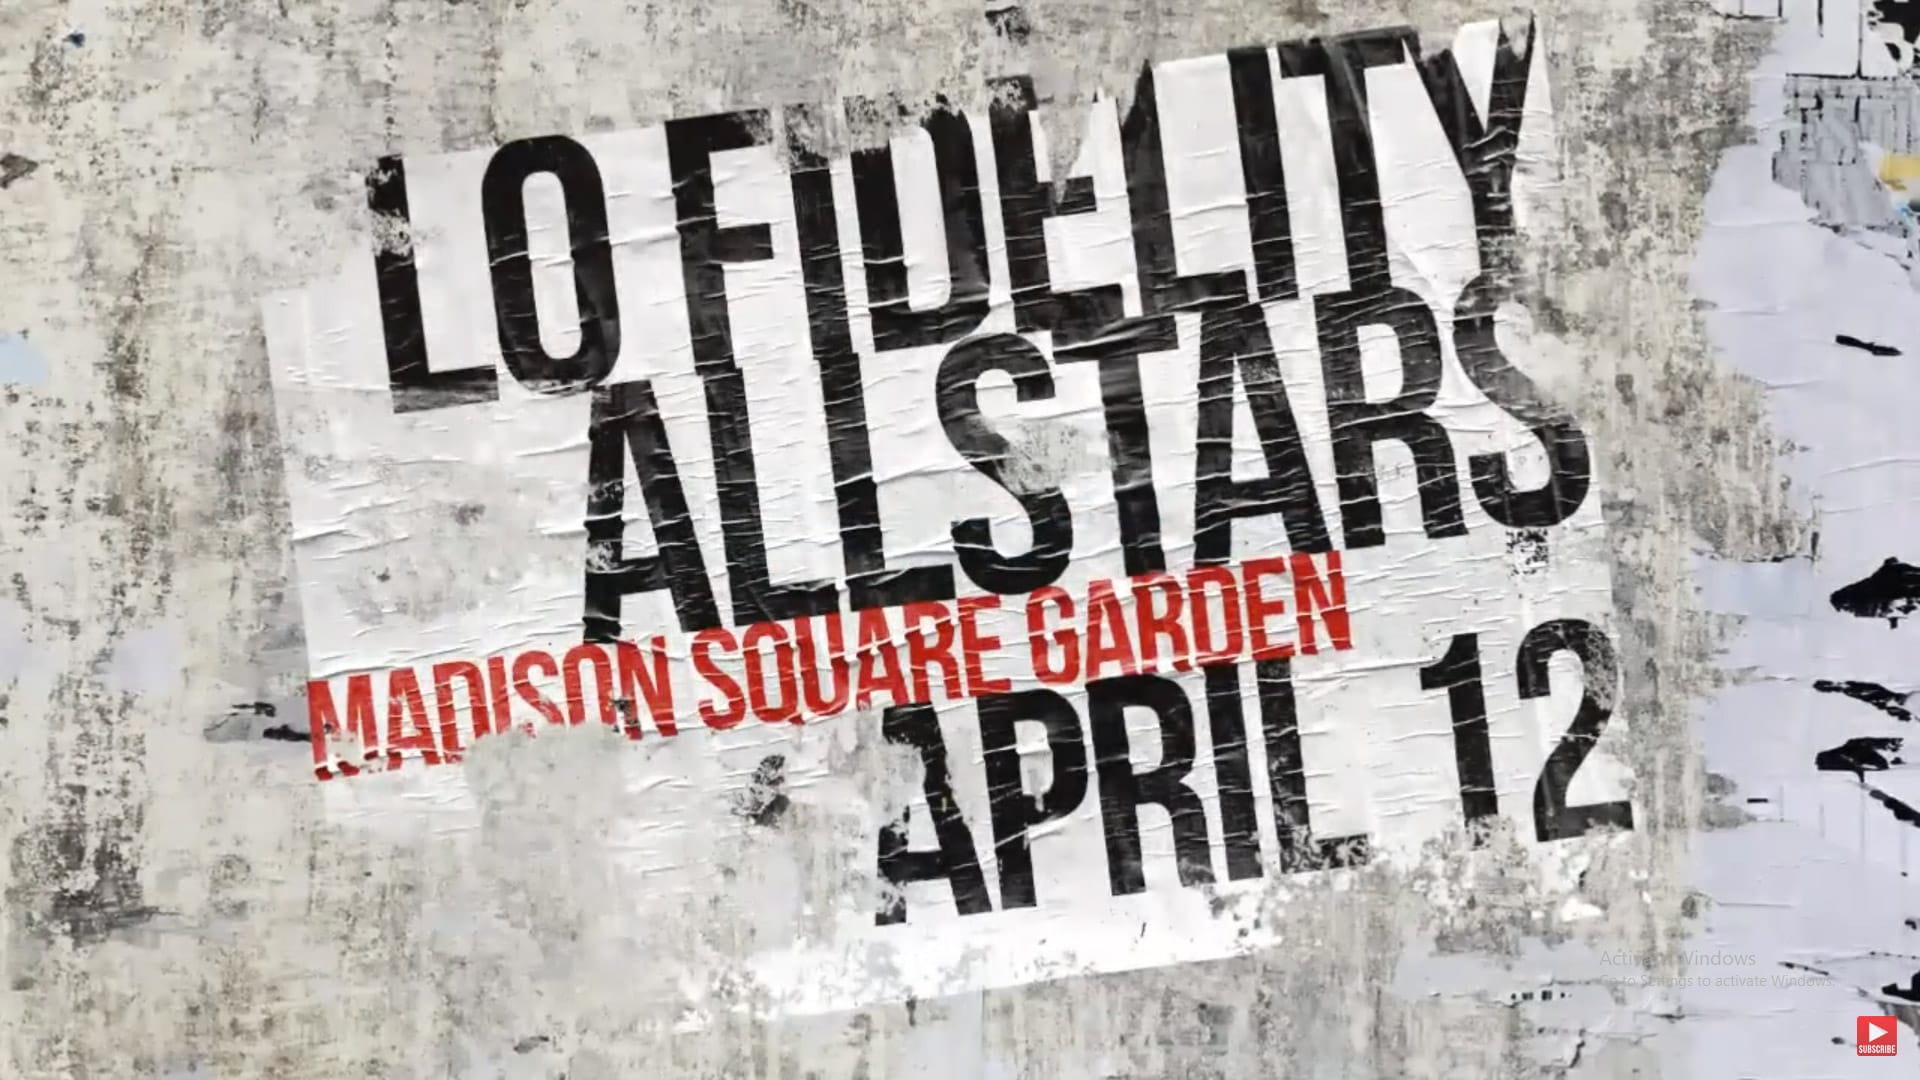
Vintage posters tell a story through their faded colors and torn edges. This weathered aesthetic adds a layer of history and authenticity to any design, transforming a clean graphic into something with tangible grit and character. Achieving this look digitally requires more than just adding a texture; it involves mimicking how paper and ink break down over time. This tutorial guides you through the essential Photoshop techniques, from creating realistic distortions to using grunge brushes, to craft a poster that looks like it has truly withstood the elements.
Watch the Tutorial
Beyond Filters: Crafting Authentic Digital Grunge
Creating a convincing weathered effect in Photoshop is an exercise in controlled chaos. The goal is to replicate the natural decay of physical materials—paper puckering from moisture, ink fading under sunlight, and edges fraying from wear. While pre-made filters can offer a starting point, true authenticity comes from building these imperfections layer by layer. This approach allows for a level of detail and customization that makes the final image feel genuinely aged rather than simply processed.
Two techniques are fundamental to this process: displacement maps and layer masks. A displacement map is a powerful tool that uses the texture of one layer to distort the pixels of another, making text and graphics appear to wrap around the uneven surface of aged paper. Layer masks, when paired with custom grunge brushes, provide a non-destructive way to create rips, tears, and worn spots. This combination allows you to control exactly how the poster "breaks down," revealing the underlying surface for a truly integrated effect.
Practical Tips for Creating a Weathered Poster
- Prepare your displacement map. Before saving your texture as a PSD for the displacement map, apply a slight
Gaussian Blurto smooth out the distortion for a more natural effect. - Group layers before distressing. Place your poster base and text layers into a single folder and apply a layer mask to the folder itself. This allows you to use grunge brushes to "rip" all elements at once.
- Unlink masks for independent movement. Click the chain link icon between a layer and its mask to move the layer content, like text, without shifting the mask's position.
- Use Levels for final contrast. After applying effects, use a
Levelsadjustment (Ctrl/Cmd + L) on the poster base to brighten highlights and deepen midtones, making it stand out from the background.
Related Articles and Tutorials
Explore more ways to create compelling poster designs and vintage effects with these guides.


