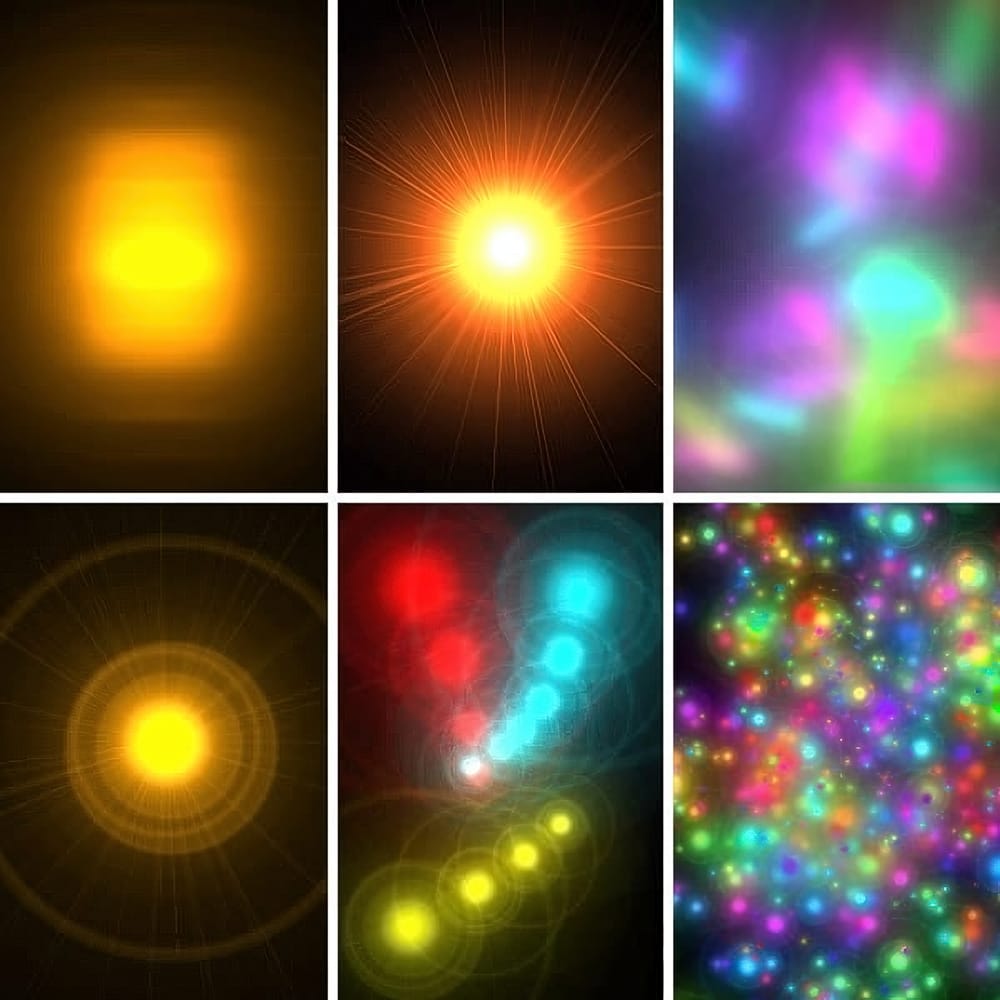
This time, I'll commit myself to tech you a nice illustration technique in a few steps, rather than my usual detailed explanations. This tutorial explains how to create glowing lights brushes using the Lens Flare filter included in the default installation of Adobe Photoshop.
This technique is amazingly simple, but the resulting brushes are so cool that you might find yourself spending your Saturday nights experimenting with brush dynamics and blending settings instead of hanging out with a bunch of bums.
If you can’t wait to start painting, download these glowing lights brushes below. But don’t be lazy—read the tutorial to create your own.
Step One: Create the Base Glowing Light
Create a new 500×500 pixels RGB document and fill the background with black. Go to Filters > Render > Lens Flair… and use the same settings below. It is important that you center the position cross the most accurately you can. Anyway, using different positions may result in other interesting effects.
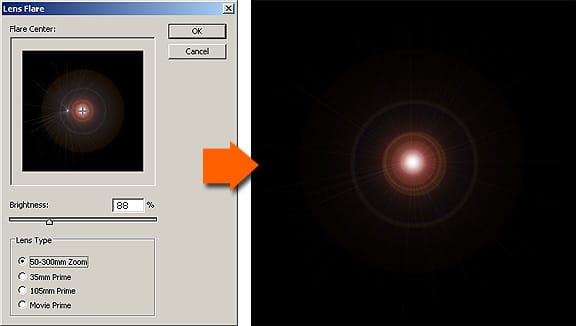
In this example, setting the Brightness = 88% will make the surrounding rings and glow fade to none before reaching the borders of the image. This will allow the final brush to blend smoothly with the background.
Step Two: Invert the image and convert it into a brush tip
Select the image with Select > All and invert the colors using Image > Adjustment > Invert. The result will be the following:
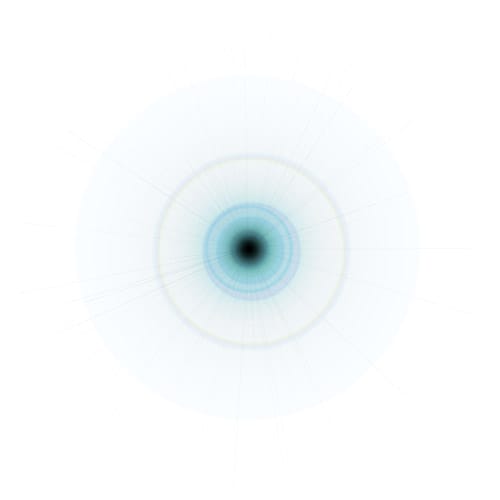
Now select the whole image again and go to Edit > Define Brush Preset. Now your brush has been successfully added to your brushes list.
The following image shows some simple examples of what you can achieve with this brush:
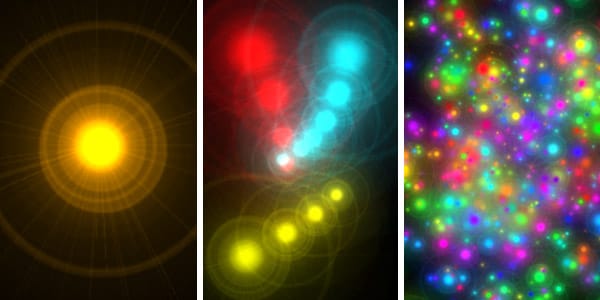
The first and second examples were achieved by superimposing brush clicks with different colors sizes and blending options. The third example was created using different color and shape dynamics. There is nothing new in this. It’s all in the brush tip and your creativity.
Two variations of the same brush
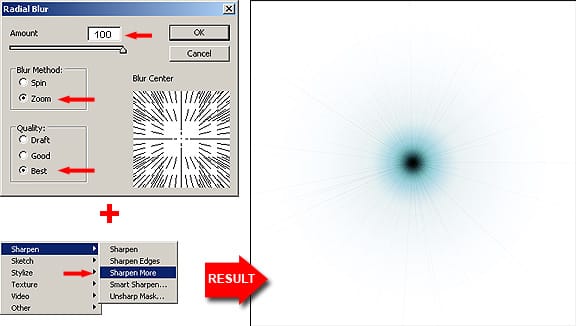
For the first alternative we will apply a Radial blur filter and a Sharpen More filter. The Radial blur will get rid of the most visible halos surrounding the glow. And the Sharpen More filter will increase the visibility of the light rays.
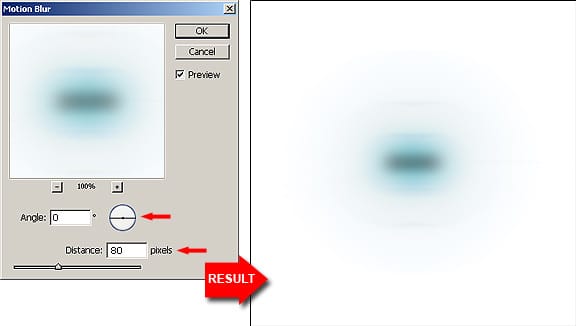
For the second alternative we will just apply a Motion blur filter. This will give the glow a different shape.
The following examples were made with these two new brushes:
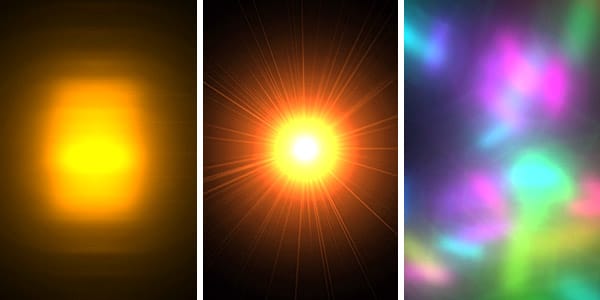
These examples were created the same way than the previous ones. Play with the brush tool blending modes (not with the layer blending modes) and also play with the brush dynamics. These settings can give you a lot of cool effects.

