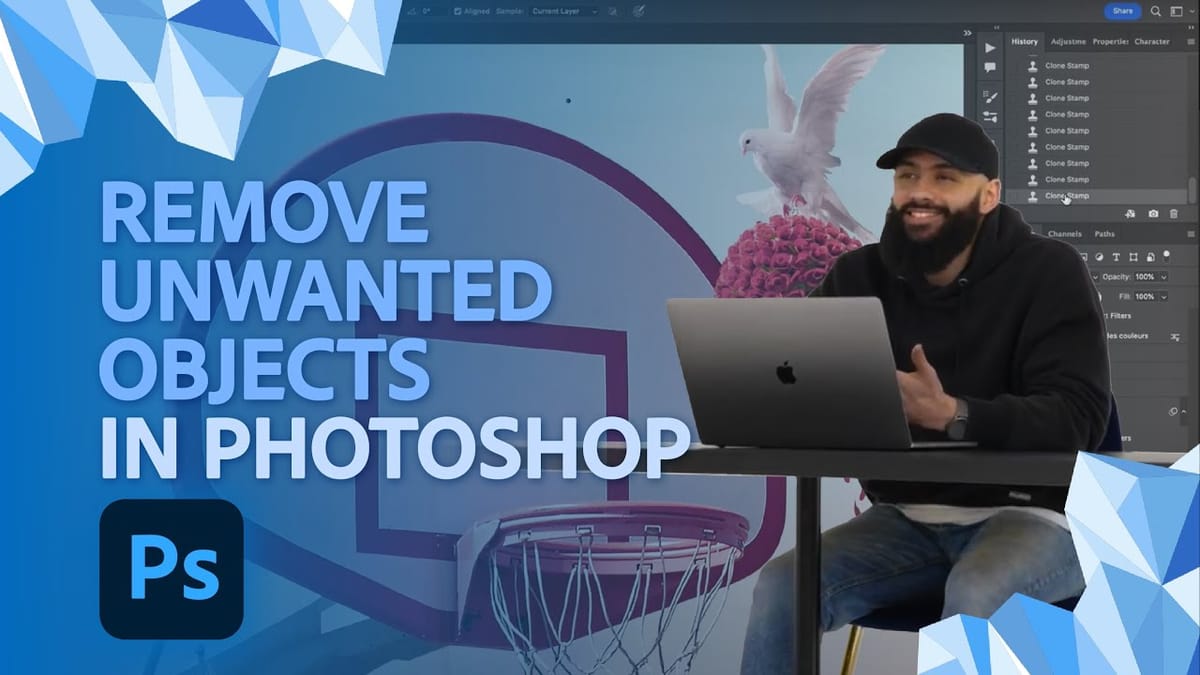
Object removal is a fundamental task in photo editing, but AI-powered tools can sometimes produce unpredictable results. It can be frustrating when a tool designed to remove an object instead replaces it with another unwanted element, disrupting your workflow and requiring extra steps to correct.
This tutorial demonstrates how recent updates to the Remove Tool in Photoshop Beta solve these common issues. You will learn how to access the improved tool, use a new selection-based workflow for more precise control, and understand how this powerful feature now works without consuming your Adobe Generative Credits.
Watch The Tutorial
Any links or downloads mentioned by the creator are available only on YouTube
The Evolution of Smart Object Removal
Photoshop's object removal capabilities have evolved significantly over the years, moving from manual methods like the Clone Stamp to the intelligent automation of Content-Aware Fill.
The introduction of the Remove Tool marked another leap forward, leveraging generative AI to not just sample surrounding pixels but to create entirely new, context-aware content to fill a space. However, this generative power sometimes led to "creative" interpretations, where the AI would invent a new object rather than create a seamless background.
The latest updates in Photoshop Beta represent a refinement of this technology, aiming for greater predictability and user control. By integrating the Remove Tool's engine with traditional selection methods, Adobe is bridging the gap between direct manipulation and AI automation. This hybrid approach offers the best of both worlds:
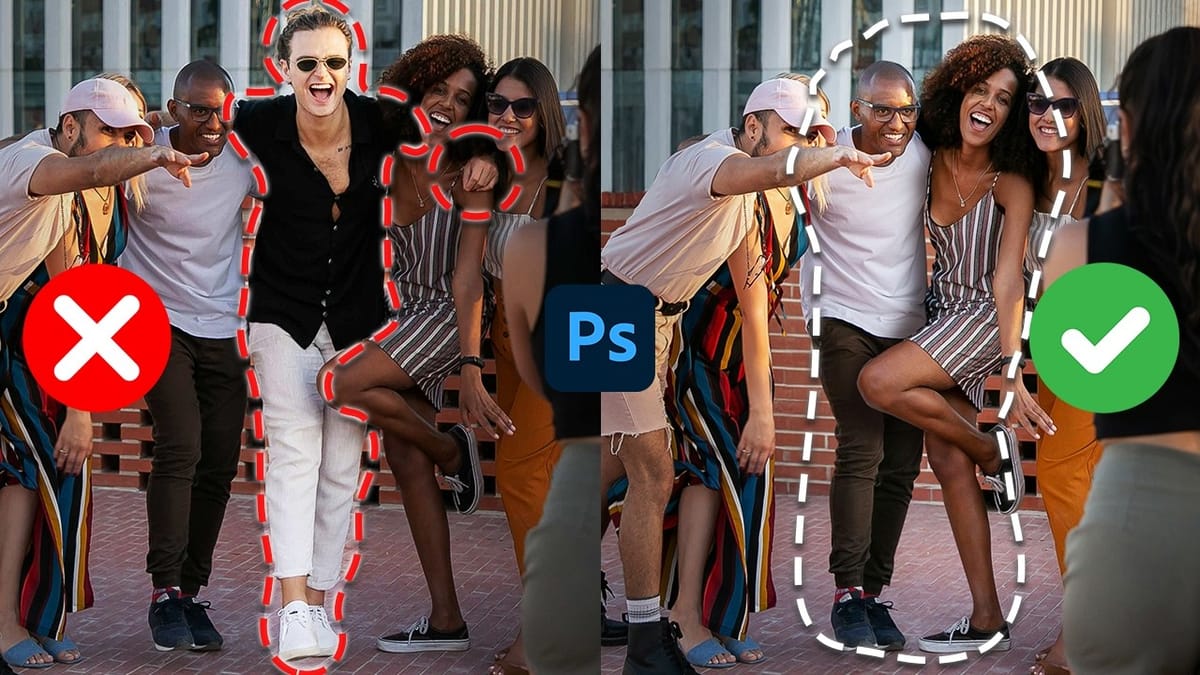
- Precision: Users can define the exact area to be removed using any selection tool.
- Intelligence: The AI handles the complex task of generating a plausible and clean background fill.
This change makes the tool more reliable for professional workflows, where consistency and accuracy are paramount. The further clarification that this process does not use generative credits makes it an accessible, everyday tool rather than a feature to be used sparingly.
Practical Tips for Using the Remove Tool
- Install Photoshop Beta to access the most recent updates. You can find and install it from the "Beta apps" section of the Creative Cloud desktop application.
- Use selections for precise removals. Instead of painting with the Remove Tool, create a selection around your object using a tool like the Object Selection Tool, then click the
Removebutton in the Contextual Taskbar. - Expand your selection slightly before removing the object. Go to
Select > Modify > Expandand add a pixel buffer to give the AI more contextual information for a cleaner result. - Refine any imperfections iteratively. If the initial removal leaves small artifacts, simply paint over them with the Remove Tool or make a new small selection and click
Removeagain. - Take advantage of unlimited use. The Remove Tool, even with its generative capabilities, does not consume Adobe Generative Credits, so you can use it freely on complex images without resource concerns.
Related Articles and Tutorials about Object Removal
Explore these resources to learn more about different object removal techniques and workflows in Photoshop.