Achieving flawless skin in portraits often requires careful retouching to enhance natural beauty without sacrificing detail. This tutorial demonstrates a reliable Photoshop workflow for refining skin texture and addressing common imperfections.
Viewers will discover how to efficiently smooth skin texture, eliminate blemishes and scars, and precisely restore important facial features like eyes and lips, ensuring a natural and polished outcome.
Watch the Tutorial
The Principles of Natural Skin Retouching
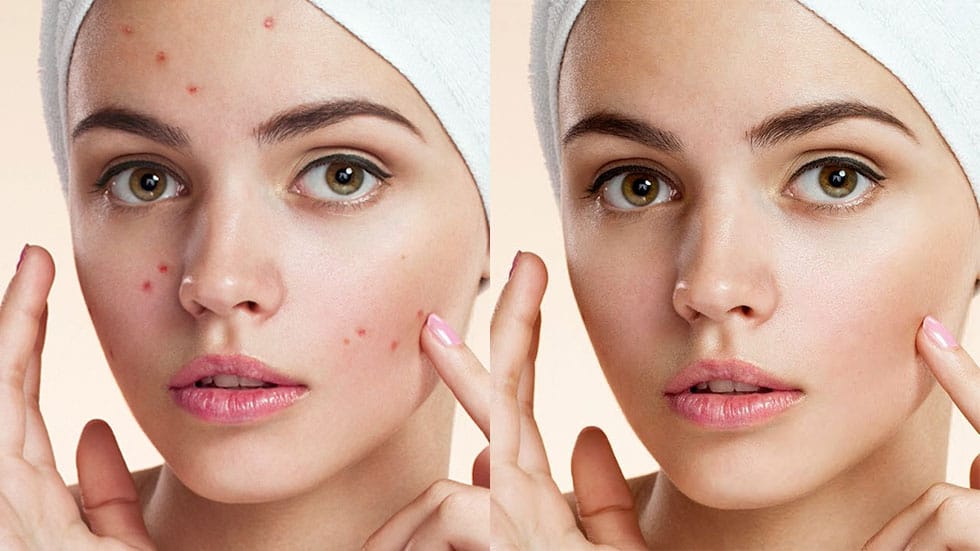
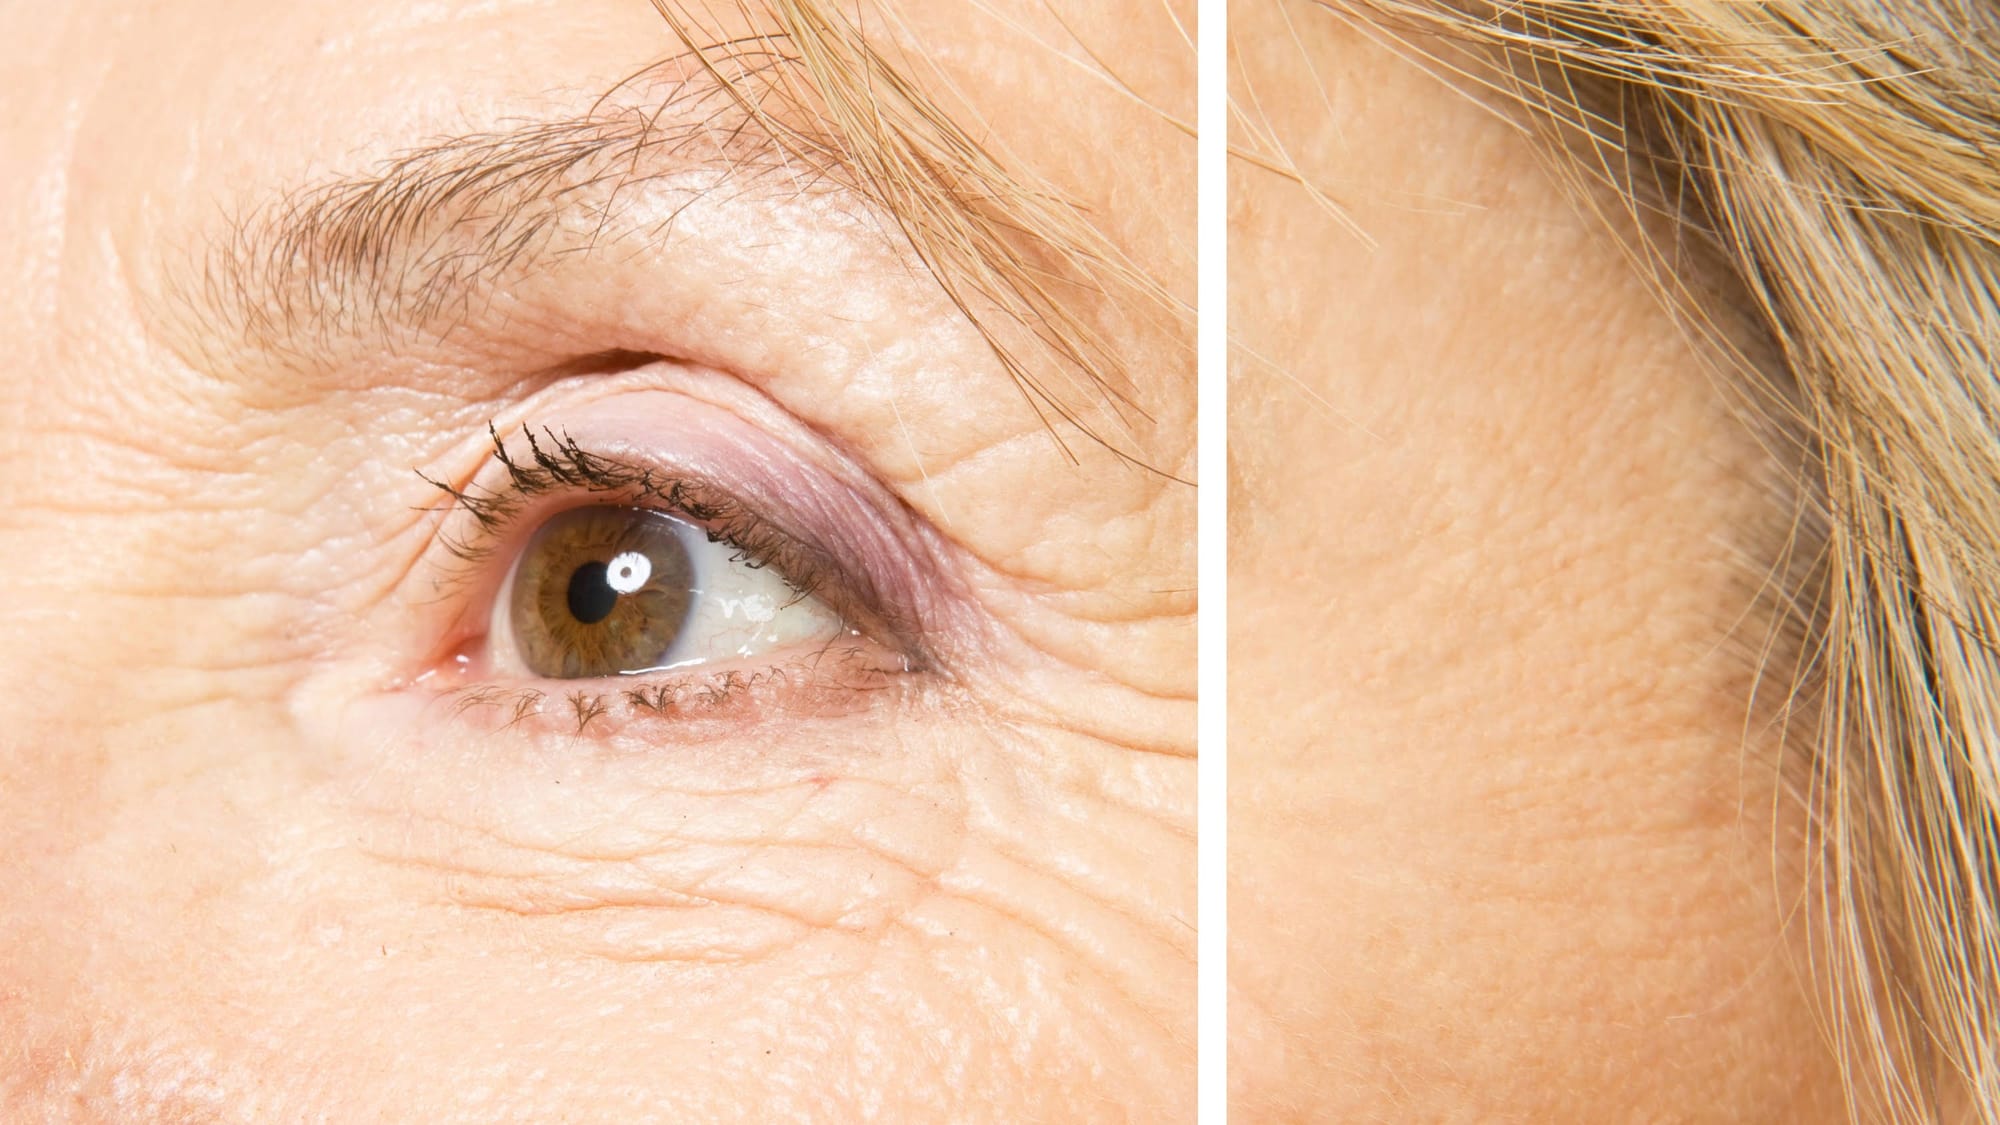
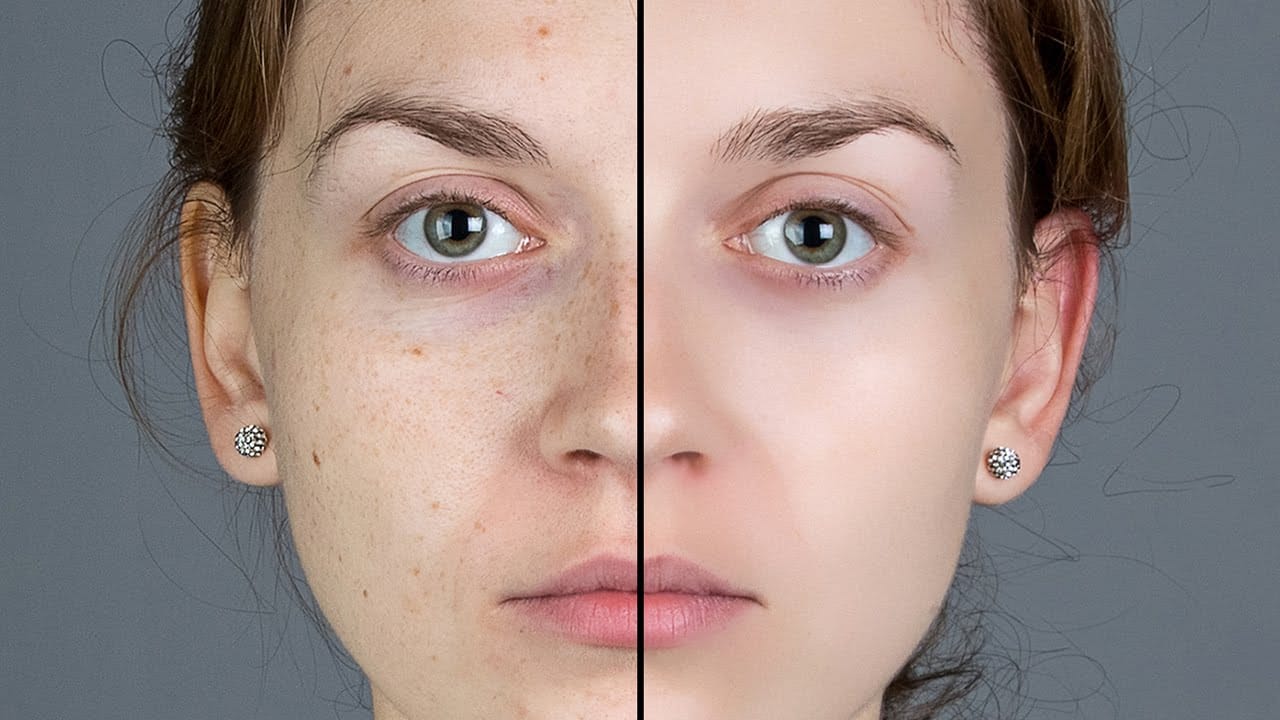
Digital portrait photography often benefits from careful skin retouching to enhance a subject's appearance. The primary goal is to refine skin texture and remove distractions without making the image appear artificial. A key challenge lies in preserving the natural pores and subtle variations that contribute to a realistic look.
Effective skin retouching involves a multi-step process that addresses different types of imperfections. This includes:
- Smoothing out general skin texture.
- Removing specific blemishes, scars, or spots.
- Reintroducing fine detail to areas like eyes and lips.
This approach ensures that while imperfections are minimized, the underlying character and realism of the portrait are maintained. Techniques often combine blurring methods with targeted healing tools to achieve a balanced result. The careful application of these tools allows photographers to selectively refine areas while leaving others untouched, ensuring a professional and believable final image.
Practical Tips for Skin Retouching
- Isolate Skin Accurately: Begin by making a precise selection of the skin using tools like the Quick Selection tool, then refine the edge to include hair overlaps, outputting to a "New Layer with Layer Mask" for non-destructive editing.
- Apply Surface Blur Strategically: Use the Surface Blur filter to smooth the skin, carefully adjusting the Radius and Threshold values to hide most blemishes while retaining some underlying texture.
- Restore Key Facial Features: Utilize the Layer Mask with a soft black brush (0% Hardness) to reveal original details on areas like eyes, eyebrows, and lips, preventing a blurred or unnatural appearance.
- Refine Remaining Imperfections: Employ the Spot Healing Brush with "Content Aware" active to easily remove any lingering blemishes, scars, or spots by simply brushing over them.
- Reintroduce Natural Grain: Finish by adding noise (Gaussian, Monochromatic) to the retouched skin layer, matching the original image's grain to ensure a cohesive and natural texture.
Related Articles and Tutorials about Photoshop Skin Retouching
Explore additional resources to further enhance your skills in refining portraits and managing digital image imperfections.


