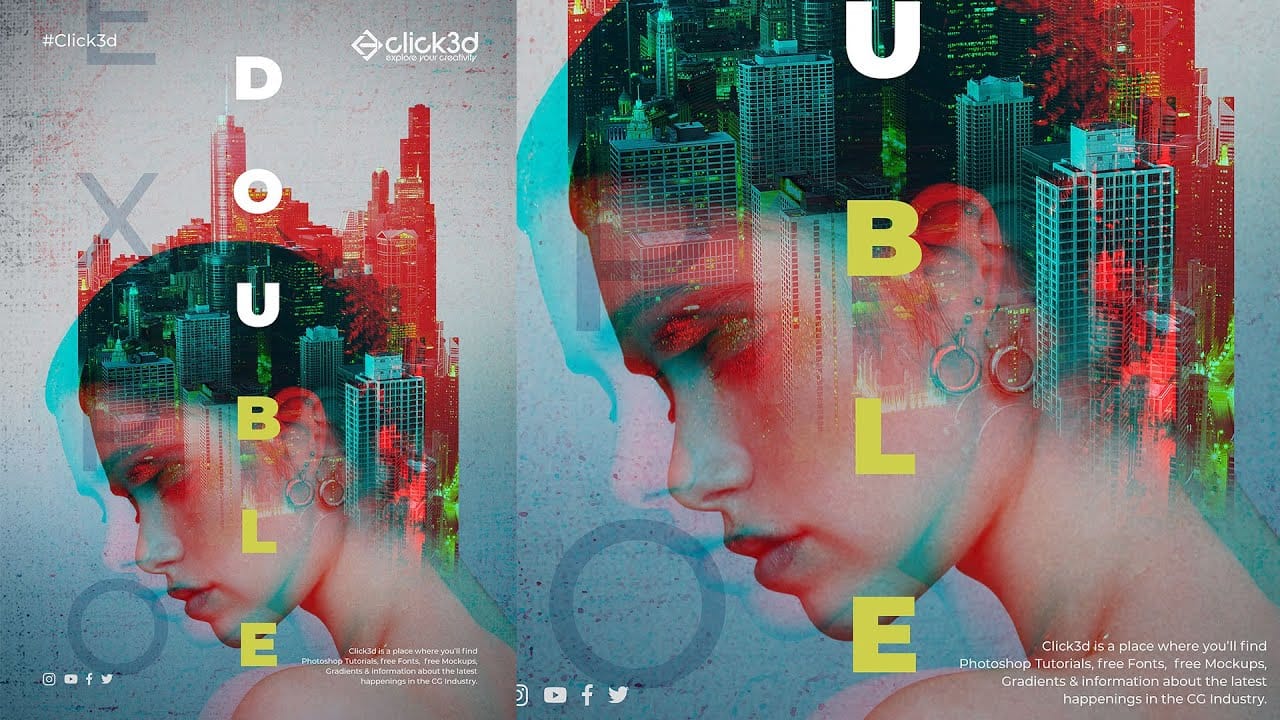
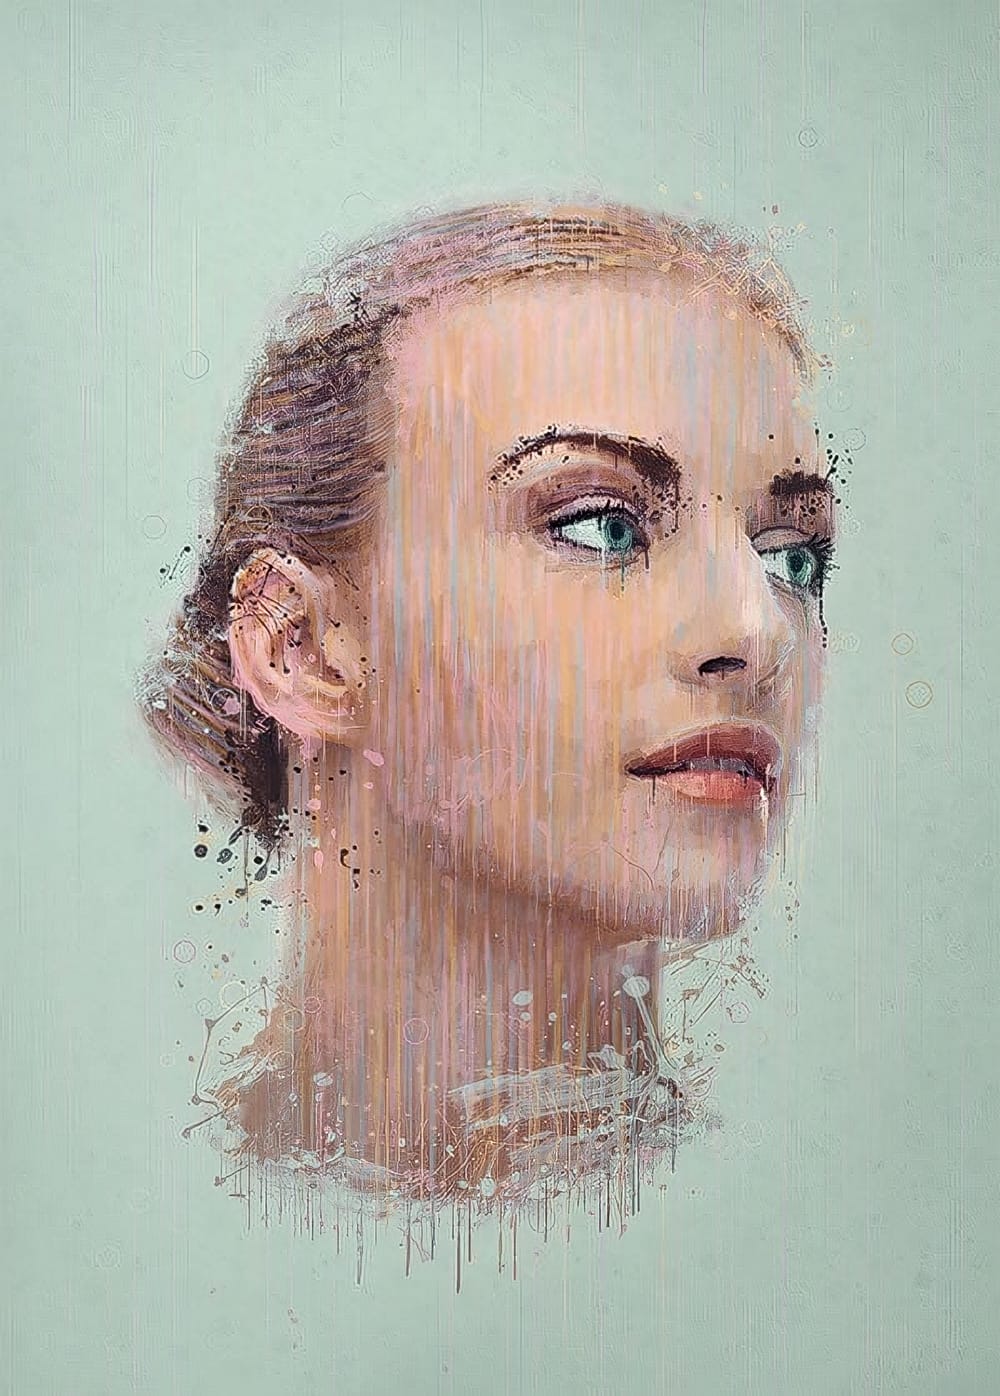
Glitch art has emerged as a distinctive aesthetic in the digital age, rooted in the unexpected visual outcomes of digital errors. This art form transforms technical malfunctions into deliberate creative expressions, offering a unique visual language.
This tutorial explores how to simulate this captivating effect from a standard photograph in Photoshop, guiding you through the essential steps to transform your images into compelling glitch art pieces.
Watch the Video
The Digital Aesthetic of Glitch Effects
Glitch art, a relatively new art form, draws its inspiration from the accidental visual distortions that occur in digital media. What began as an unintended consequence of technical malfunctions—like corrupted data or signal interference—has been embraced and intentionally replicated by artists to create unique and striking visuals.
This aesthetic resonates deeply within contemporary digital culture, reflecting our increasing interaction with technology and its inherent imperfections. By deliberately introducing elements of disruption, artists can comment on the fragility of digital information or simply explore new visual possibilities that defy traditional artistic norms.
The visual characteristics of glitch art often include:
- Pixelation and fragmentation
- Unexpected color shifts and banding
- Geometric anomalies and distortions
These elements collectively contribute to a sense of digital decay or controlled chaos, making each piece distinctively dynamic.
Practical Tips for Creating Glitch Art Effects
- Apply the Filter > Pixelate > Fragment effect, then repeat it using Ctrl/Cmd + F to intensify the initial pixelation.
- Use a Hue/Saturation adjustment layer with the "Colorize" option checked to introduce a specific color tint to your glitch effect.
- Utilize the Filter > Distort > Shear tool to introduce controlled, wavy distortions, remembering that holding Alt/Option allows you to undo the last point.
- Create horizontal bar effects by filling a new layer with 50% gray, applying Filter Gallery > Sketch > Halftone Pattern (Pattern Type: Line), and then making a layer mask from Select > Color Range > Highlights.
- Soften or reveal parts of your distorted layers by painting on their layer masks with a black brush to hide and a white brush to reveal, adjusting opacity for blending.
More Tutorials about Glitch and Photo Effects
Explore additional Photoshop tutorials to enhance your skills in creating unique photo manipulations and artistic effects.