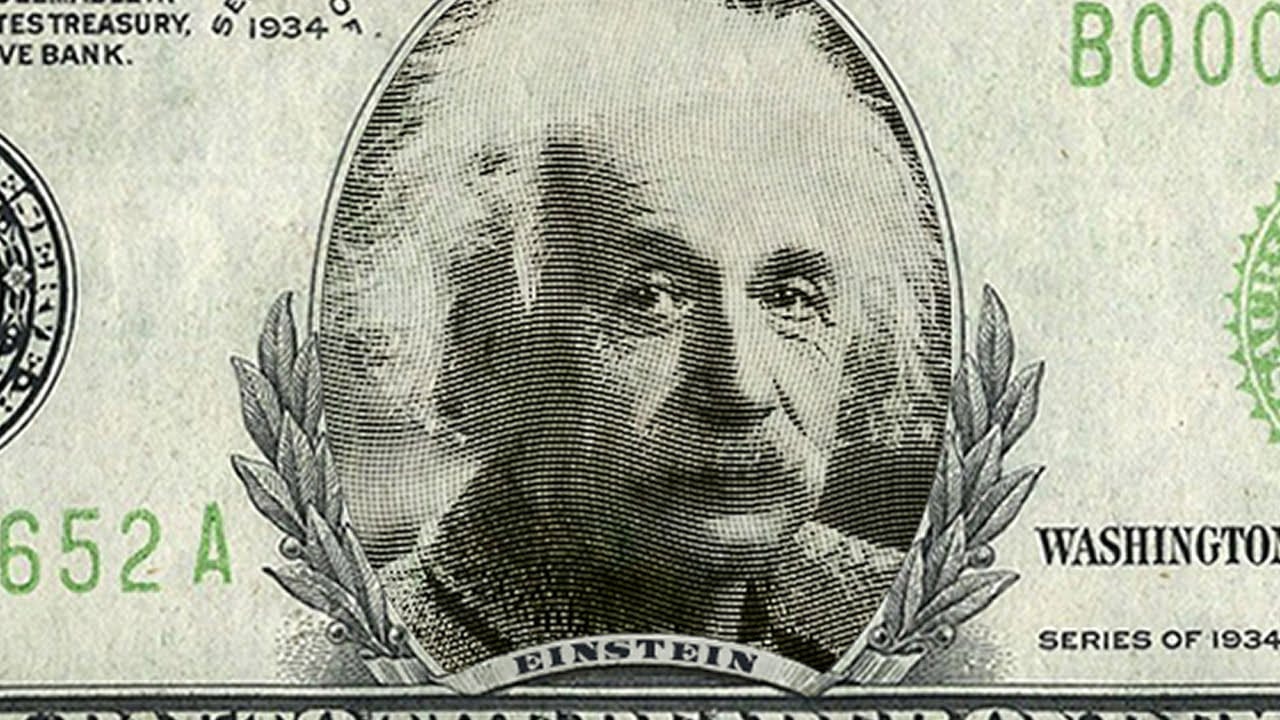
This tutorial explores the intricate process of digitally placing a portrait onto a paper money template. It delves into transforming standard photographs into a style reminiscent of traditional steel engravings.
Viewers will discover techniques to convert a photo into a realistic engraved look, seamlessly blend it with a currency design, and add customized text, enhancing the illusion of authenticity and detail.
Watch the Video
Replicating Engraving Effects for Photo Manipulation
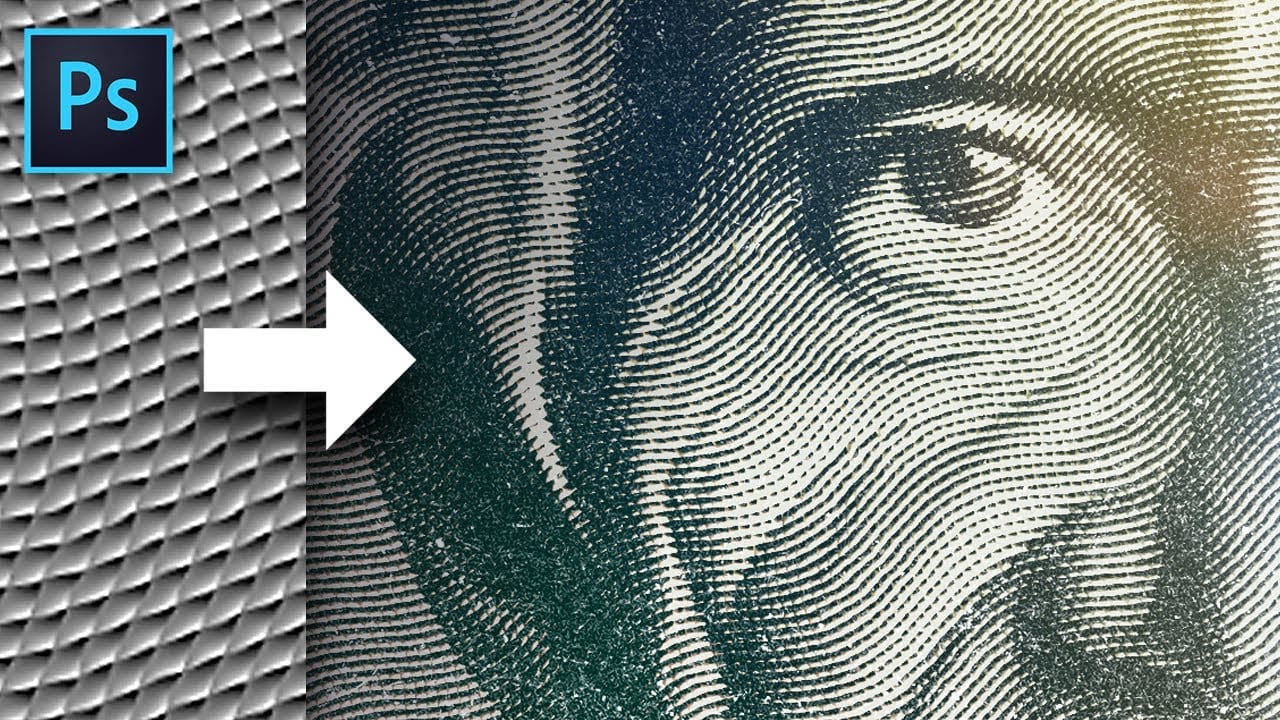
Creating the distinctive look of an engraved portrait, often seen on currency, involves replicating a complex interplay of lines and tones. Traditional steel engraving relies on intricate patterns of parallel and cross-hatched lines to build up shading and detail, giving images a unique texture and depth.
In digital photo manipulation, this effect is achieved by generating specific line patterns and applying them strategically over an image. Key steps include desaturating the source image, adjusting its contrast, and then overlaying it with a patterned texture that simulates the fine lines of an engraving. Proper blending modes and tonal adjustments are crucial for integrating the portrait seamlessly into its new background.
The goal is not just to place an image but to transform its visual characteristics to match the aesthetic of the medium it's being placed upon. This technique extends beyond currency, offering creative possibilities for vintage-style graphics, certificate designs, or artistic photo treatments.
Practical Tips for Engraved Portrait Effects
- Prepare your photo by desaturating it (
Ctrl/Cmd + Shift + U) and applying auto-tone (Ctrl/Cmd + Shift + L) to establish an optimal base for the engraving effect. - Generate the core engraving texture by creating a new document filled with 50% grey, then applying the Halftone Pattern (Line) and Wave filters.
- Utilize Overlay and Linear Burn blend modes for the pattern and composite image, respectively, to achieve realistic integration into the currency template.
- Create a precise layer mask from a channel selection to accurately fit the portrait into the designated shape on the template.
- Refine the portrait's dark areas using an Exposure adjustment layer with Gamma Correction, clipped to the face layer, to ensure its tones harmonize with the money's background.
More Tutorials about Engraving and Face Manipulation
Explore additional techniques for creating engraved effects and manipulating faces in Photoshop with these related resources.


