Photoshop: How to Create Coffee Latte Art

Photoshop: How to Create Coffee Latte Art

Digital artists and designers often seek innovative ways to integrate custom elements into everyday scenes, adding a personalized touch or a unique branding opportunity. One such creative application involves transforming ordinary beverages into canvases for artistic expression, like crafting intricate designs on the frothy surface of a latte. This technique not only enhances visual appeal but also demonstrates a mastery of digital manipulation that can elevate various design projects.

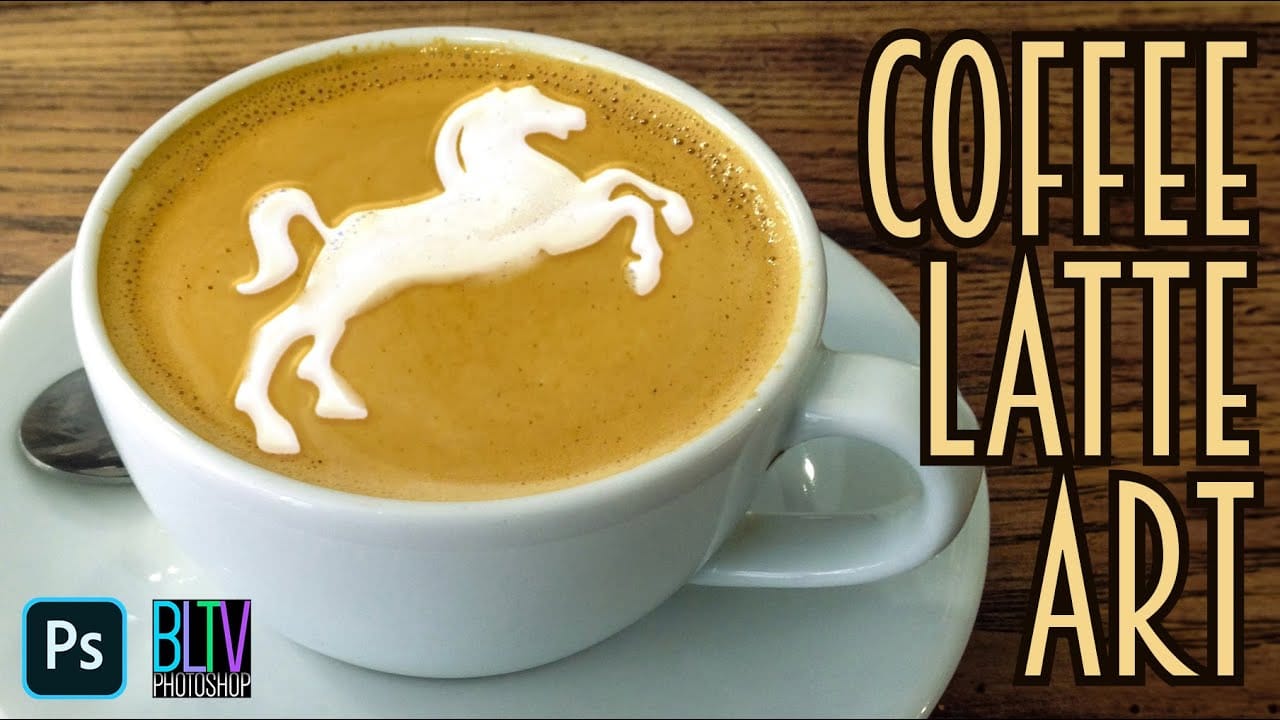
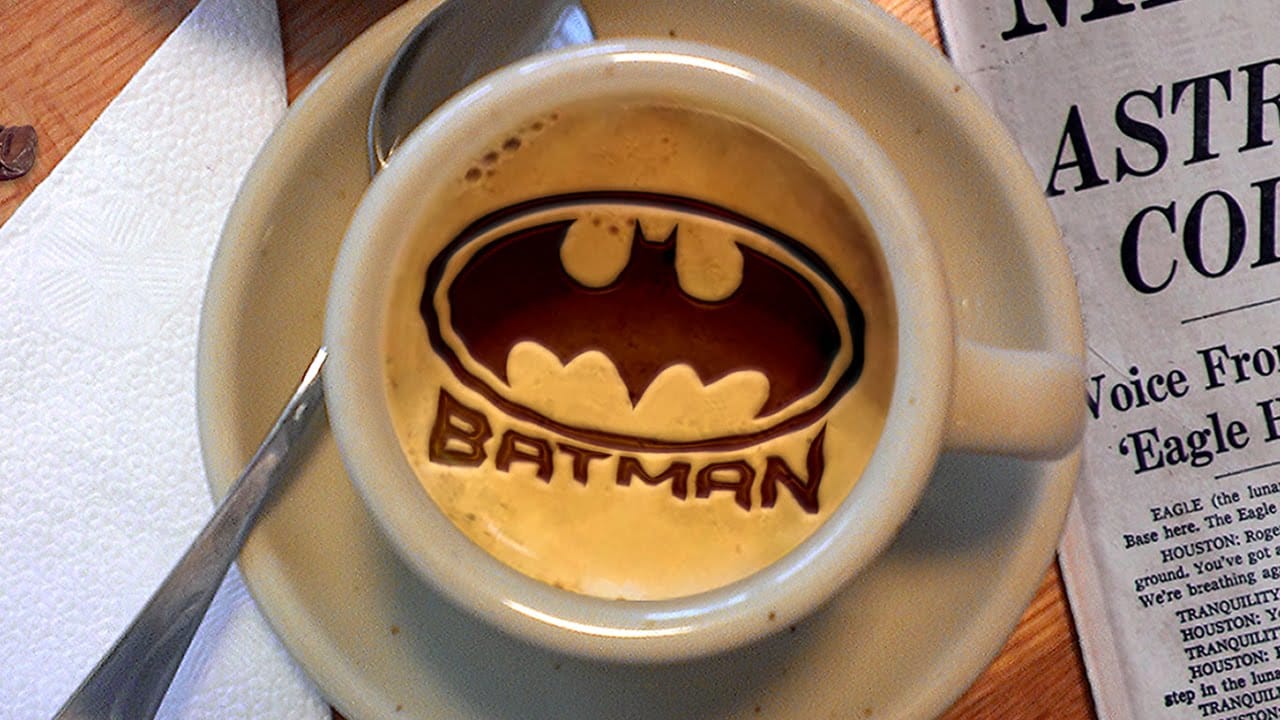
This video tutorial provides a comprehensive guide on how to create realistic coffee latte art in Photoshop. You will learn to convert any graphic, logo, or text into a stylized design, seamlessly integrating it onto a coffee cup image with convincing depth, texture, and natural imperfections.

Watch the Latte Art Tutorial

Video by Blue Lightning. Any links or downloads mentioned by the creator are available only on YouTube

Simulating Surface Texture and Depth in Digital Art

Replicating real-world textures and depth within a two-dimensional digital environment is a fundamental skill in advanced Photoshop work. When creating an effect like latte art, the challenge lies in making a flat graphic appear as if it's naturally conforming to a curved, textured surface, interacting with light and shadow in a believable way. This involves more than just placing one image on top of another; it requires a nuanced understanding of perspective, blending, and surface properties.

Achieving this realism often relies on a combination of techniques that mimic how light behaves on different materials. For instance, using filters to soften edges can simulate the organic flow of foamed milk, while specific layer styles can add highlights and shadows that give the impression of three-dimensional relief. The final touches, like adding subtle imperfections or air bubbles, contribute significantly to the overall believability, transforming a simple graphic into an integral part of the scene.

Practical Tips for Crafting Digital Latte Art

  • Convert your graphic into a Smart Object early to enable non-destructive modifications and easy graphic replacement without redoing effects.
  • Precisely adjust the size, perspective, and rotation of your graphic using the Transform Tool (Ctrl/Cmd + T) to match the curvature of the coffee cup.
  • Utilize Gaussian Blur and Threshold filters in combination to effectively round out sharp corners and edges, mimicking the soft nature of foamed milk.
  • Apply various Layer Styles like Color Overlay, Satin, and Bevel & Emboss to give your latte art realistic color, sheen, and embossed depth.
  • Refine the texture and add subtle details such as air bubbles by using the Patch Tool in "Normal" mode, blending external textures into your design.

More Tutorials about Photoshop Effects

Explore additional Photoshop tutorials to expand your digital art and design skills.
Create Latte Art in Photoshop
In this Photoshop tutorial by Blue Lightning TV, you'll learn how to create latte art by adding your own chocolate syrup designs to the foamy top of a Caffè Mocha. The tutorial explains that any image can be used, and it shows you how to process the image to make it suitable for use as latte art. Marty guides you through the step-by-step process of converting your chosen image into a stencil-like design and seamlessly integrating it into the frothy surface of the coffee. You'll learn various te
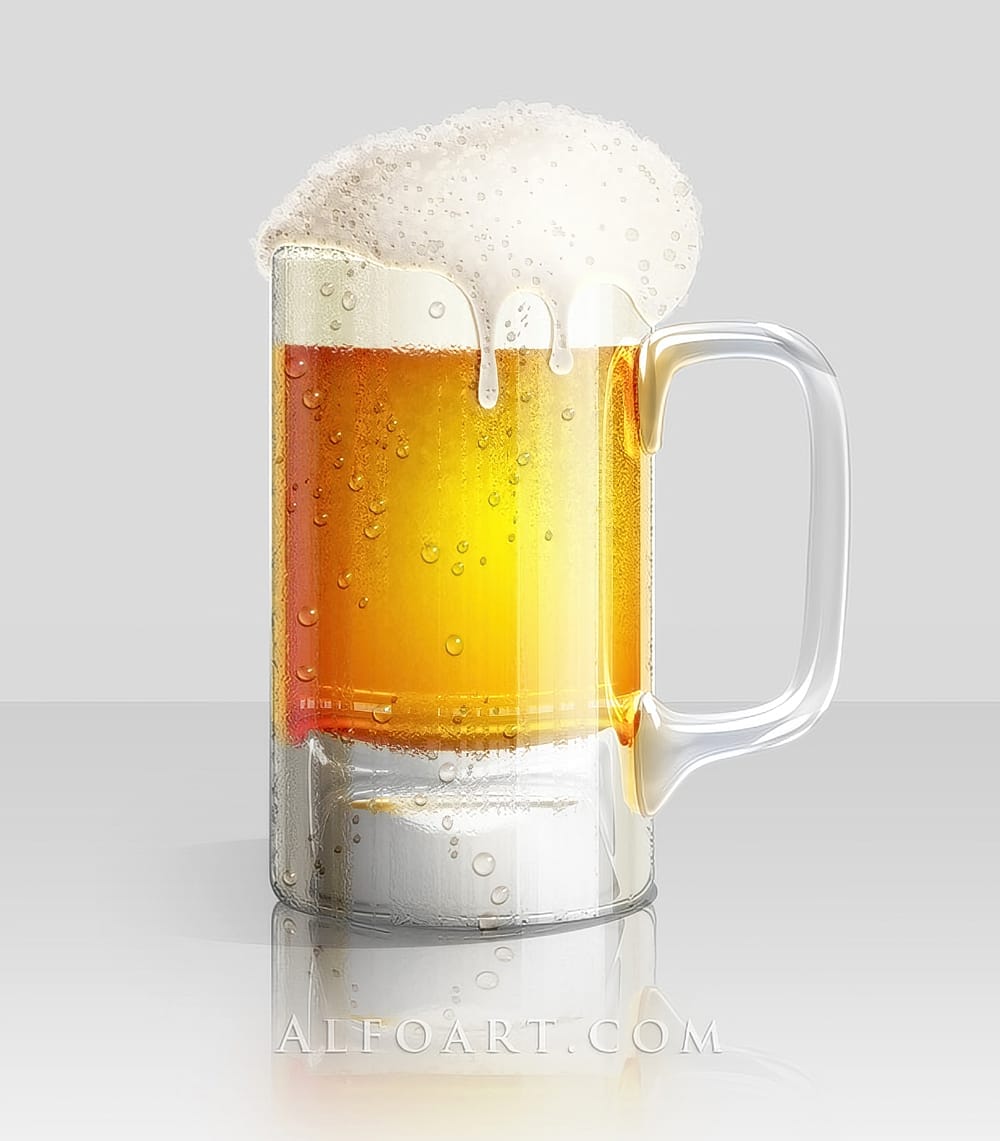
Create a Cold Beer Illustration in Photoshop
Alexandra Fomicheva, talented artist from AlfoArt, is here to guide you through a Photoshop tutorial. In this step-by-step process, she will teach you how to create a realistic, glossy, and cold beer illustration. The focus will be on adding condensation drops to the beer glass, resulting in a visually captivating image. Throughout the tutorial, Fomicheva will share her expertise, breaking down the technique into easy-to-follow steps. You'll learn how to achieve the desired effects, from the sh
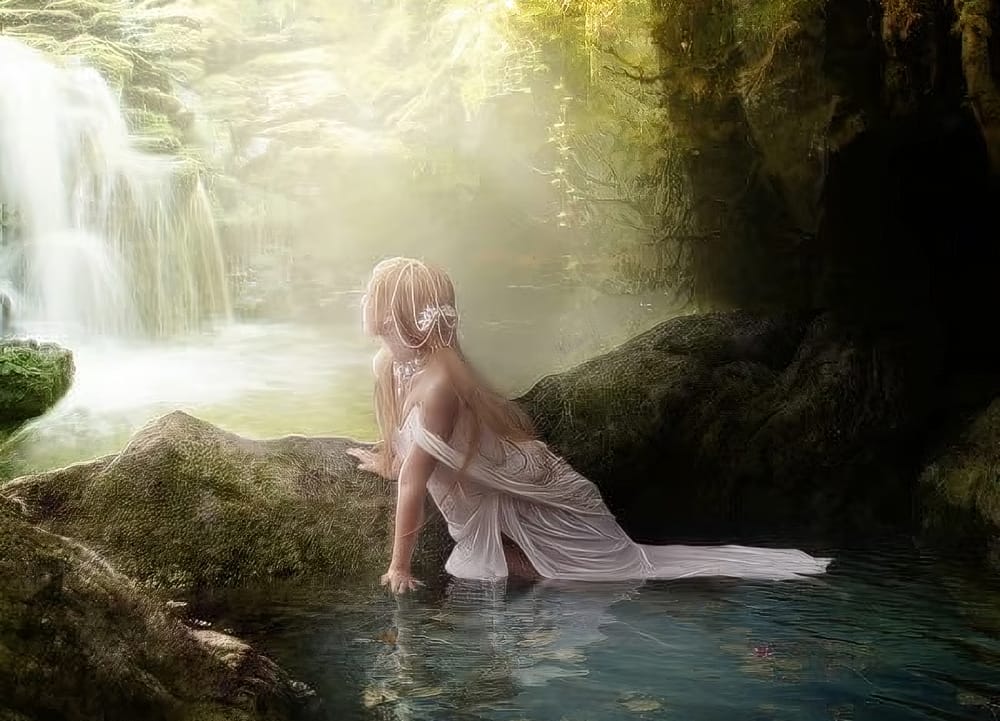
Create a Fantasy Photo Manipulation in Photoshop
This tutorial focuses on creating a stunning fantasy photo manipulation in Photoshop. It guides you through the process of combining various stock photos and artworks to achieve your desired effect. You will learn techniques for applying a soft photo effect that adds an ethereal touch to your composition. The tutorial also covers how to add realistic moss to rocks, bringing an organic feel to the environment. Moreover, you’ll discover how to enhance a pool of water by introducing water lilies,
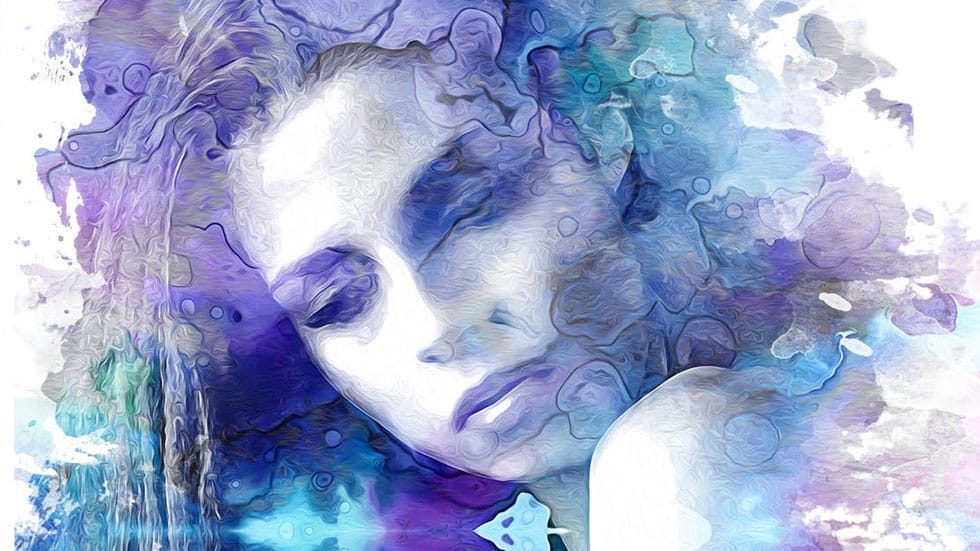
Beautiful watercolor portrait effect in Photoshop
This video explores the artistic technique of adding watercolor textures to photographs. Learn how to seamlessly overlay a watercolor texture onto your image, creating a beautiful painterly effect. You'll discover methods for adjusting the texture's opacity and blending modes for a natural, watercolor-like finish. This tutorial is a great way to add a touch of artistic flair to your photography projects. Watch tutorial

Get tutorials & freebies delivered to you.

Subscribe to the Photoshop Roadmap newsletter, a weekly roundup of new tutorials, insights and quality downloads, trusted by 6500+ readers.

You might also like

Complete Photoshop Editing Workflow: 5 Steps from Raw to Polished

Photoshop offers endless possibilities for photo enhancement, but many photographers never move beyond basic adjustments because the software feels overwhelming. This comprehensive workflow breaks down photo editing into five manageable stages that work consistently across different photography styles. The systematic approach covers everything from initial raw processing to advanced lighting...

Photoshop Workspace Basics: Navigation, Zooming, and Essential Interface Elements

Photoshop's interface can feel overwhelming when you first open the program. Dozens of panels, tools, and menus compete for attention, making simple tasks feel complicated. This tutorial breaks down the essential workspace elements and teaches fundamental navigation skills that form the foundation of efficient Photoshop work. Watch the...

How to Restore Old Damaged Photos Using Nano Banana in Photoshop

Old family photos with scratches, tears, and missing sections can seem beyond repair. Google's Nano Banana AI model, now integrated into Photoshop, makes full restoration possible in minutes rather than hours. This powerful tool excels at maintaining facial characteristics while automatically filling in damaged areas and adding realistic...

How to Get Higher Quality Results from Photoshop's Generative Fill Tool

Photoshop's Generative Fill creates impressive AI extensions, but the results often look blurry and pixelated when viewed at full size. This quality limitation makes many AI-generated areas unusable for printing or large displays. This technique shows how to work around the 1024x1024 pixel quality limit to create much...

How to Use Photoshop's Liquify Tool for Non-Destructive Portrait Retouching

Clothing wrinkles, hair that lacks volume, and awkward fabric bunching can distract from an otherwise great portrait. Photoshop's Liquify tool offers a powerful solution for smoothing out these issues while preserving the natural look of your subject. This tutorial demonstrates how to use the Liquify tool non-destructively with...

You’ve successfully subscribed to Photoshop Roadmap
Welcome back! You’ve successfully signed in.
Great! You’ve successfully signed up.
Success! Your email is updated.
Your link has expired
Success! Check your email for magic link to sign-in.