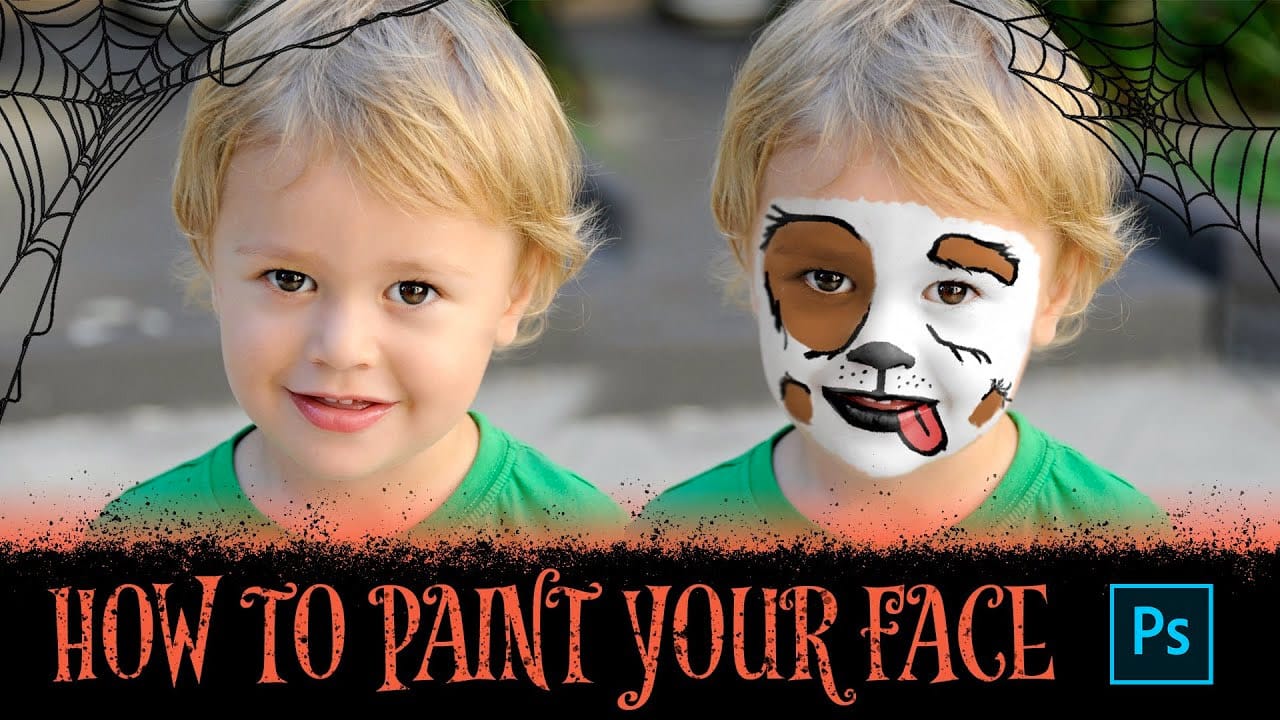
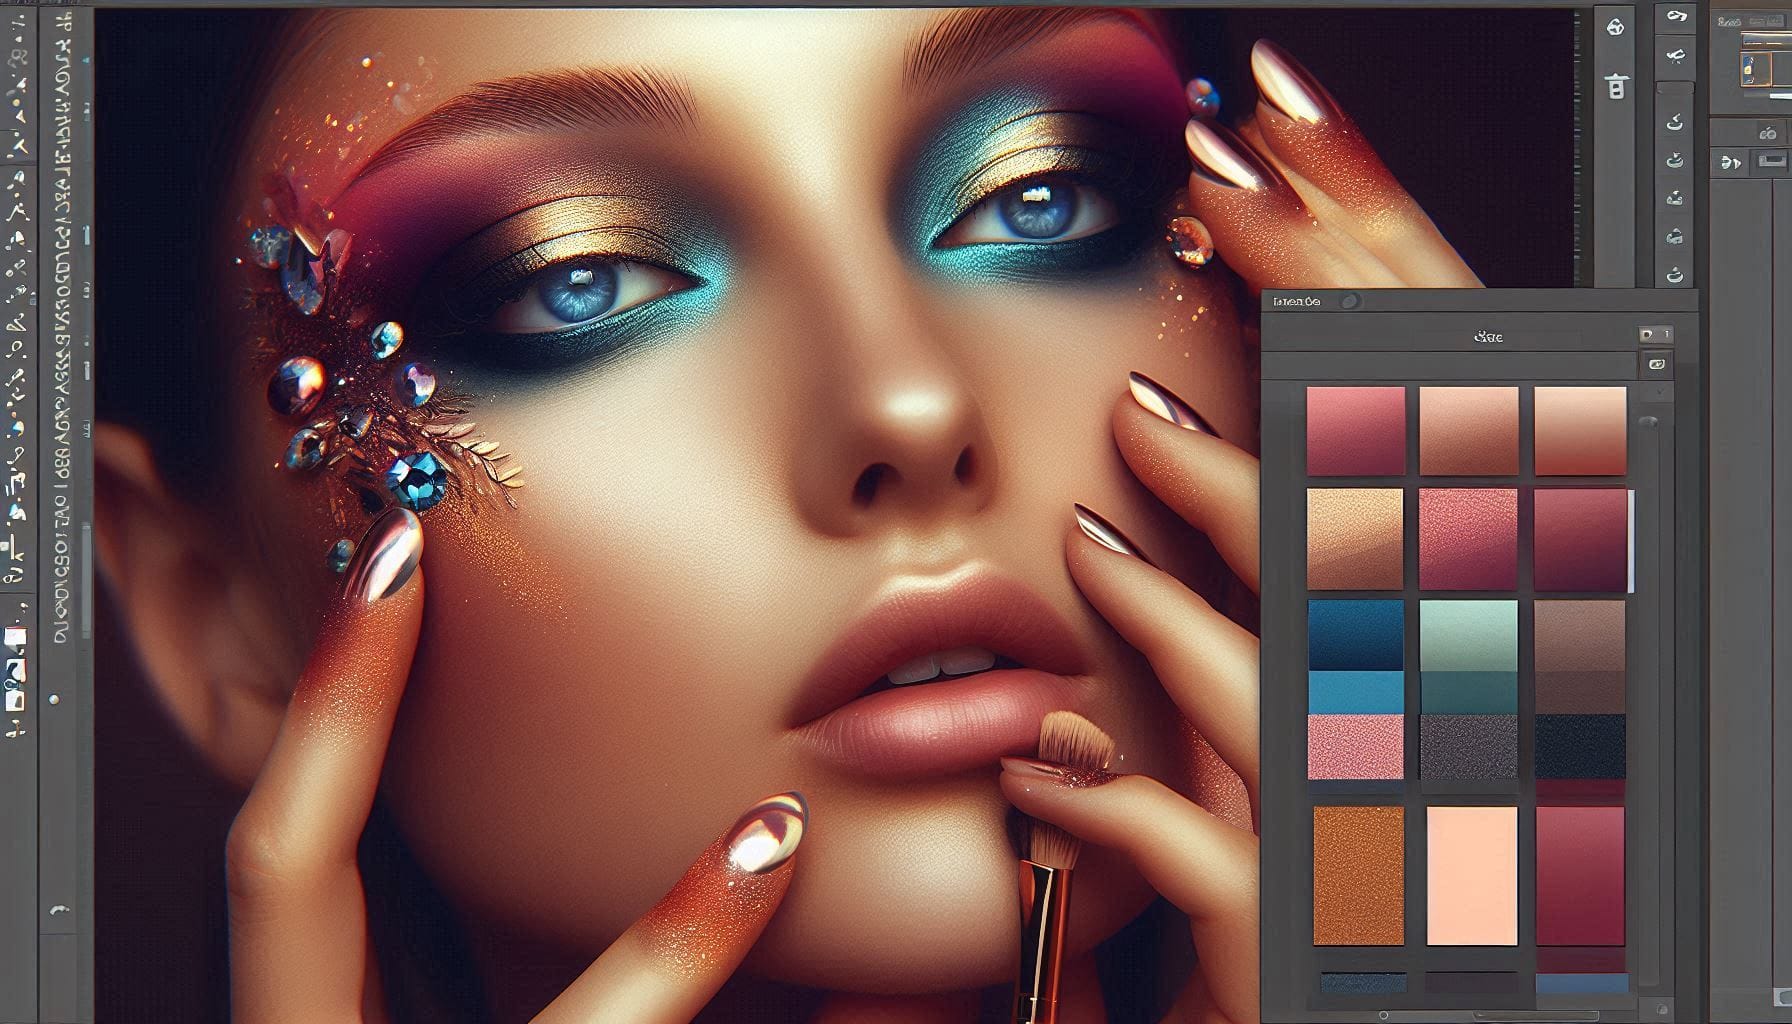
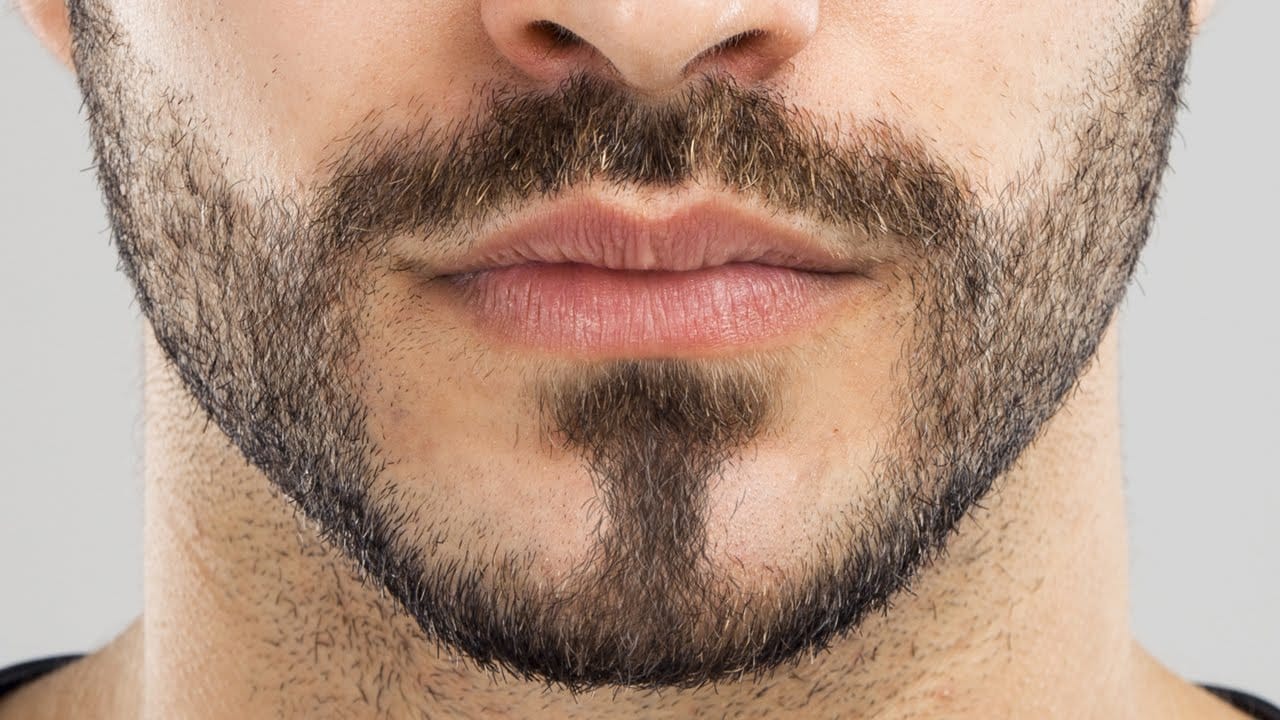
Achieving realistic digital face paint in Photoshop can transform portraits, bringing creative visions to life for various purposes. This technique is particularly effective for applying elements like flags, sports team logos, or intricate designs directly onto a subject's face, making it appear as if the graphic is truly painted on.
This video tutorial guides you through the process of seamlessly applying graphics to a face using Photoshop's powerful features. You will learn how to prepare your images, utilize displacement maps for realistic warping, and refine selections to create convincing digital face paint effects.
Watch the Video
Integrating Graphics with Facial Contours
Applying a flat graphic onto a three-dimensional surface like a human face requires techniques that account for the natural curves and undulations of the skin. Merely overlaying an image would result in an unrealistic, flat appearance. This is where tools like Photoshop's Displace filter become invaluable, allowing the graphic to warp and conform to the underlying contours of the face, mimicking how actual paint would adhere.
The creation of a "displacement map" is central to this process. This map is essentially a grayscale representation of the subject's facial topography, where lighter areas indicate higher points and darker areas represent lower points. When applied, Photoshop uses this map to distort the graphic, pushing and pulling its pixels to align with the perceived depth and form of the face.
This method ensures that the painted graphic looks integrated rather than simply pasted on, making it suitable for applications such as:
- Adding team spirit for sports fans
- Creating theatrical makeup effects
- Designing digital prototypes for real-world face painting
Proper blending modes and masks further enhance this illusion, ensuring the graphic interacts realistically with the skin's texture and color.
Practical Tips for Digital Face Painting
- Convert your subject image into a Smart Object to allow for non-destructive modifications and easy replacement of the subject.
- Create a "displacement map" from your subject's face by desaturating and blurring a duplicated layer, then saving it as a PSD file.
- Use the Quick Selection Tool and Refine Edge to make a precise selection around the face, creating a layer mask to isolate the area for the graphic.
- Apply the Pinch filter to the graphic to introduce an initial curve that approximates the face's natural shape before more precise warping.
- Utilize the Displace filter with your saved displacement map to warp the graphic realistically around the contours of the face.
- Adjust the graphic's blend mode, such as Color Burn, to integrate it naturally with the underlying skin tones.
- Employ a Vibrance adjustment layer, clipped to the graphic, to enhance the graphic's color vibrancy without affecting the rest of the image.
Related Articles and Tutorials about Digital Face Painting
Explore more techniques to enhance portraits and create stunning visual effects in Photoshop.


