Create Paint Splatter Pop Art Portraits from Photos in Photoshop

Create Paint Splatter Pop Art Portraits from Photos in Photoshop

Transforming ordinary photographs into vibrant, stylized artworks offers a unique avenue for creative expression in digital imaging. This process allows artists and designers to infuse personal style and abstract elements into conventional portraits, pushing the boundaries of traditional photography.

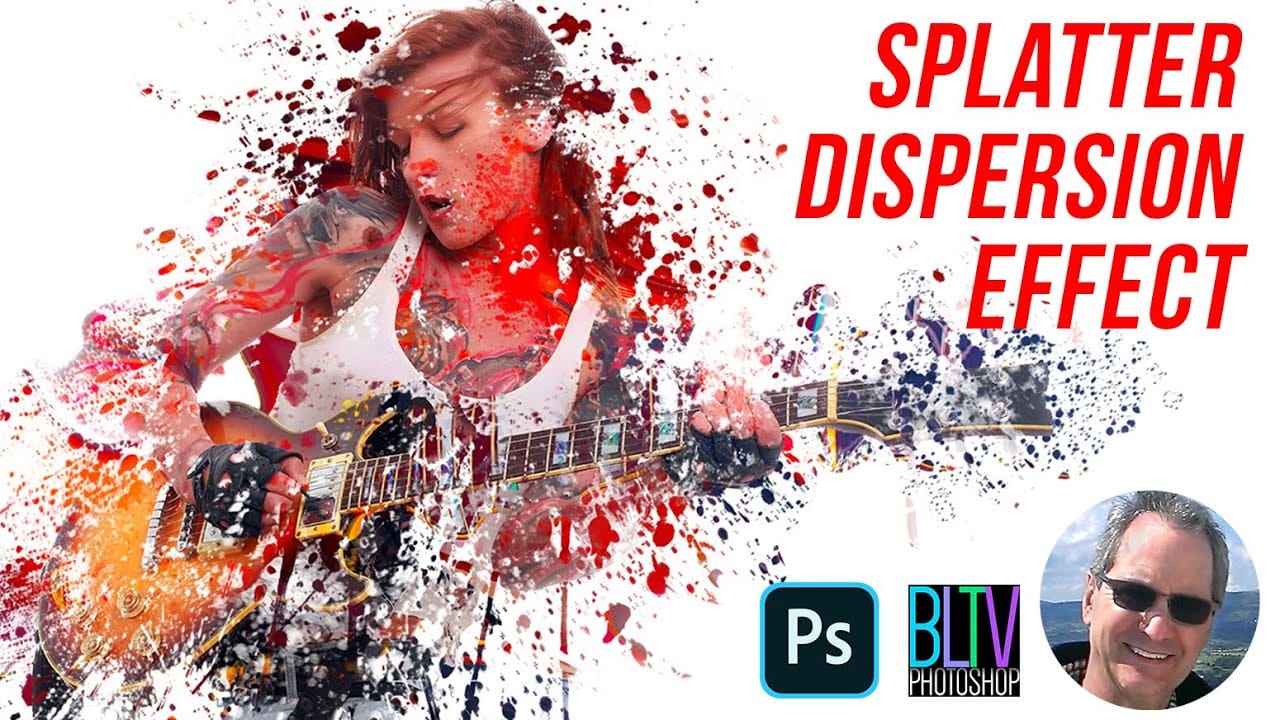
In this tutorial, you will learn a comprehensive workflow for converting a standard photo into a dynamic paint splatter pop art portrait using Adobe Photoshop. The video demonstrates key techniques, including subject isolation, non-destructive editing, and the strategic application of custom brushes and blend modes to achieve a striking artistic effect.

Watch the Full Tutorial

Video by Blue Lightning. Any links or downloads mentioned by the creator are available only on YouTube

Integrating Pop Art Aesthetics with Digital Techniques

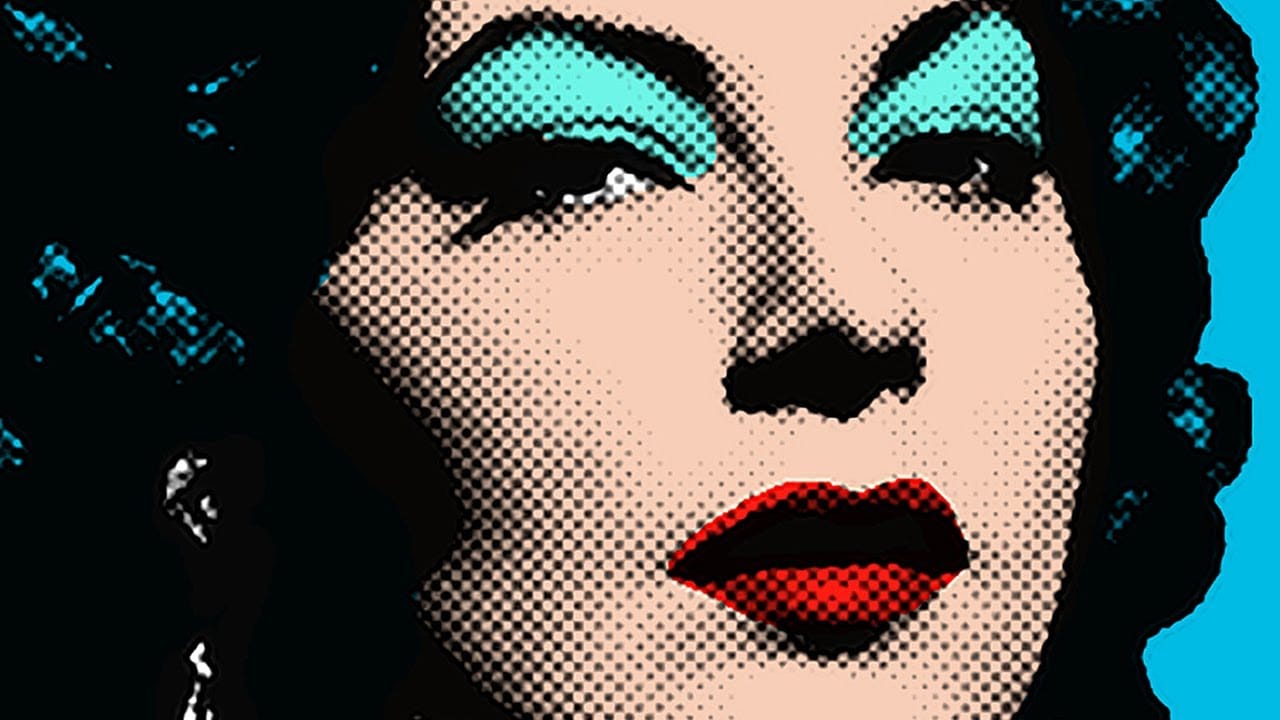
Pop art, a movement that emerged in the mid-20th century, often features bold colors, strong lines, and a playful engagement with popular culture. When applied to portraiture, it transforms a conventional likeness into something more graphic and impactful. Digitally, this translates into techniques that simplify details, enhance contrast, and introduce elements like halftone patterns or, in this case, dynamic paint splatters.

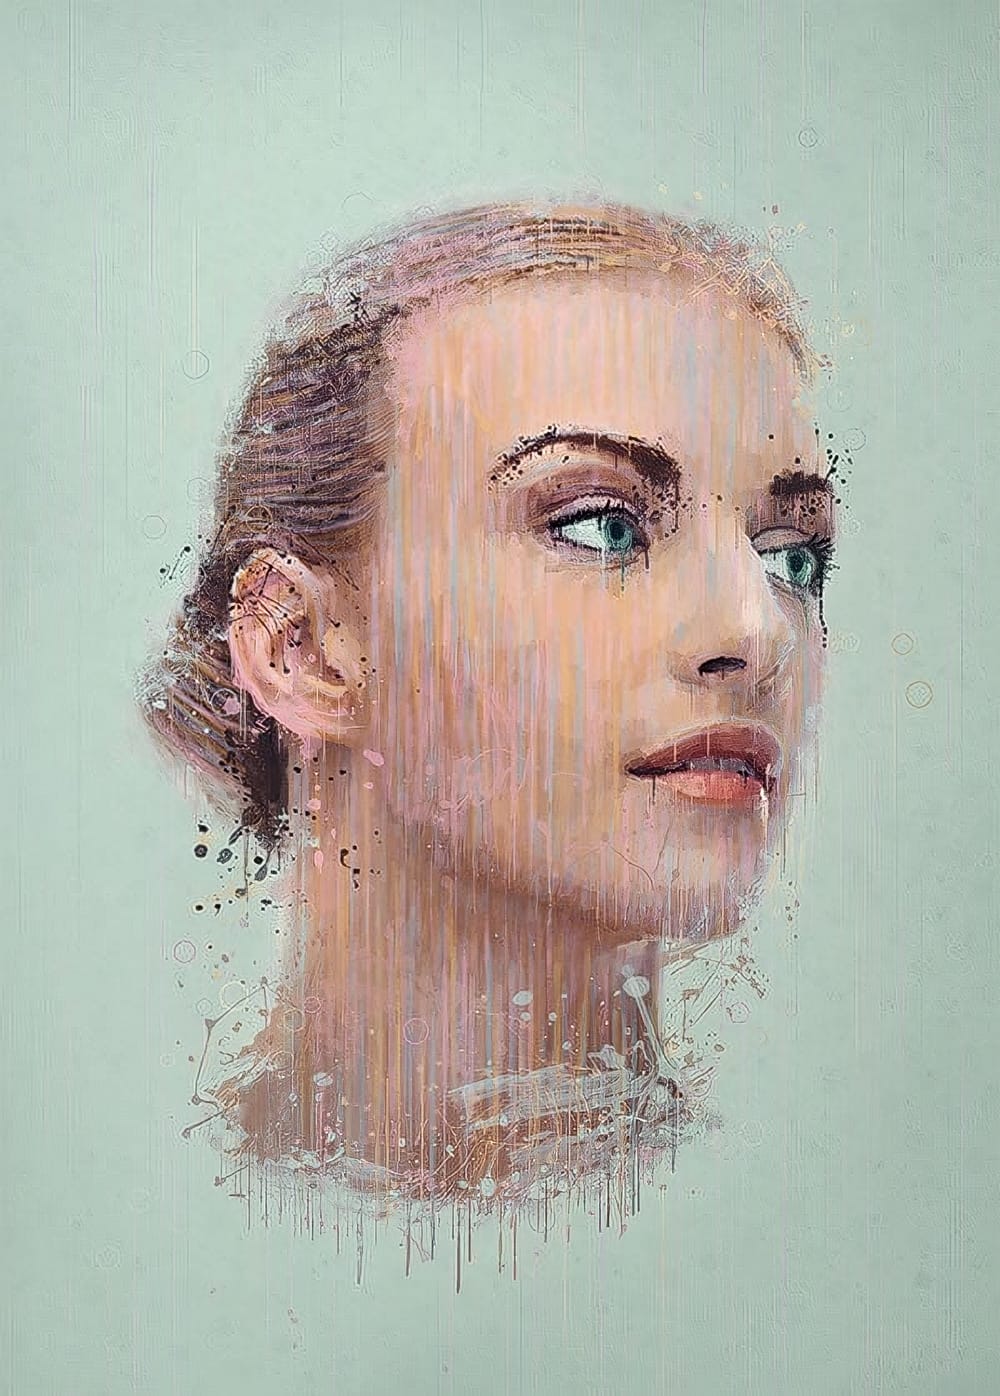
The fusion of photographic realism with abstract paint splatters creates a compelling visual tension. This approach moves beyond simple photo manipulation, allowing for a layered narrative where the subject's form is simultaneously defined and deconstructed by abstract bursts of color. It's a method that leverages Photoshop's extensive toolset to blend distinct artistic styles, resulting in a unique visual signature.

Practical Tips for Creating Paint Splatter Portraits

  • Always separate your subject from the background using precise selection tools like Select and Mask to ensure clean edges for your portrait.
  • Convert your image to a Smart Object before applying filters like
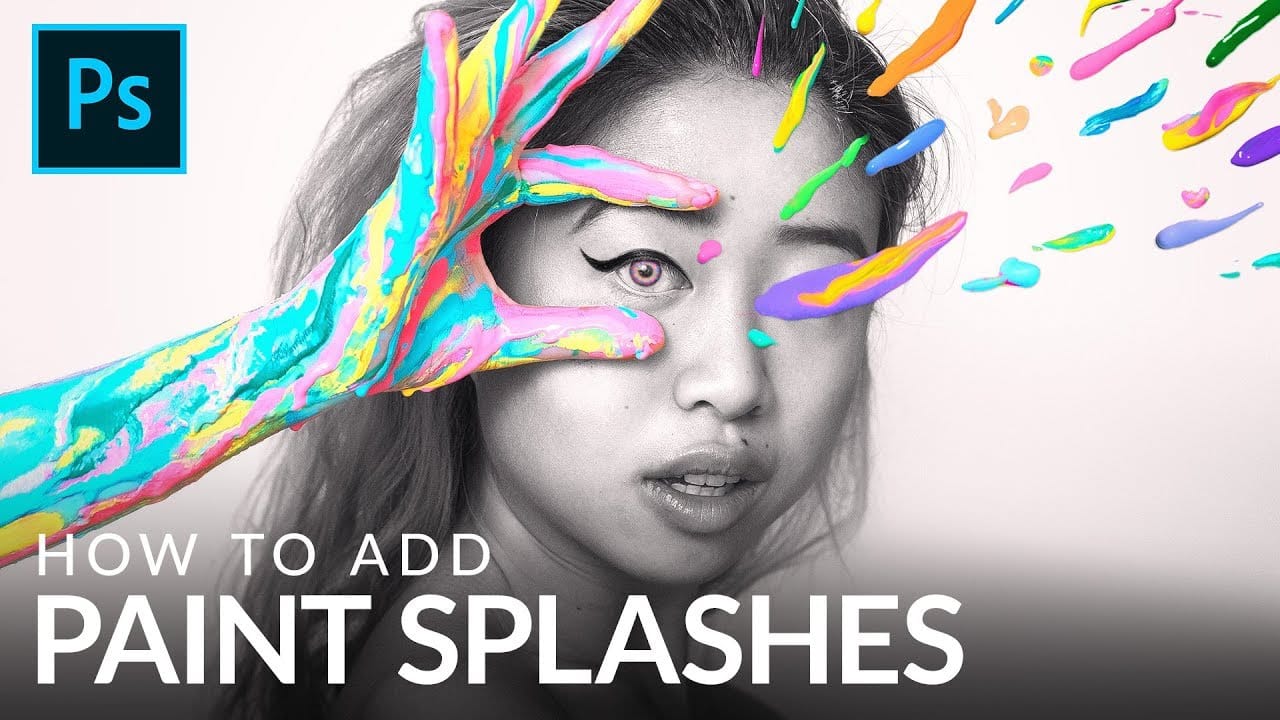
 Surface Blur and Threshold; this allows for non-destructive adjustments and easy re-editing.
  • Utilize custom paint splatter brushes strategically, adjusting their size and rotation to fit the contours and flow of your subject.
  • Organize your paint splatter layers within folders and apply a layer mask of your subject to control where the splatters appear, specifically inside or outside the portrait.
  • Experiment with different blend modes for individual color layers and entire folders of splatters to achieve varied interactions and depth in your artwork.

More Tutorials about Photoshop Art Effects

Explore additional techniques to transform your photos into compelling digital art.

Apply a painterly splatter effect to a photo in Photoshop
In this tutorial, you will learn how to create a unique and visually striking portrait photo with a splatter paint and drip effect in Photoshop. The techniques covered include overlay painting, blending, and coloring methods. You'll start by working with your portrait image, experimenting with different overlay modes and blending options to achieve the desired paint-like effect. Then, you'll explore adding drips and splatters to the image, using various brushes and techniques to ensure a natura
Learn how to make a Pop Art portrait from a photo in Photoshop
This video tutorial by Marty from Blue Lightning TV focuses on creating a pop art portrait from a photo using Adobe Photoshop. It provides an easier and faster method to achieve this artistic effect. T he key takeaways include using the selection and paint bucket tools to separate the subject from the background, applying halftone and sharpen filters, and employing different blend modes and colors to create the pop art style. Overall, this technique allows users to produce creative pop art por
Create a Powerful Dispersion, Splatter Effect from a Photo in Photoshop
In this video tutorial, Marty from Blue Lightning TV demonstrates how to create a dispersion splatter effect from a photo using Photoshop. The tutorial covers the entire process, from preparing the background and subject to applying the dispersion effect and enhancing the image's vibrancy. Marty provides tips on using concrete textures and splatter brushes, and emphasizes techniques like liquifying the subject and adjusting saturation. The tutorial is detailed, making it easy to follow along an
Create a Paint Splash Effect in Photoshop
In her visually striking conceptual portraits, Natalia Seth (@escapingyouth on Instagram) often incorporates a mesmerizing paint splash effect. In a recent tutorial, the talented artist shared her process, guiding viewers step-by-step through the creation of this captivating technique. Natalia begins by capturing dynamic photos of paint splatters, carefully selecting the best moments to layer into her portrait compositions. Through strategic adjustments of color and light, she masterfully blend

Get tutorials & freebies delivered to you.

Subscribe to the Photoshop Roadmap newsletter, a weekly roundup of new tutorials, insights and quality downloads, trusted by 6500+ readers.

You might also like

Complete Photoshop Editing Workflow: 5 Steps from Raw to Polished

Photoshop offers endless possibilities for photo enhancement, but many photographers never move beyond basic adjustments because the software feels overwhelming. This comprehensive workflow breaks down photo editing into five manageable stages that work consistently across different photography styles. The systematic approach covers everything from initial raw processing to advanced lighting...

Photoshop Workspace Basics: Navigation, Zooming, and Essential Interface Elements

Photoshop's interface can feel overwhelming when you first open the program. Dozens of panels, tools, and menus compete for attention, making simple tasks feel complicated. This tutorial breaks down the essential workspace elements and teaches fundamental navigation skills that form the foundation of efficient Photoshop work. Watch the...

How to Restore Old Damaged Photos Using Nano Banana in Photoshop

Old family photos with scratches, tears, and missing sections can seem beyond repair. Google's Nano Banana AI model, now integrated into Photoshop, makes full restoration possible in minutes rather than hours. This powerful tool excels at maintaining facial characteristics while automatically filling in damaged areas and adding realistic...

How to Get Higher Quality Results from Photoshop's Generative Fill Tool

Photoshop's Generative Fill creates impressive AI extensions, but the results often look blurry and pixelated when viewed at full size. This quality limitation makes many AI-generated areas unusable for printing or large displays. This technique shows how to work around the 1024x1024 pixel quality limit to create much...

How to Use Photoshop's Liquify Tool for Non-Destructive Portrait Retouching

Clothing wrinkles, hair that lacks volume, and awkward fabric bunching can distract from an otherwise great portrait. Photoshop's Liquify tool offers a powerful solution for smoothing out these issues while preserving the natural look of your subject. This tutorial demonstrates how to use the Liquify tool non-destructively with...

You’ve successfully subscribed to Photoshop Roadmap
Welcome back! You’ve successfully signed in.
Great! You’ve successfully signed up.
Success! Your email is updated.
Your link has expired
Success! Check your email for magic link to sign-in.