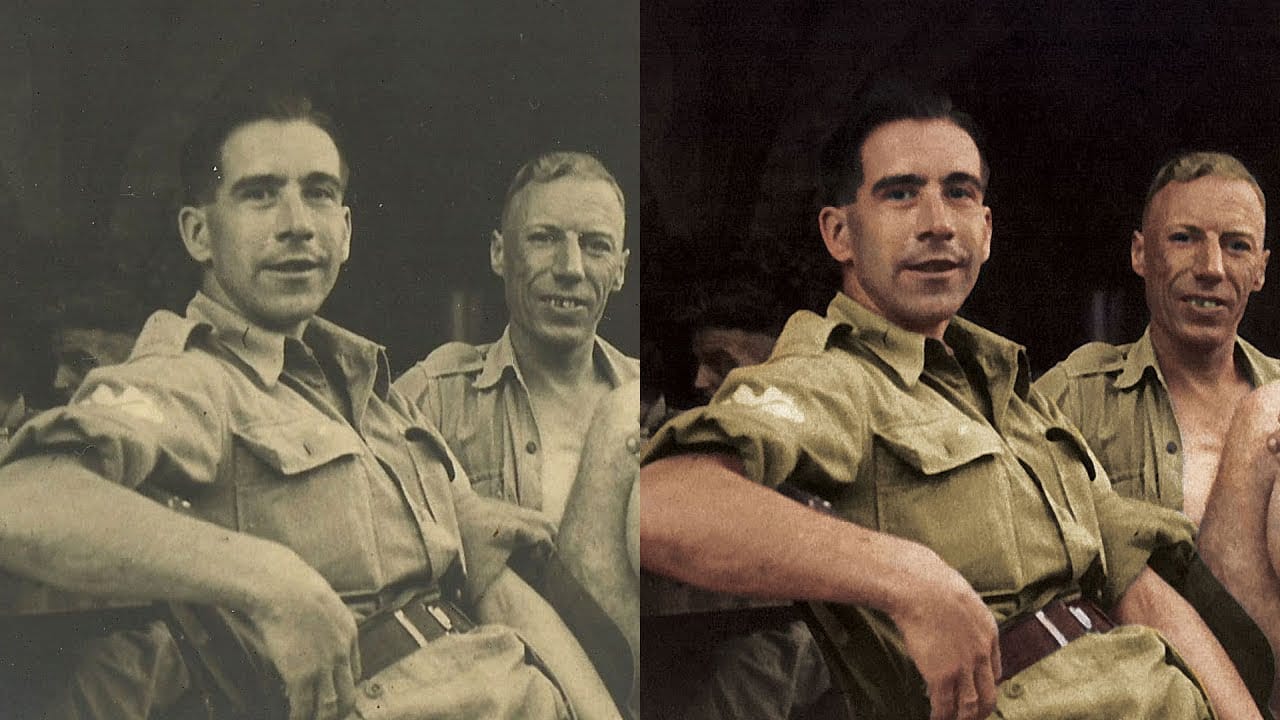
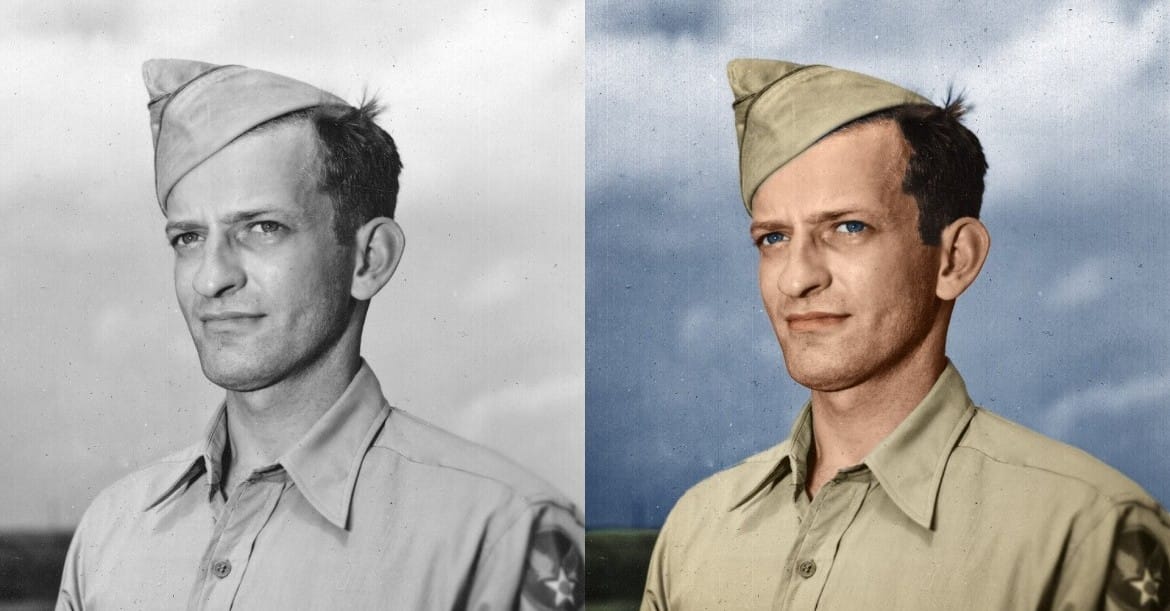
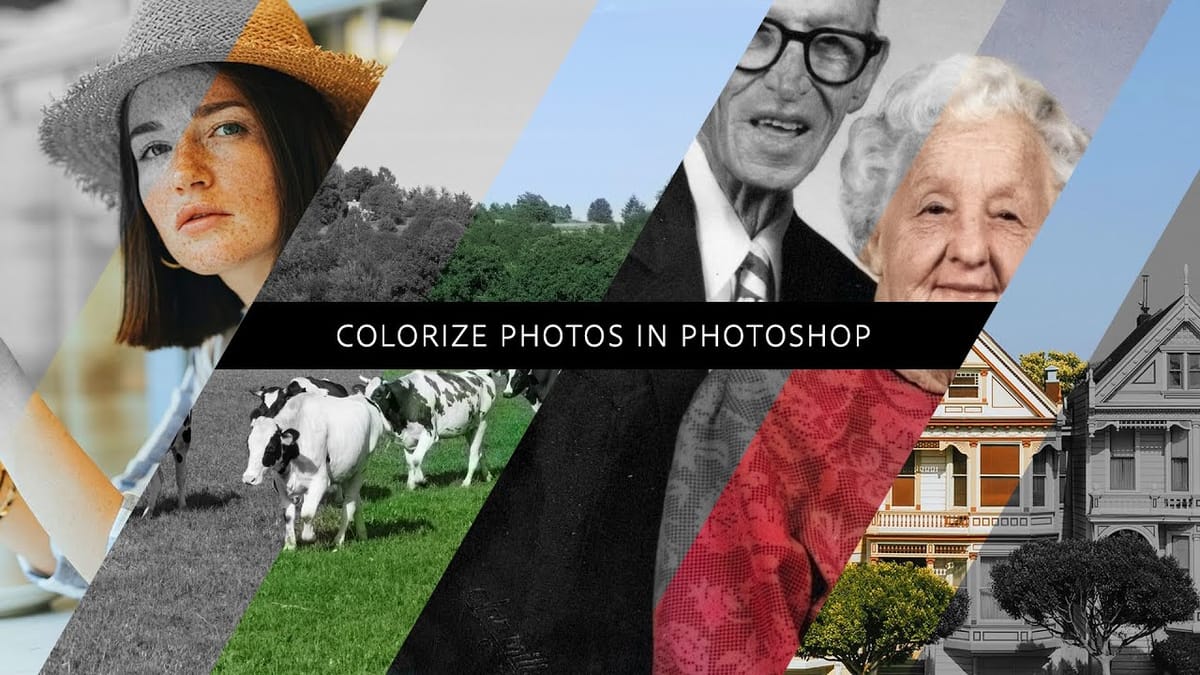
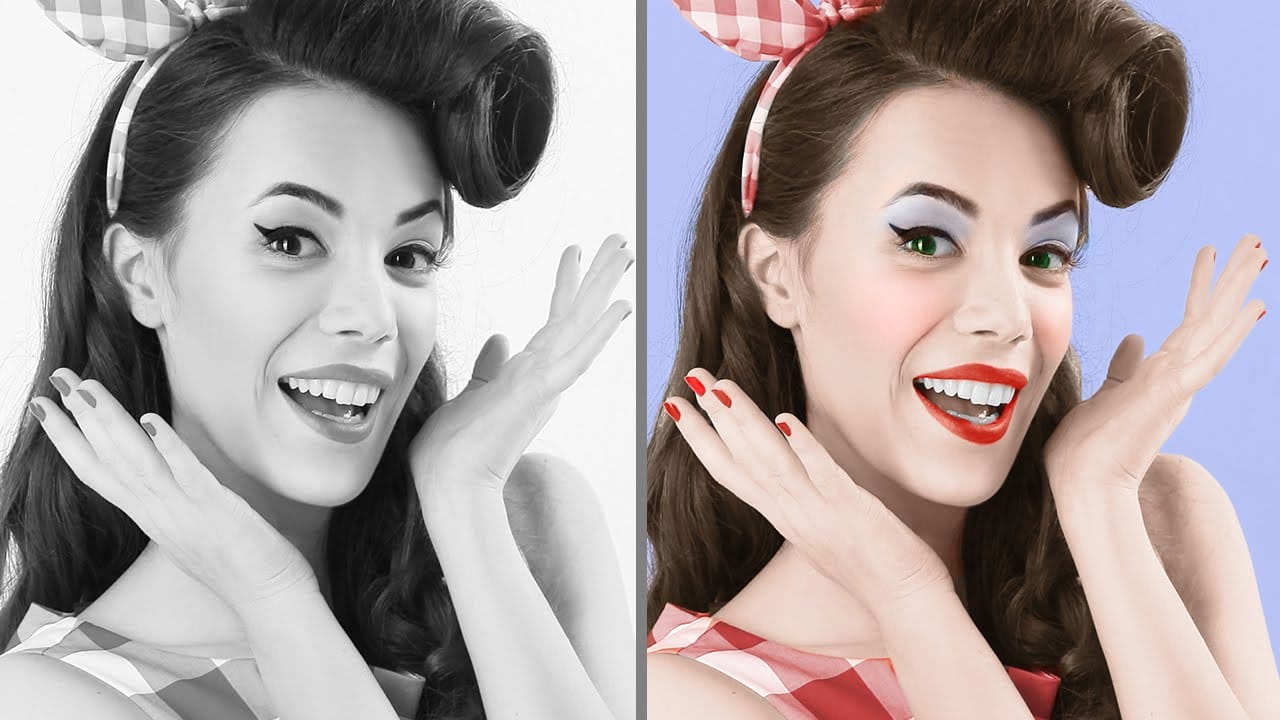
This video demonstrates a precise method for colorizing black and white photographs using Adobe Photoshop. It focuses on a non-destructive workflow that preserves image quality while adding realistic color.
Viewers will discover how to transform monochrome images into vibrant, full-color renditions, enhancing details and bringing new life to vintage or historical photographs with careful selection and color application techniques.
Watch the Full Tutorial
Video by Blue Lightning. Any links or downloads mentioned by the creator are available only on YouTube
The Art and Precision of Digital Colorization
Digital colorization transcends mere color application; it is an interpretive art form that breathes new life into historical moments. Black and white photography, while powerful, often omits the visual context that color provides, influencing our perception of an era or a scene. Adding color helps viewers connect more intimately with the subjects and environments, making the past feel more immediate and tangible.
The process demands a keen eye for detail and an understanding of how colors naturally appear in various lighting conditions and on different materials. It involves not just picking a hue, but also considering its saturation and luminosity to ensure it integrates seamlessly with the original grayscale tones. This careful approach ensures the final image appears authentic rather than artificially tinted.
Modern Photoshop techniques, particularly the use of adjustment layers and masks, enable a non-destructive workflow. This means that original image data remains untouched, allowing for endless adjustments and refinements without degrading the photograph. It provides the flexibility to experiment with different color palettes and correct mistakes, making the colorization process both artistic and highly precise.
Practical Tips for Colorizing Photos
- Brighten Dark Tones: Use Image > Adjustments > Shadows/Highlights to reveal hidden details in the darkest areas of your photo, providing a better foundation for color.
- Isolate Areas with Selection Tools: Employ tools like the Quick Selection Tool to accurately define specific regions of your subject, ensuring precise color application.
- Refine Selections for Precision: Utilize the Refine Edge feature to smooth out selection edges and capture intricate details like hair, resulting in a more natural blend.
- Apply Colors Non-Destructively: Create Solid Color Adjustment Layers for each distinct area you wish to colorize; this approach uses layer masks and allows for easy color changes and opacity adjustments.
- Experiment with Blend Modes and Opacity: Set the blend mode of your color layers to Multiply (for white backgrounds), Color, or Overlay, then fine-tune the opacity to achieve the most realistic and integrated look.
- Enhance with Airbrushing: After initial colorization, create a composite snapshot (Ctrl/Cmd + Shift + Alt/Option + E) and use a soft brush with the Color blend mode to subtly add or refine hues for a polished finish.
More Tutorials about Photo Colorization
Explore additional resources to deepen your understanding of photo colorization techniques and expand your Photoshop skills.
