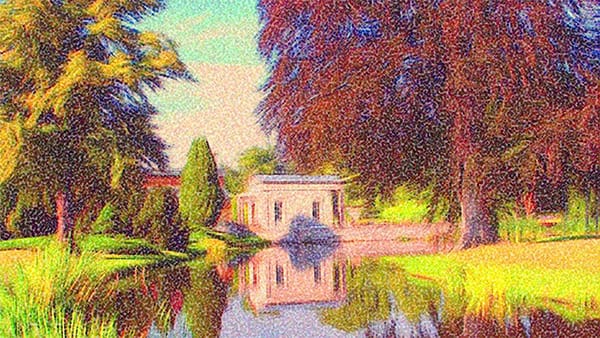
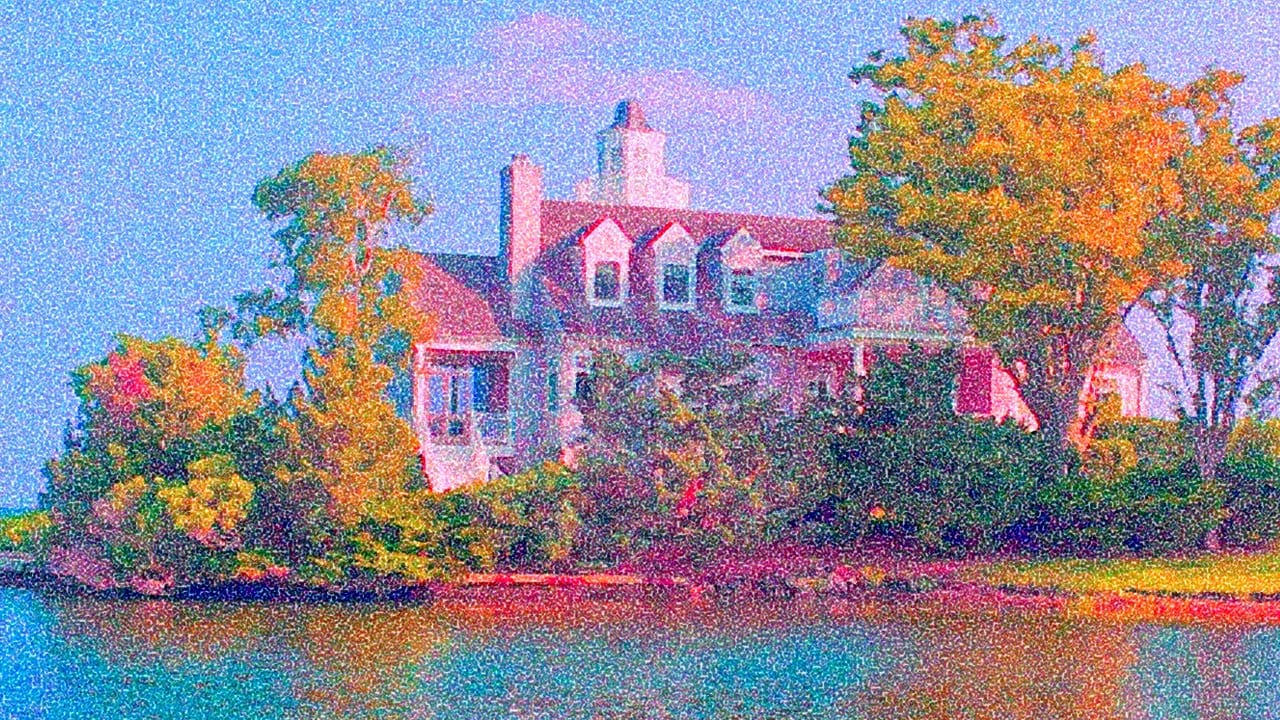
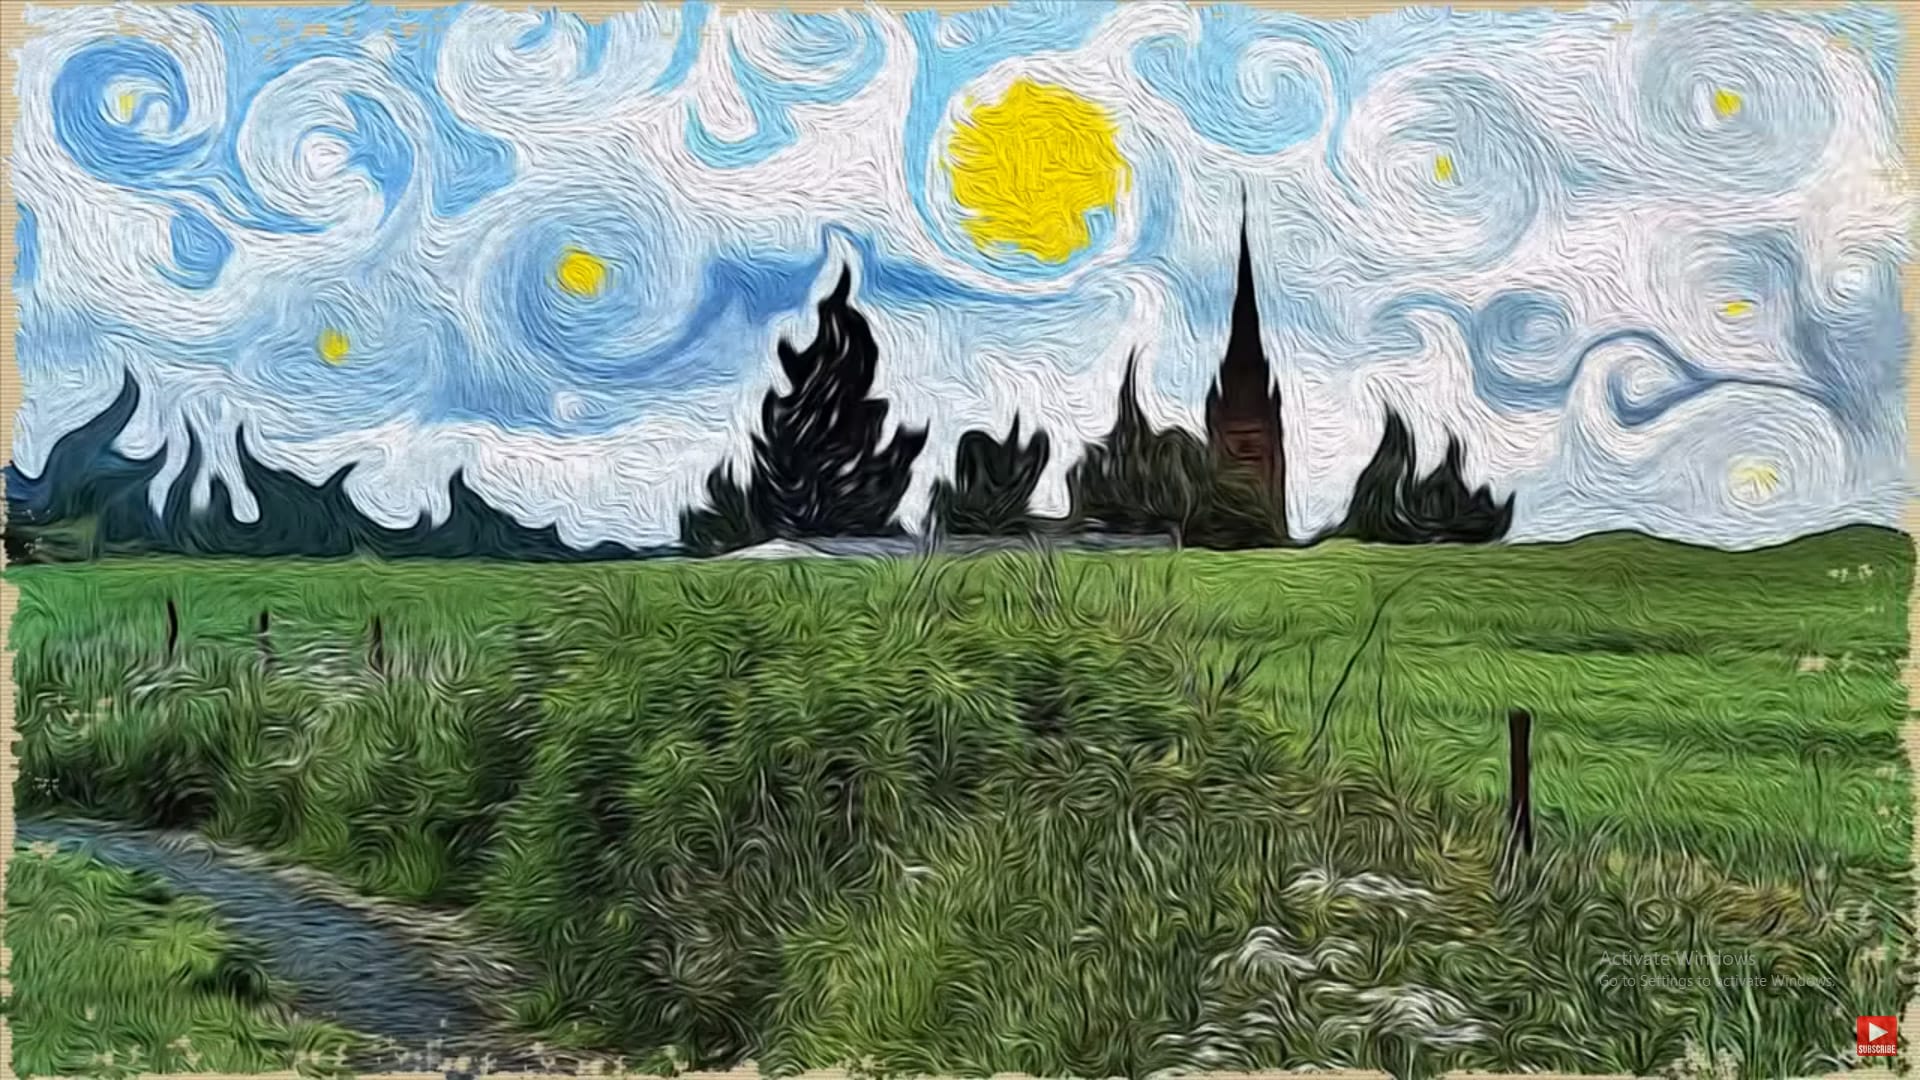
Imagine turning an ordinary photo into a vibrant, swirling masterpiece reminiscent of Van Gogh’s "Starry Night." This effect captures the essence of impressionism, adding depth and emotion to your images. The beauty of this technique lies in its ability to transform reality into a dreamlike vision, inviting viewers to see the world through a painterly lens.
With the help of Photoshop and a few creative steps, you can achieve this stunning transformation. This video tutorial guides you through the process, using filters and brushes to create a unique, artistic effect that brings your photos to life with texture and color.
Watch the Video
Exploring the Impressionistic Style in Digital Art
The impressionistic style seeks to capture the subjective impression of a scene, rather than a precise representation. This artistic movement, characterized by visible brush strokes, vibrant colors, and an emphasis on light, lends itself surprisingly well to digital manipulation. By mimicking these elements in Photoshop, digital artists can evoke the same sense of movement and emotion found in classic paintings.
Key components in achieving this effect involve using filters to create texture and applying brush strokes to simulate the look of paint. Colors often blend and contrast sharply, mimicking the way light interacts with surfaces. Digital tools offer a unique advantage by allowing for experimentation with effects that might be challenging or time-consuming with traditional media. One can easily adjust the intensity of filters, brush sizes, and color palettes to achieve the desired level of artistic abstraction.
To replicate the *Starry Night* aesthetic, focus on:
- Swirling brush strokes
- A vivid, contrasting color palette
- A dreamlike and textured surface
Practical Tips for Creating an Oil Paint Effect
- Liquify the image to create swirling patterns, mimicking the flow of paint.
- Use thick, heavy brushes to add texture and simulate the look of brush strokes.
- Experiment with the Glass filter to add distortion and depth to the image.
- Apply the Oil Paint filter, adjusting stylization and bristle detail to refine the painted effect.
- Incorporate a canvas texture to enhance the realism of the final painting.
Related Articles and Tutorials about Photoshop Painting Effects
Dive deeper into the world of digital art with these related tutorials, which offer different approaches to transforming photos into stunning painterly artworks.
