Achieving the vibrant, electric glow of a neon sign can transform any design. This tutorial guides you through creating a detailed neon sign text effect in Photoshop, complete with gritty metal textures and stunning, saturated glows.
You will learn to build the back of the sign, produce bright neon illumination, and add a hazy atmosphere for a complete, realistic look.
Watch the Video
Practical Tips for Neon Sign Effects
Master the art of crafting realistic neon signs in Photoshop with these key techniques from the tutorial.
- Set up your document in a high resolution like 4K to ensure maximum detail in your design.
- Apply metal textures to your sign shape using a clipping mask to confine the texture precisely within the letters.
- Modify your text selection by contracting and smoothing it to create the ideal, rounded path for the neon tubes.
- Layer multiple effects, including
Stroke,Outer Glow, and a repurposedDrop Shadow, to achieve bright, saturated neon glows. - Create natural-looking breaks in the neon tubing by painting into a layer mask, which uses the
Strokeeffect to round the ends automatically.
More Tutorials about Neon Sign Effects
Explore more tutorials and articles to master diverse neon text effects and related Photoshop techniques.
Create a Realistic Neon Sign Text Effect in Photoshop
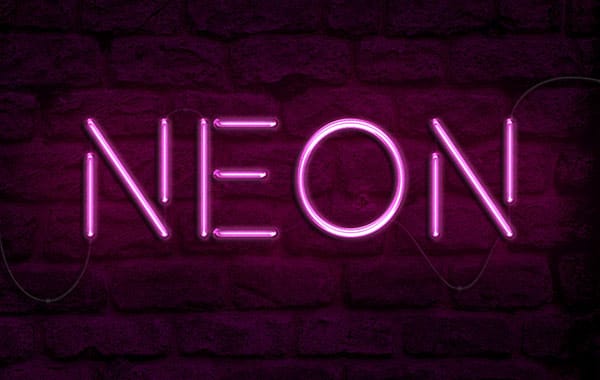
In this Photoshop tutorial by Pixivu, you'll learn how to create a realistic neon text effect, complete with a neon sign and light hanging on a weathered brick wall using only Smart Objects.
By the end of the tutorial, you'll be able to create a vibrant and lifelike neon text effect mockup that can be reused and re-applied with a single click. This tutorial offers a practical and efficient method for achieving stunning neon designs.
Watch tutorial
How to create a bright realistic neon text effect in Photoshop
Love neon signs? Ever wanted to create your own? With the magic software, we can easily experiment with and create a neon light text effect, no electricity necessary! In fact, whether you’re a software expert or a complete beginner, doing so can be a breeze.
In this video, we’ll check out a couple of different ways to create neon light text effects—from using convenient Smart Objects, to creating text effects from scratch in Adobe Photoshop, to even quick and easy ways to experiment with text e
Futuristic Neon Text Effect in Photoshop
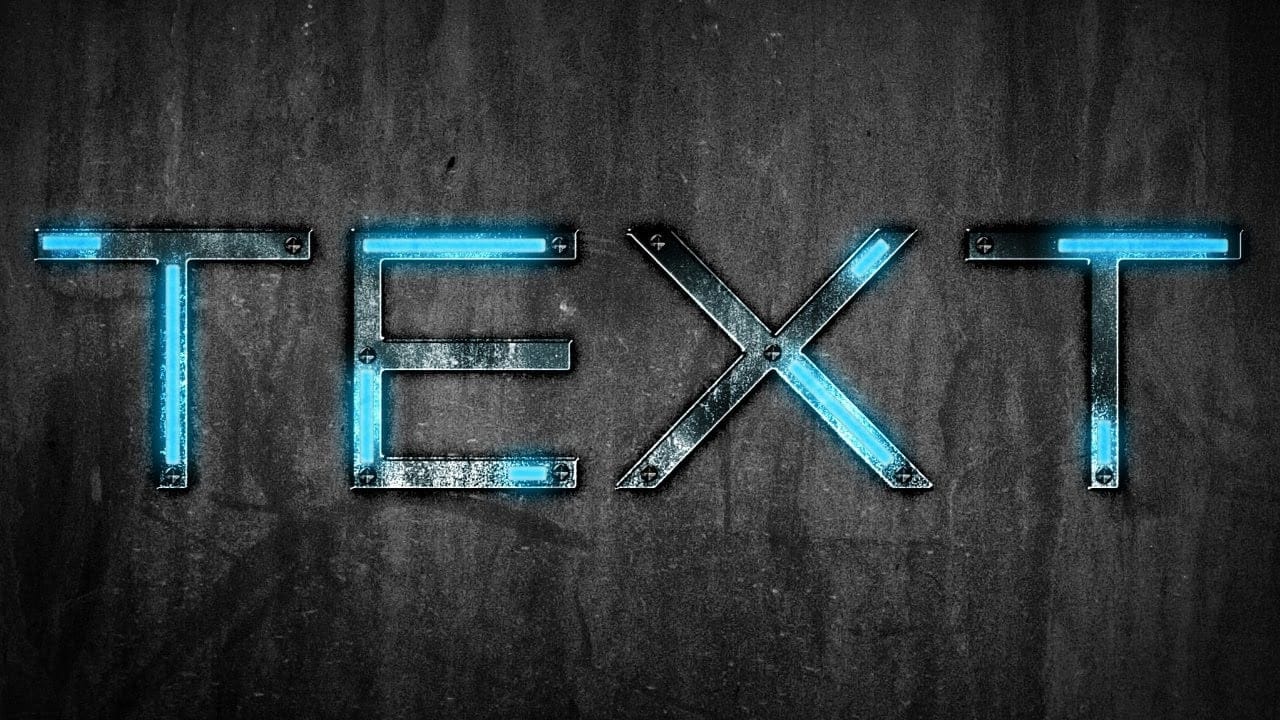
In this tutorial, Brandon Bias from Ch-Ch-Check It shows you how to create a stunning futuristic, grungy neon text effect on metallic letters using Adobe Photoshop.
This effect combines multiple blend modes, textures, and layer styles to achieve a unique and eye-catching design. The tutorial begins with creating a new document and adding a grungy background, then moves on to customizing text with specific fonts and character settings. Through detailed steps, you'll learn how to apply various ef
Create a Neon Text Effect in Photoshop with Blur and Layer Styles
Neon signs bring instant energy to any design with their electric glow and vibrant colors. The luminous quality that makes real neon so captivating can transform ordinary text into something that feels alive and pulsing with light.
This video demonstrates how to recreate that distinctive neon look using Photoshop's blur filters and layer effects. The technique builds multiple glowing layers to achieve an authentic electric sign appearance.
Watch the Tutorial
Building Authentic Neon Glow Eff