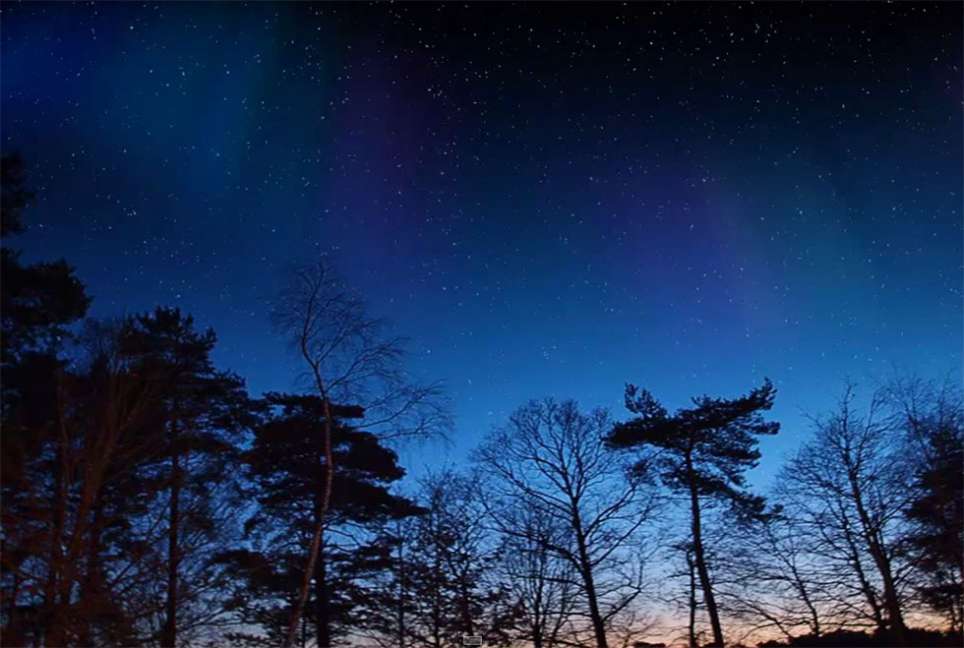
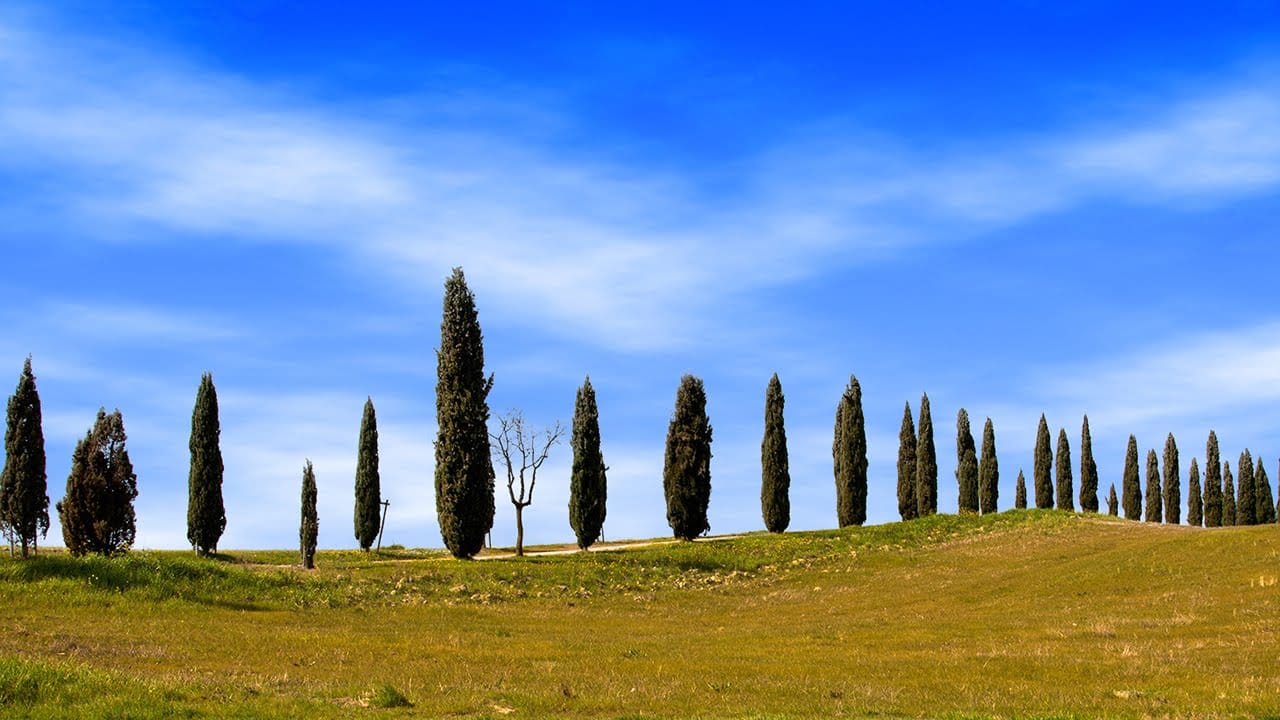
Photography often presents challenges with lighting conditions, especially when a bright sky overexposes and loses detail. Replacing a sky can dramatically transform the mood and visual impact of an image, turning a washed-out scene into a captivating landscape.
This video tutorial demonstrates a comprehensive method for replacing a sky in Photoshop, guiding viewers through the process of selecting, refining, and integrating a new, vibrant blue sky complete with custom-rendered clouds.
Watch the Video
Enhancing Photo Mood with Sky Replacement
The sky plays a crucial role in establishing the mood, time of day, and overall atmosphere of a photograph. A blown-out or uninteresting sky can detract significantly from an otherwise well-composed scene, flattening the image and diminishing its emotional resonance. Replacing it allows photographers to regain control over the visual narrative, ensuring the sky complements the foreground and enhances the intended artistic vision.
This technique is particularly valuable for landscape and architectural photography, where the sky occupies a significant portion of the frame. By introducing a new sky—whether it's a dramatic sunset, a clear blue expanse, or a cloudy day—artists can:
- Correct exposure issues
- Introduce dynamic visual interest
- Reinforce the narrative or theme of the photo
The seamless integration of a new sky requires careful selection, precise masking, and thoughtful blending to maintain realism and avoid an artificial appearance.
Practical Tips for Replacing a Sky
- Utilize the Color Range selection tool to efficiently isolate the sky based on its color, then refine the selection with Refine Edge for precise masking around complex elements.
- Invert the selection and output your sky replacement as a New Layer with Layer Mask to maintain flexibility and non-destructive editing.
- Fill a new layer with a solid blue color (e.g., hexadecimal
88B8FF) as the base for your new sky. - Generate clouds using Filter > Render > Clouds on a separate layer, then set its blend mode to Overlay for a realistic effect.
- Refine cloud appearance by splitting the "Blend If" slider in Layer Style to remove the darkest tones, making them appear less feathery.
- Apply the Perspective transform to clouds to align them realistically with the horizon and the overall scene.
- Use a Gradient set to Overlay and the Dodge Tool on the blue sky layer to create a natural gradient, making the sky lighter towards the horizon.
More Tutorials about Replacing Skies in Photoshop
Explore additional techniques and approaches to mastering sky replacement and other advanced Photoshop effects.


