Black eyes can transform a regular portrait into something genuinely unsettling that can freak people out. The key lies in preserving realistic light reflections while painting over the iris and pupil.
This technique works for horror photography, Halloween effects, or creating supernatural character portraits that maintain believability through proper eye reflections.
Watch the Video Tutorial
Video by PHLEARN. Any links or downloads mentioned by the creator are available only on YouTube
Essential Tips for Black Eye Effects
Success depends on capturing the right source material and applying the effect methodically.
- Shoot near large windows — Natural light creates clear, believable reflections that sell the effect
- Paint black on a new layer — Use a soft brush to cover the entire eye area, including reflections initially
- Use Color Range selection — Select the original eye reflections by sampling the white highlights
- Paint white over the black — Add the preserved reflections back on top of the black base
- Apply subtle gaussian blur — Soften the black paint edges to blend naturally with the eye socket
More Tutorials about Horror and Special Effects
Explore additional techniques for creating creepy and supernatural photo effects.
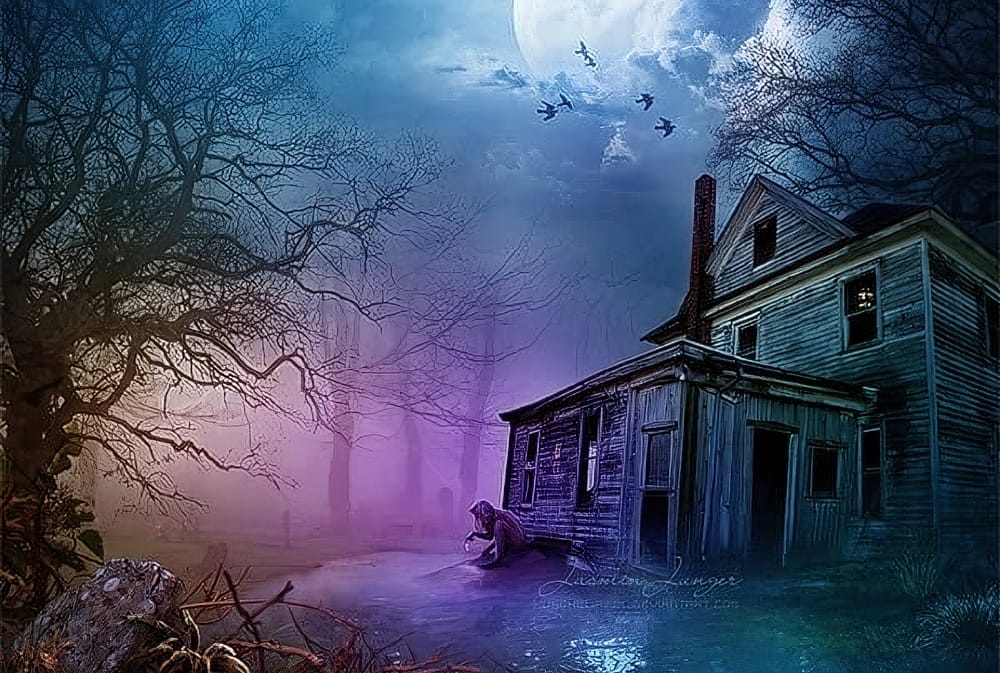
Create Creepy Lighting and Mysterious Atmosphere Effects in Photoshop
This tutorial offers a clear guide on creating eerie lighting and mysterious atmospheric effects in Photoshop. You will learn how to enhance your photos by manipulating different lighting techniques.
The author explains the process step by step, starting with how to select the right colors and apply various effects to a chosen stock image. Each technique is thoroughly detailed, making it easy for you to follow along.
The end results are impressive, showcasing how these methods can transform an
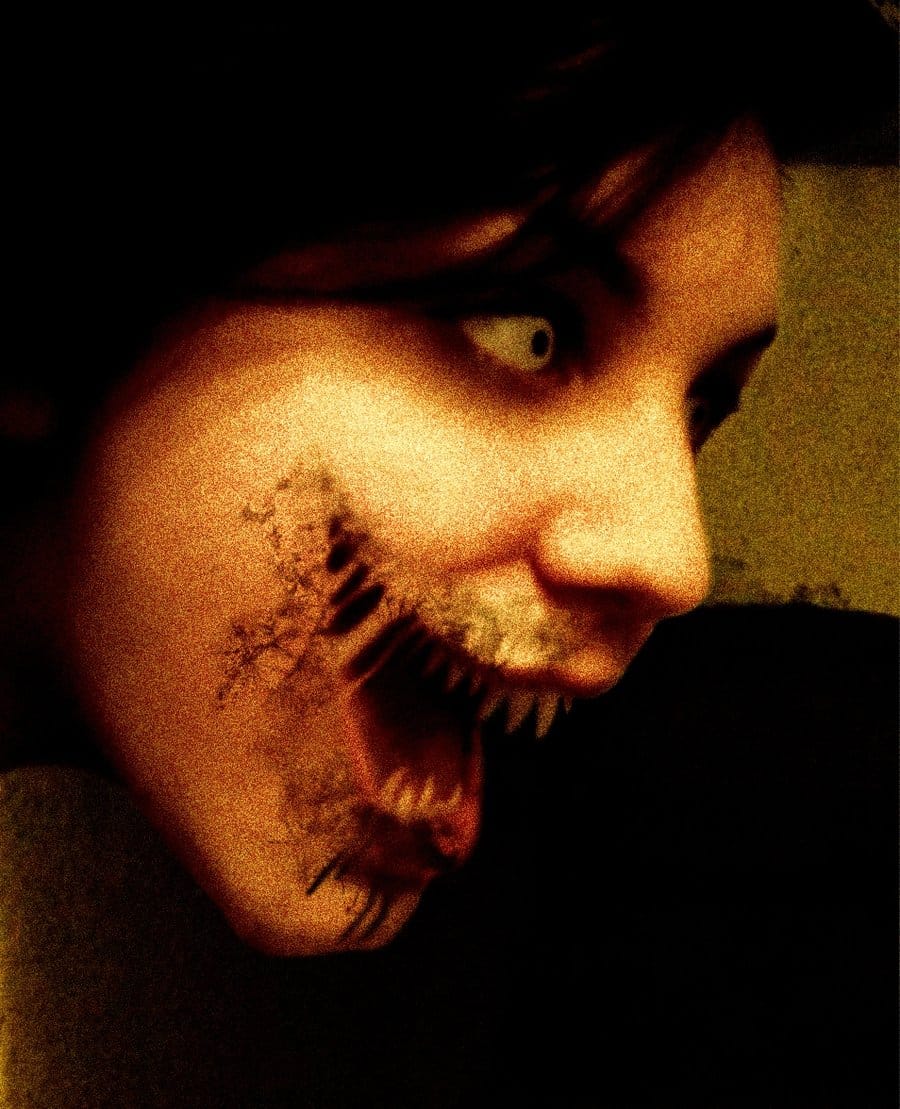
Create a creepy face in Photoshop
The author provides a step-by-step guide on how to transform a regular photo into a creepy, monstrous face using Adobe Photoshop. They explain the process in a clear and concise manner, making it accessible for users of all skill levels.
The tutorial begins by introducing the basic requirements, such as a photograph and the necessary Photoshop tools. The author then guides the reader through the various stages of the transformation, from adjusting the facial features to adding the monstrous ele
Horrible dripping blood in Photoshop
In this tutorial, learn how to create a chilling, horror-inspired effect by adding dripping blood from a mouth in just a few easy steps using Adobe Photoshop. Perfect for creating spooky, dramatic images, this technique walks you through the process of blending blood effects seamlessly onto a face, making the gruesome detail look realistic.
Whether you're working on Halloween-themed designs or want to add a dark twist to your photo manipulations, this tutorial covers all the essentials. Follow

8 Crazy and Unusual Photoshop Effects That Will Make You Say "What the…?!"
You know that feeling when you see an image and your brain just... stops for a second?
Not because it's beautiful or well-composed. Because it's weird. Because someone's face is splitting open with flowers pouring out, or a city is curled into a tiny floating planet, or two faces are melting into each other like some glitchy fever dream — and you immediately think: "Wait... what is that?! I'm doing it right now!"
That's what this is about.
These aren't your standard Photoshop tricks. They're