How to Wrap Text Around Any Shape in Photoshop

How to Wrap Text Around Any Shape in Photoshop

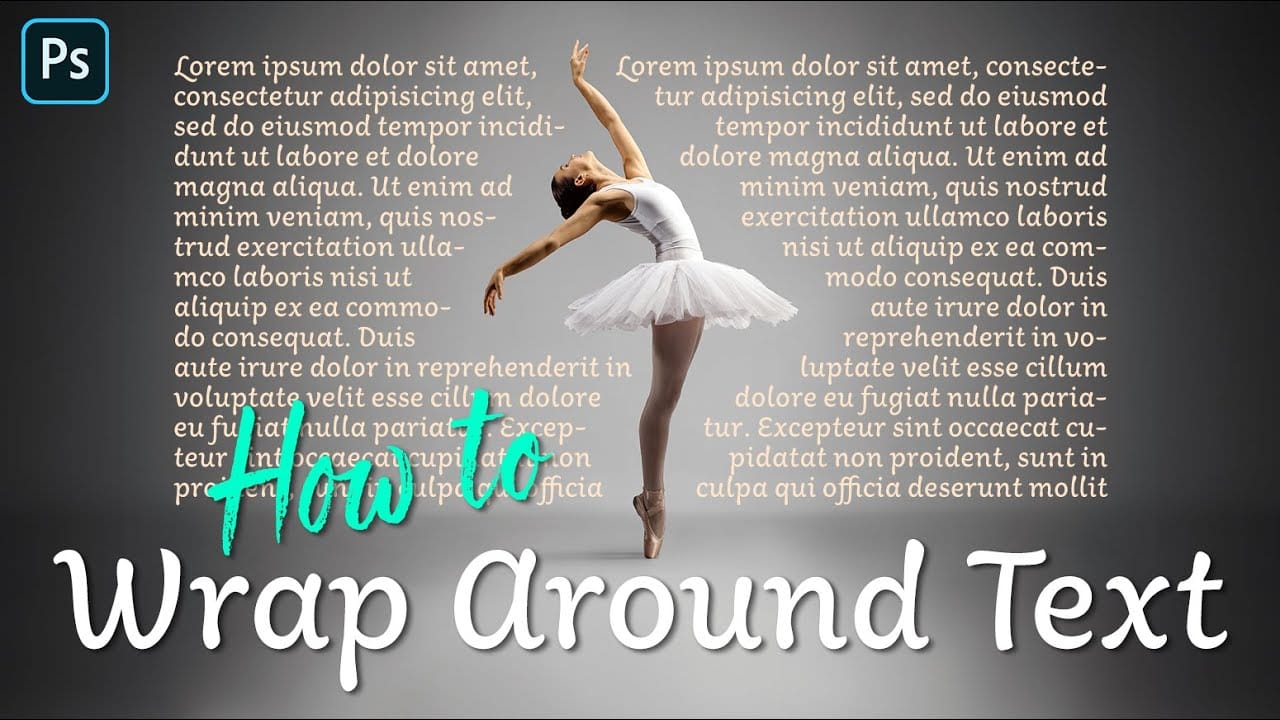
Integrating text seamlessly with complex or irregular shapes can elevate a design from good to exceptional. While standard text boxes are straightforward, the ability to make text flow naturally around the contours of a subject opens up significant creative possibilities, adding dynamism and visual interest to layouts.

This tutorial will guide you through the process of wrapping text around any shape in Photoshop, regardless of its irregularity. You will learn practical techniques for selecting, expanding, and converting selections into paths, enabling your text to hug the form of your chosen subject.

Watch the Video

Video by Blue Lightning. Any links or downloads mentioned by the creator are available only on YouTube

The Art of Conforming Typography to Imagery

Typography is a powerful element in visual design, capable of conveying messages both through its literal meaning and its visual presentation. When text is designed to conform to the contours of an image, it creates a unique interplay between the two, drawing the viewer's eye and enhancing the overall composition. This technique moves beyond simple text overlays, allowing the text to become an integral part of the image's structure rather than a separate component.

The core of this technique in Photoshop relies on the transformation of pixel selections into vector paths. A selection defines an area based on pixel information, while a path, being vector-based, provides precise editable lines and curves that text can follow or be confined within. This distinction is crucial for achieving smooth, editable text flow around organic or complex forms. Properly constructed paths ensure that the text hugs the subject accurately, maintaining readability and aesthetic appeal.

Furthermore, the ability to control the distance of the text from the subject's edge and its alignment within the defined path offers significant creative freedom. Designers can choose to have text tightly embrace the form, creating a strong visual connection, or maintain a comfortable distance for increased legibility. Options for justification—such as left-aligned, right-aligned, or justified to both edges—allow for fine-tuning the visual balance and readability of the text block within its custom frame.

Practical Tips for Wrapping Text

  • Utilize the Quick Selection Tool or "Select Subject" feature to quickly generate an initial selection around your desired shape.
  • Expand your selection via Select > Modify > Expand to control the precise distance text will maintain from the subject's edge.
  • Invert the selection and use the Rectangular Marquee Tool with the "Intersect With" icon to define a specific rectangular area for your text.
  • Convert your selection into a Work Path in the Paths panel, as this vector-based outline is essential for text wrapping.
  • Adjust text attributes like size, leading (line spacing), and alignment within the Character and Paragraph panels to optimize readability and fit within the custom path.

Explore more creative typography techniques and text effects in Photoshop with these additional resources.

Create a cool text portrait in Photoshop
Creating a text portrait in Photoshop is a sophisticated blend of photography and typography. In this tutorial by Marty from Blue Lightning TV, you'll learn how to transform a standard photo into a powerful typographic portrait. Starting with an optimal photo choice, Marty guides you through desaturating the image, refining the subject's edges, and setting up a new document. The tutorial then delves into the core process of integrating text, adjusting brightness and contrast for maximum impact,
How to Create a Folded Paper Text Effect in Photoshop
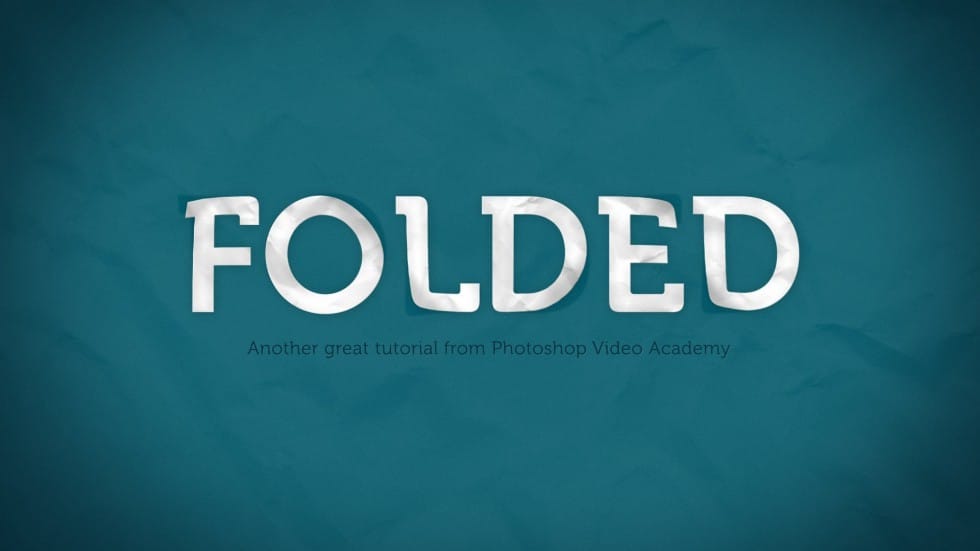
In this tutorial by New Layer, you'll learn how to create a folded paper text effect in Photoshop, where the letters look like they're peeling up from the page. The tutorial provides detailed, step-by-step instructions to guide you through the entire process, ensuring you can achieve a realistic and engaging effect. This technique adds a unique sense of depth and dimension to your text designs, making them stand out as if they were physically lifting off the page. Perfect for adding a creative
Create a Wrapped Gift Box Text Effect in Photoshop
In this guide, you will learn how to create a wrapped gift box text effect in Photoshop. This fun project is perfect for holiday designs and can add a festive touch to your text. To begin, you'll use the Bevel and Emboss layer effect to give the text a three-dimensional look. This feature adds depth and dimension to your design, making it appear more realistic. You'll also create rectangle shape layers that serve as the ribbon around the gift. By combining these simple techniques, you can achi
How to Make a Cartoon 3D Text in Photoshop
In this Photoshop tutorial by Learning Screen, you will learn how to create colorful, funny cartoon-style 3D text. The tutorial guides you through the process of using various Photoshop tools and techniques to achieve a vibrant, playful text effect that stands out. The resulting text is bold and eye-catching, perfect for playful and energetic designs. This tutorial is ideal for projects like posters, children's book covers, or any other creative work that benefits from a fun and dynamic headlin

Get tutorials & freebies delivered to you.

Subscribe to the Photoshop Roadmap newsletter, a weekly roundup of new tutorials, insights and quality downloads, trusted by 6500+ readers.

You might also like

How to Use Photoshop's Match Color Tool for Consistent Image Tones

Color consistency between images can make or break a professional composition. When combining photos from different sources, lighting conditions and camera settings create jarring color mismatches that immediately reveal the edit. Photoshop's Match Color tool provides a direct solution, automatically analyzing and transferring the color characteristics from one...

How to Build an Element Library for Faster Photoshop Composites

Creating Photoshop composites becomes much smoother when you have pre-cut elements ready to use. Building a collection of inspiring images and cutting them out ahead of time eliminates the tedious prep work. This approach lets you jump straight into the creative process when inspiration strikes, rather than stopping to hunt...

How to Replace Any Sky in Photoshop Using Selection Tools and Color Adjustments

A dull, overexposed sky can drain the life from an otherwise compelling photograph. Sky replacement transforms flat images into dramatic scenes that capture attention and convey mood. This tutorial demonstrates the complete process of replacing skies in Photoshop using built-in selection tools, smart objects, and color matching techniques for natural-looking...

How to Use Gemini 3 Nano Banana Pro in Photoshop for Advanced AI Editing

Google's Gemini 3 Nano Banana Pro brings powerful AI capabilities to Photoshop with features like focus shifting, text recognition, and 4K resolution support. Adobe integrated this advanced model immediately upon release. The tool excels at maintaining context while transforming images, creating storyboards, and generating realistic text replacements with...

How to Create Custom Moon Brushes in Photoshop

Custom brushes unlock creative possibilities that standard Photoshop tools can't match. Moon brushes add dramatic celestial elements to composite images and fantasy scenes. This technique transforms moon photographs into reusable brush presets through proper selection, masking, and sizing adjustments. Watch the Tutorial Essential Tips for Creating Moon Brushes...

Photoshop Clone Stamp Tool: Remove Objects Without Using AI Credits

AI tools in Photoshop consume generative credits and may flag your images as artificially generated. The clone stamp tool offers a cost-free alternative for removing unwanted objects while maintaining complete control over your edits. This traditional technique works perfectly for simple removals like cracks, blemishes, and small objects without requiring...

You’ve successfully subscribed to Photoshop Roadmap
Welcome back! You’ve successfully signed in.
Great! You’ve successfully signed up.
Success! Your email is updated.
Your link has expired
Success! Check your email for magic link to sign-in.