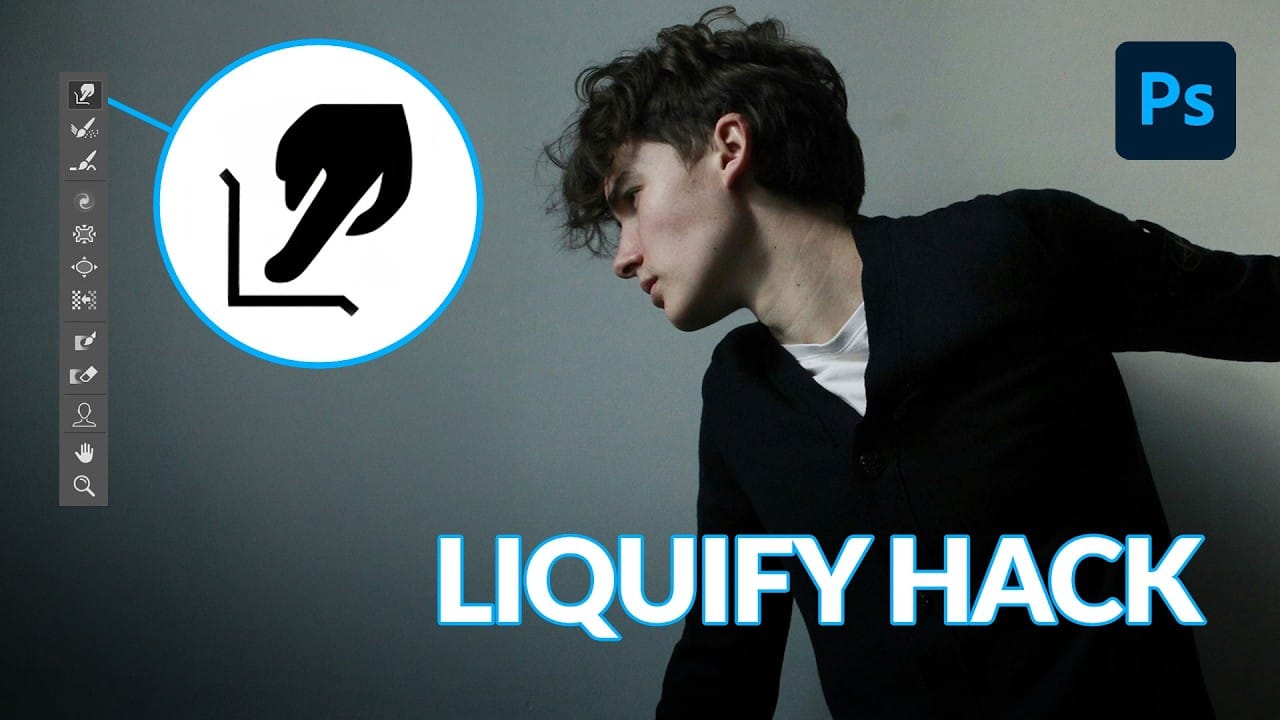
Clothing wrinkles, hair that lacks volume, and awkward fabric bunching can distract from an otherwise great portrait. Photoshop's Liquify tool offers a powerful solution for smoothing out these issues while preserving the natural look of your subject.
This tutorial demonstrates how to use the Liquify tool non-destructively with smart objects, focusing on clothing adjustments and hair enhancement while maintaining ethical retouching practices.
Watch the Tutorial
Video by PHLEARN. Any links or downloads mentioned by the creator are available only on YouTube
Essential Liquify Tool Tips
- Convert to smart object first: Go to Filter > Convert for Smart Filters before applying Liquify to make all changes reversible and adjustable
- Match brush size to target area: Use brackets [ ] to resize your brush to match the size of wrinkles or areas you want to adjust for better control
- Use the Forward Warp tool primarily: This is the most versatile tool in the Liquify panel and handles 90% of retouching tasks effectively
- Paint with the Reconstruct tool: When you've pushed an adjustment too far, use this tool to selectively undo parts of your liquify work
- Apply global reconstruction slider: Use the Revert Reconstruction slider to dial back the overall intensity of all your adjustments at once
More Tutorials About Portrait Retouching
Explore additional techniques for enhancing portraits and working with facial features in Photoshop.


