How to Use Photoshop's Alignment Tools for Perfect Object Placement

How to Use Photoshop's Alignment Tools for Perfect Object Placement

Perfect alignment transforms amateur-looking designs into polished, professional layouts. When text floats awkwardly or elements appear randomly scattered, the entire composition suffers. Photoshop's alignment tools eliminate guesswork and create visual harmony with mathematical precision.

These tools work with individual layers, groups, and selections to position elements exactly where they belong. Master these techniques to build consistent, balanced designs that look intentional rather than accidental.

Watch the Tutorial

Video by PHLEARN. Any links or downloads mentioned by the creator are available only on YouTube

Understanding Photoshop's Alignment System

Photoshop's alignment tools operate on a hierarchy system that determines which elements move and which stay fixed. When multiple layers are selected, the tool identifies the boundary layer and moves other elements to match its position.

The system becomes more powerful when combined with selections and groups. Selections create custom alignment zones, while groups treat multiple layers as single units. This flexibility allows for complex layouts that maintain precise relationships between elements.

  • Alignment tools always keep the boundary element stationary
  • Groups preserve internal relationships while aligning as units
  • Selections create custom alignment boundaries
  • Document-wide selection centers elements on the entire canvas
  • Layer-to-selection alignment works with any selection shape

Practical Tips for Perfect Alignment

  • Use Shift + click to select multiple layers for simultaneous alignment operations
  • Create groups (Ctrl/Cmd + G) when you want multiple elements to align as a single unit
  • Hold Ctrl/Cmd and click any layer thumbnail to convert it into a selection boundary
  • Use Ctrl/Cmd + A to select the entire document for perfect center alignment
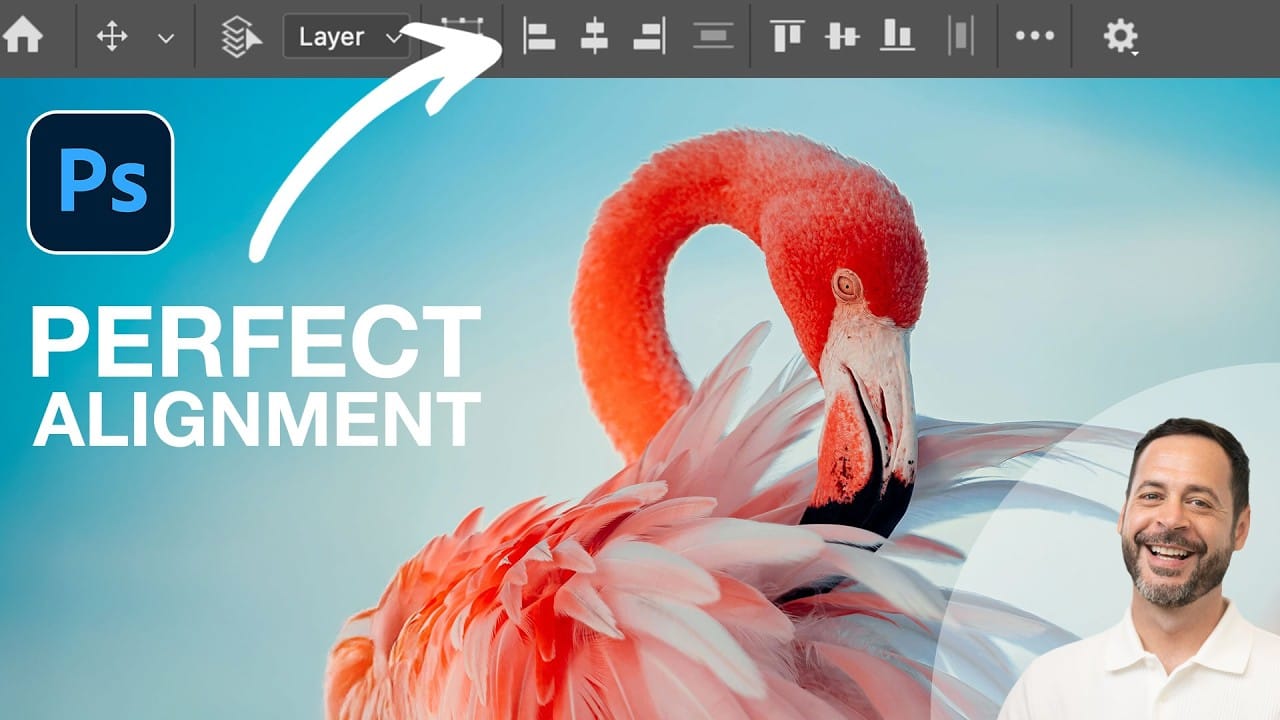
  • Access alignment tools through the Move tool options or use keyboard arrow keys for fine positioning

More Tutorials about Photoshop Design Techniques

Explore additional techniques for creating professional layouts and compositions.
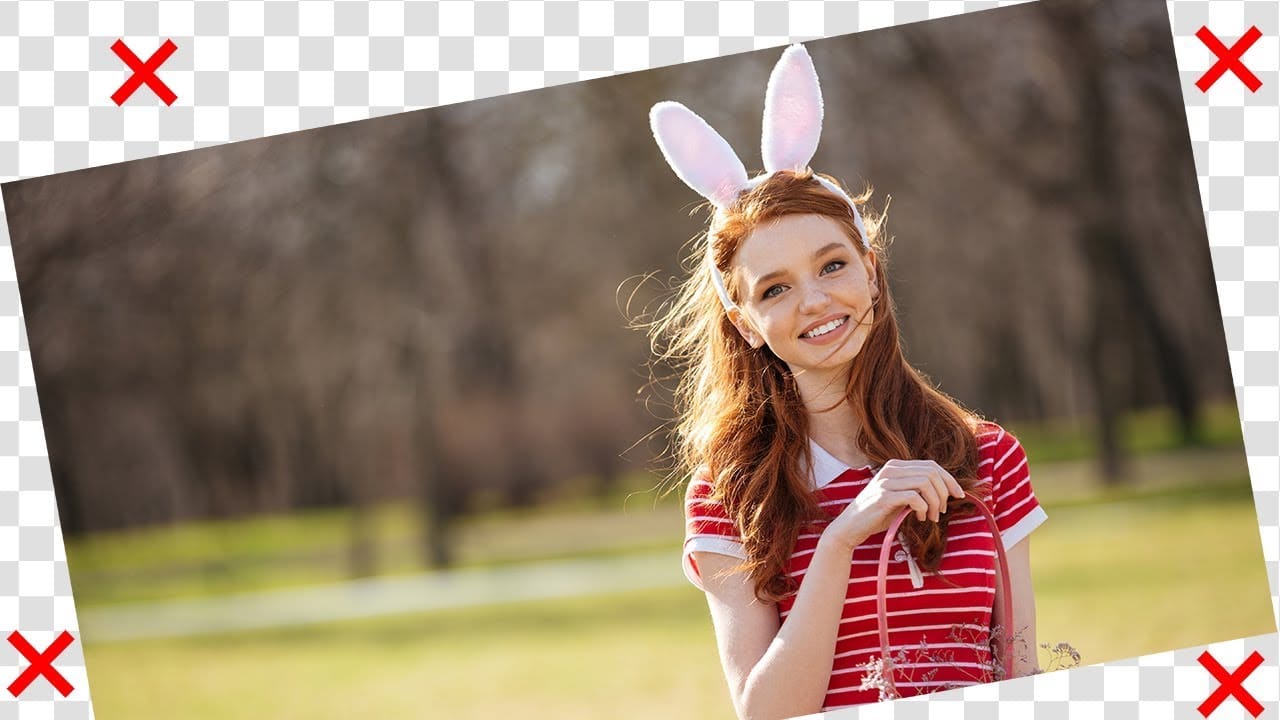
Rotate or straighten images without cropping in Photoshop
In this tutorial, PiXimperfect shows how to rotate or straighten an image without having to crop it in Photoshop. The instructor explains the process of using the Content-Aware Fill feature to fill in the spaces created when rotating the image. The tutorial guides the viewer through the step-by-step process. First, the image is rotated to the desired angle. Then, the Content-Aware Fill tool is used to fill in the empty spaces around the edges of the image. The author demonstrates how this techn
Learn Photoshop by Combining Tools and Techniques
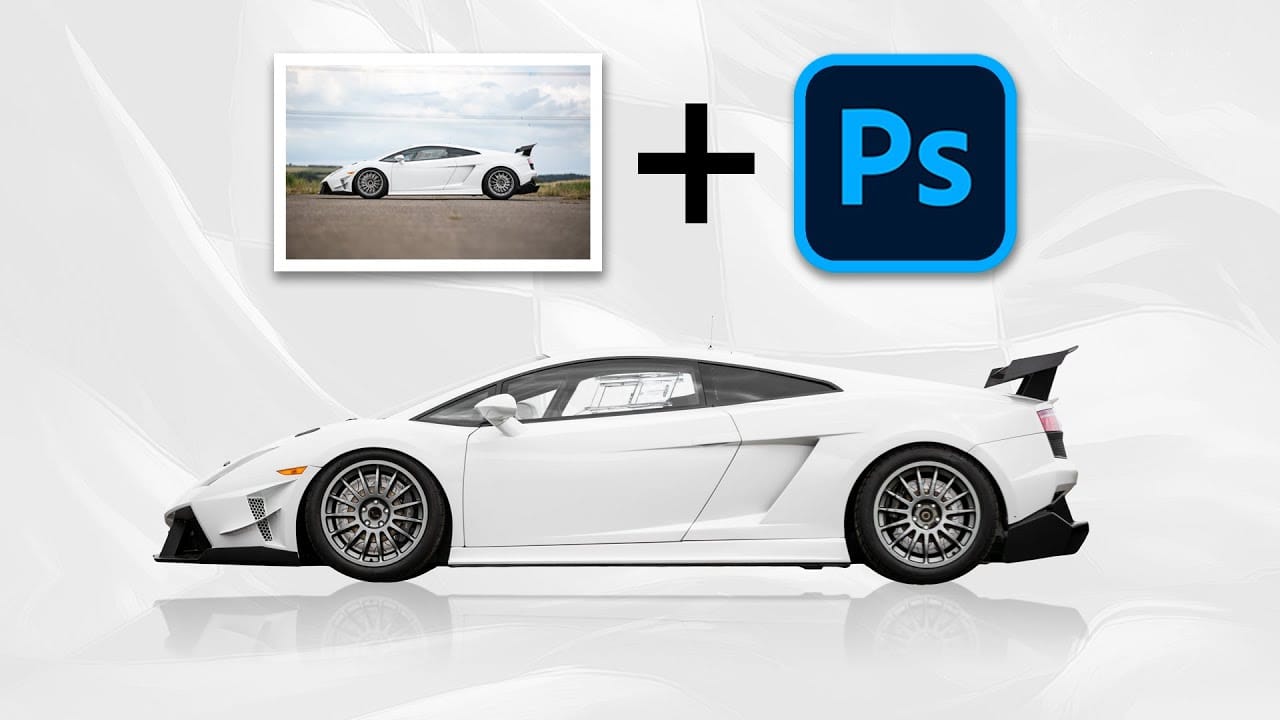
Achieving truly impressive image manipulations in Photoshop goes beyond mastering individual tools; it requires skillfully combining them. Many users learn techniques in isolation, but the real power of Photoshop emerges when these diverse methods are blended to create a cohesive final result. This tutorial demonstrates how to transform an ordinary photo into a dynamic composite. It guides you through integrating various tools and techniques, showing how to approach complex edits by layering di
How to perfectly match colors in Photoshop when combining photos
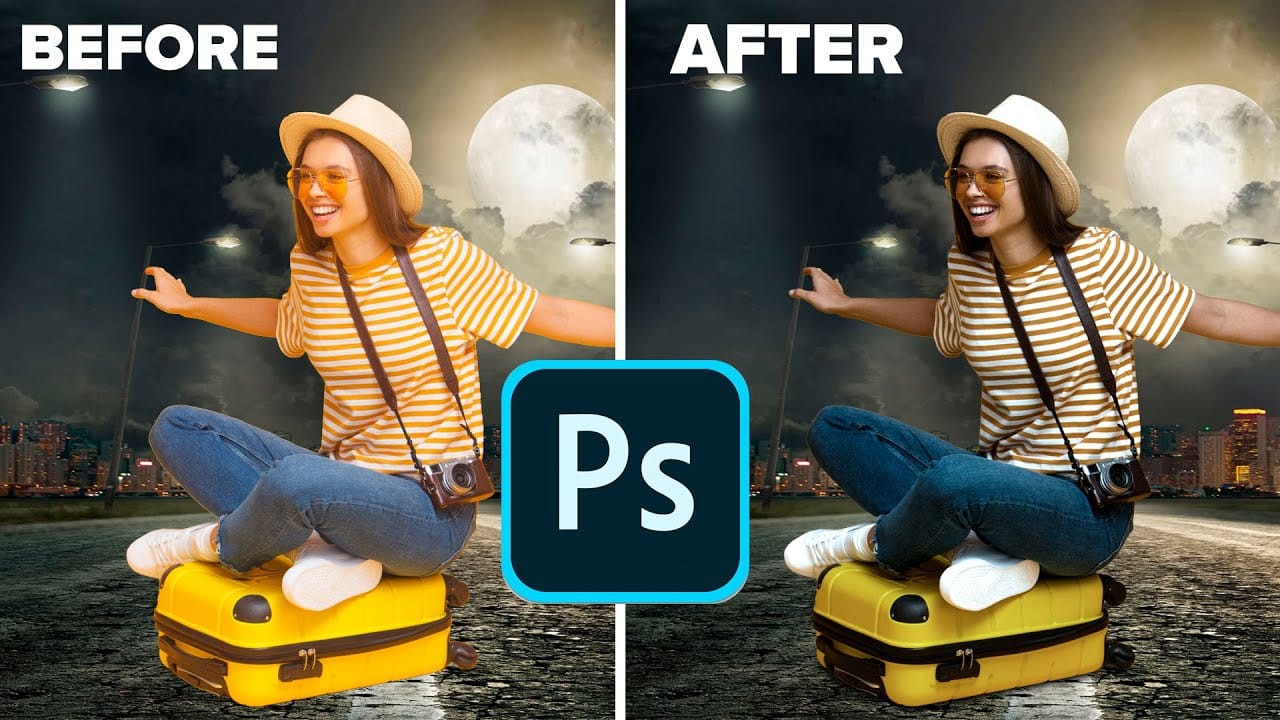
In this insightful tutorial, Colin Smith from Photoshop Cafe teaches you how to seamlessly match colors when combining multiple images in Photoshop. This process is crucial for ensuring that different layers or photographs blend together naturally and look cohesive. Colin demonstrates how to use the Match Color feature to align the tones and hues of different images. He also covers techniques for creating grounding shadows, which help to anchor the combined elements and enhance the overall inte
Quick Tilt-Shift in Photoshop
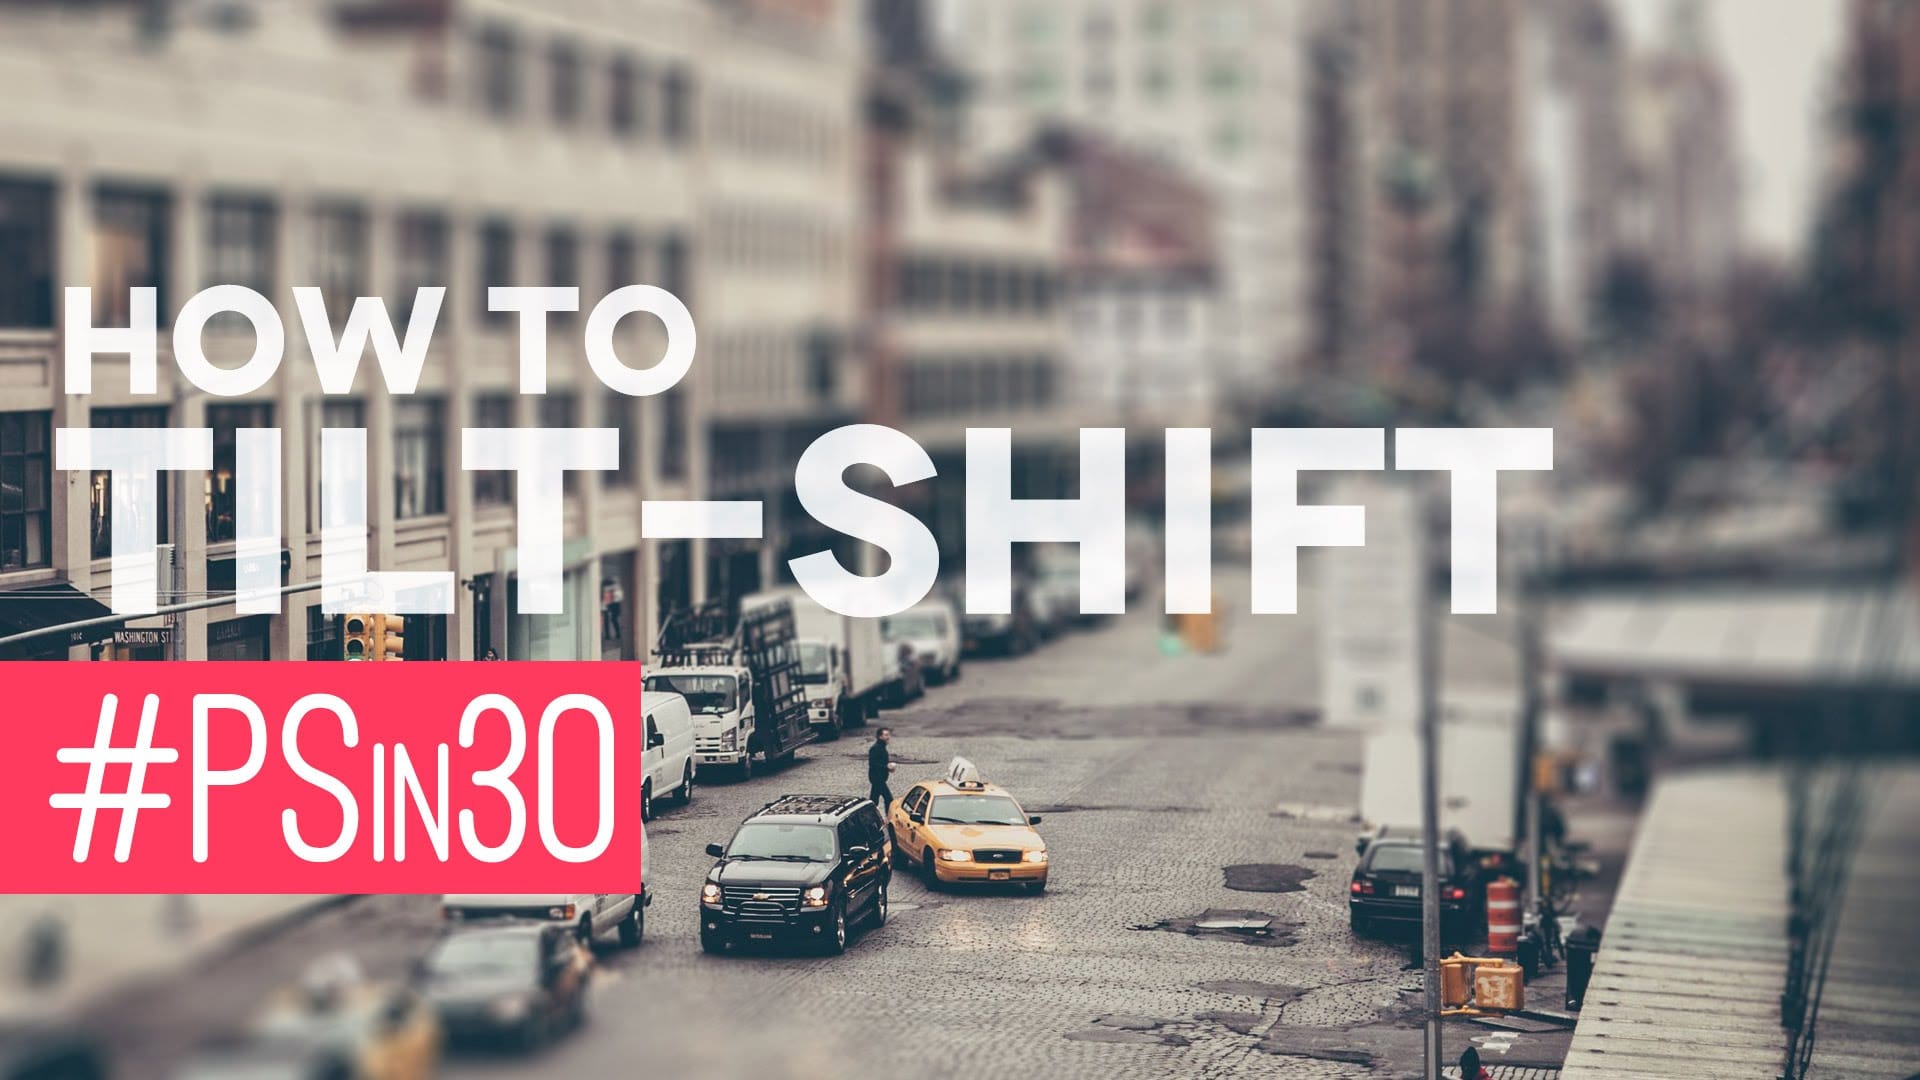
In this Photoshop tutorial by Nathaniel Dodson from TutVid, you'll learn to use the Blur Gallery's "Tilt-Shift" feature to transform a street scene into a miniature 3D model set. Dodson guides you through the process, showing how to apply the tilt-shift effect to create the illusion of a toy-like cityscape. This tutorial is ideal for those looking to add a unique, eye-catching element to their photos, utilizing the newer capabilities of Photoshop's Blur Gallery. Whether you're working on urban

Get tutorials & freebies delivered to you.

Subscribe to the Photoshop Roadmap newsletter, a weekly roundup of new tutorials, insights and quality downloads, trusted by 6500+ readers.

You might also like

Complete Photoshop Editing Workflow: 5 Steps from Raw to Polished

Photoshop offers endless possibilities for photo enhancement, but many photographers never move beyond basic adjustments because the software feels overwhelming. This comprehensive workflow breaks down photo editing into five manageable stages that work consistently across different photography styles. The systematic approach covers everything from initial raw processing to advanced lighting...

Photoshop Workspace Basics: Navigation, Zooming, and Essential Interface Elements

Photoshop's interface can feel overwhelming when you first open the program. Dozens of panels, tools, and menus compete for attention, making simple tasks feel complicated. This tutorial breaks down the essential workspace elements and teaches fundamental navigation skills that form the foundation of efficient Photoshop work. Watch the...

How to Restore Old Damaged Photos Using Nano Banana in Photoshop

Old family photos with scratches, tears, and missing sections can seem beyond repair. Google's Nano Banana AI model, now integrated into Photoshop, makes full restoration possible in minutes rather than hours. This powerful tool excels at maintaining facial characteristics while automatically filling in damaged areas and adding realistic...

How to Get Higher Quality Results from Photoshop's Generative Fill Tool

Photoshop's Generative Fill creates impressive AI extensions, but the results often look blurry and pixelated when viewed at full size. This quality limitation makes many AI-generated areas unusable for printing or large displays. This technique shows how to work around the 1024x1024 pixel quality limit to create much...

How to Use Photoshop's Liquify Tool for Non-Destructive Portrait Retouching

Clothing wrinkles, hair that lacks volume, and awkward fabric bunching can distract from an otherwise great portrait. Photoshop's Liquify tool offers a powerful solution for smoothing out these issues while preserving the natural look of your subject. This tutorial demonstrates how to use the Liquify tool non-destructively with...

You’ve successfully subscribed to Photoshop Roadmap
Welcome back! You’ve successfully signed in.
Great! You’ve successfully signed up.
Success! Your email is updated.
Your link has expired
Success! Check your email for magic link to sign-in.