How to Smooth Pixelated Selection Edges in Photoshop

How to Smooth Pixelated Selection Edges in Photoshop

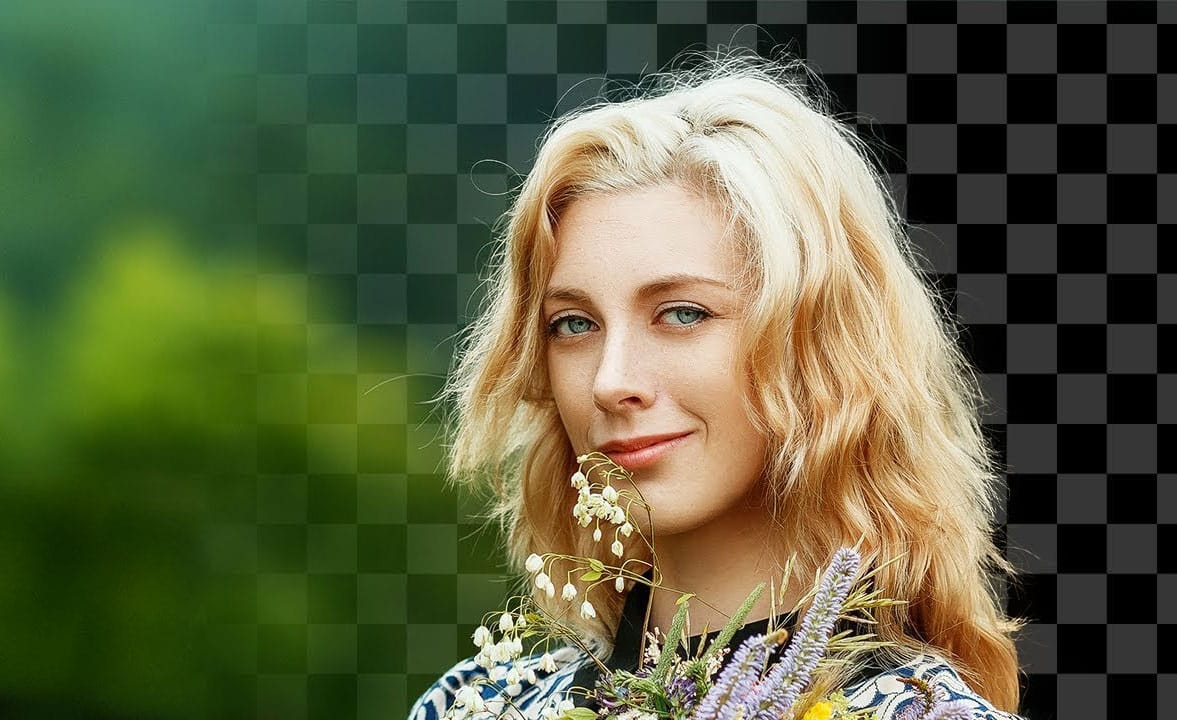
Automatic selections in Photoshop often create jagged, pixelated edges that look unprofessional when zoomed in. These blocky borders can ruin an otherwise perfect cutout, making your work appear amateurish regardless of how carefully you made the initial selection.

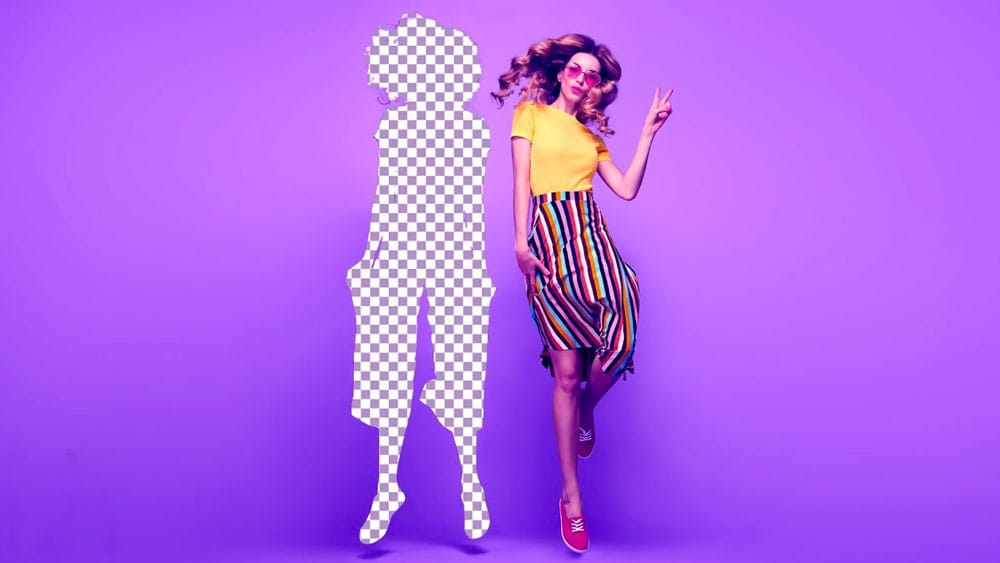
Three simple sliders in Photoshop's Select and Mask workspace can transform these rough edges into clean, professional results. Combined with selective blur techniques, these tools create realistic cutouts that blend seamlessly into any composite.

Watch the Tutorial

Video by Brendan Williams. Any links or downloads mentioned by the creator are available only on YouTube

Understanding Selection Edge Refinement

The quality of selection edges determines whether a composite looks natural or obviously manipulated. Digital selections create hard mathematical boundaries that don't exist in real photography, where edges naturally transition through space with varying degrees of sharpness and blur.

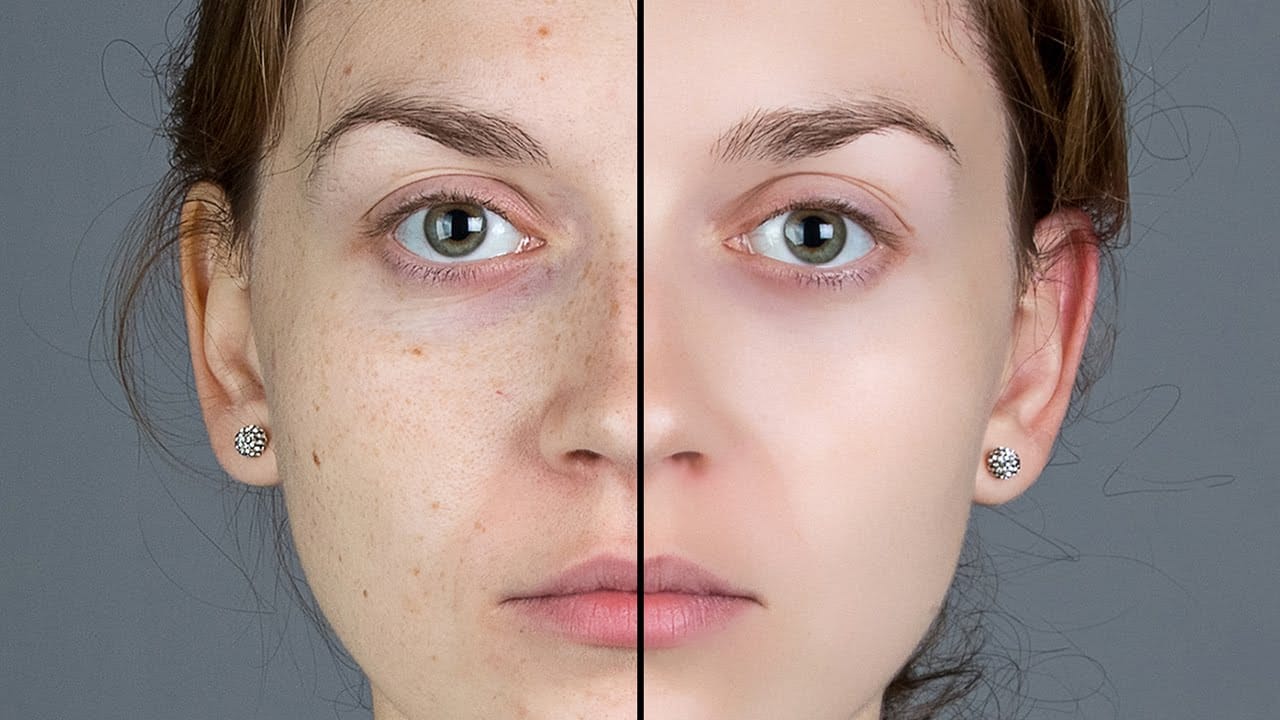
Photoshop's Select and Mask workspace addresses this challenge through global refinement controls that mathematically adjust edge properties. The smooth slider averages out pixel variations, the feather slider adds controlled blur, and the contrast slider sharpens the result. This three-step process mimics how camera lenses naturally render edges with depth and optical characteristics.

Professional compositing requires matching the edge quality to the source image's depth of field. Sharp edges against blurry backgrounds immediately reveal digital manipulation, while properly matched edge blur maintains the illusion of photographic authenticity.

Practical Tips for Edge Refinement

  • Access Select and Mask by double-clicking the layer mask thumbnail after making your initial selection
  • Use the smooth slider sparingly to preserve edge details while removing blockiness
  • Apply feather first to blur imperfections, then use contrast to restore sharpness
  • Convert refined selections to smart objects before adding Gaussian blur for non-destructive editing
  • Paint selective blur only on edges that match the background's depth of field

More Tutorials about Selection and Masking

Explore additional techniques for creating precise selections and professional cutouts.

The easy background remover tool hidden in Photoshop!
In this Photoshop tutorial, PiXimperfect shares their insights on the amazing power of the Background Eraser tool. Viewers will learn how to easily cut out hair or complex edges using this versatile tool, as well as the best settings for various situations. The tutorial also covers how to make the Background Eraser tool completely non-destructive. This allows users to change the background or make it transparent without permanently altering the original image. Whether you want to remove the bac
How to make difficult selections easy in Photoshop
In this detailed Photoshop tutorial by TutVid, you will be guided through the process of making intricate selections within the software. The focus is on selecting a person and accurately cutting them out using the Select and Mask tool in a two-step approach. This method ensures precise selection edges, making it effective for both clean, straight lines and complex details such as hair. The tutorial aims to equip users with comprehensive knowledge about making refined selections in Photoshop, e
Smooth Skin and Remove Blemishes and Scars in Photoshop
In this Photoshop tutorial by Marty Geller from Blue Lightning TV, you'll learn how to retouch a face to achieve beautifully smooth and flawless skin. The tutorial provides step-by-step instructions on removing blemishes, scars, acne, and wrinkles, ensuring a polished and professional finish. Perfect for photographers and retouchers aiming to enhance their portrait editing skills, this tutorial will help you create stunning, clear, and natural-looking skin in your images Watch tutorial
Did you know Photoshop has new Quick Actions?
Discover how to speed up your workflow with Photoshop's new Quick Actions, presented by Colin Smith from Photoshop Cafe. This tutorial reveals the ease and efficiency of using Quick Actions to perform common tasks with just one click. Colin walks you through locating these Quick Actions and demonstrates how to use them to blur backgrounds, apply duotones, remove backgrounds, and more. While some features, like the Blur Background action, might not always produce perfect results, Colin shares a

Get tutorials & freebies delivered to you.

Subscribe to the Photoshop Roadmap newsletter, a weekly roundup of new tutorials, insights and quality downloads, trusted by 6500+ readers.

You might also like

Creating Pixelated Dither Effects in Photoshop

The pixelated dither effect transforms modern photographs into retro-inspired artwork reminiscent of early video games and vintage computer graphics. This distinctive visual style uses controlled color reduction and strategic pixelation to create images that balance nostalgic charm with contemporary design appeal. The technique relies on Photoshop's export settings...

How to Create a Vector Stencil from a Portrait Using Photoshop and Illustrator

Stencil art transforms complex portraits into bold, graphic statements using just black and white shapes. This simplified aesthetic has defined everything from street art to commercial design, creating instantly recognizable images that work across any medium. This tutorial demonstrates the complete workflow for converting a photograph into a clean vector...

How to Create Dotted Halftone Motion Blur Effects in Photoshop

The distinctive look of dotted halftone patterns combined with dynamic motion blur creates striking visual effects that bridge vintage print aesthetics with modern digital design. This technique transforms portrait photography into graphic art pieces with flowing, particle-like textures. The process involves layering multiple filter effects to achieve that coveted Instagram-worthy...

Master Photoshop Adjustment Layers for Non-Destructive Editing

Fine-tuning images without destroying original pixel data transforms ordinary photos into compelling visuals. Adjustment layers provide the flexibility to experiment with colors, contrast, and tones while maintaining complete control over every edit. This comprehensive guide demonstrates how to harness Photoshop's most powerful adjustment layers for landscape photography, from...

Understanding Color Theory for Digital Image Editing

Color theory forms the foundation of every successful digital editing project. From the visible spectrum to RGB channels, understanding how colors interact determines whether your adjustments look natural or artificial. This comprehensive breakdown covers essential color models, temperature and tint relationships, and the practical connections between traditional color theory and...

You’ve successfully subscribed to Photoshop Roadmap
Welcome back! You’ve successfully signed in.
Great! You’ve successfully signed up.
Success! Your email is updated.
Your link has expired
Success! Check your email for magic link to sign-in.