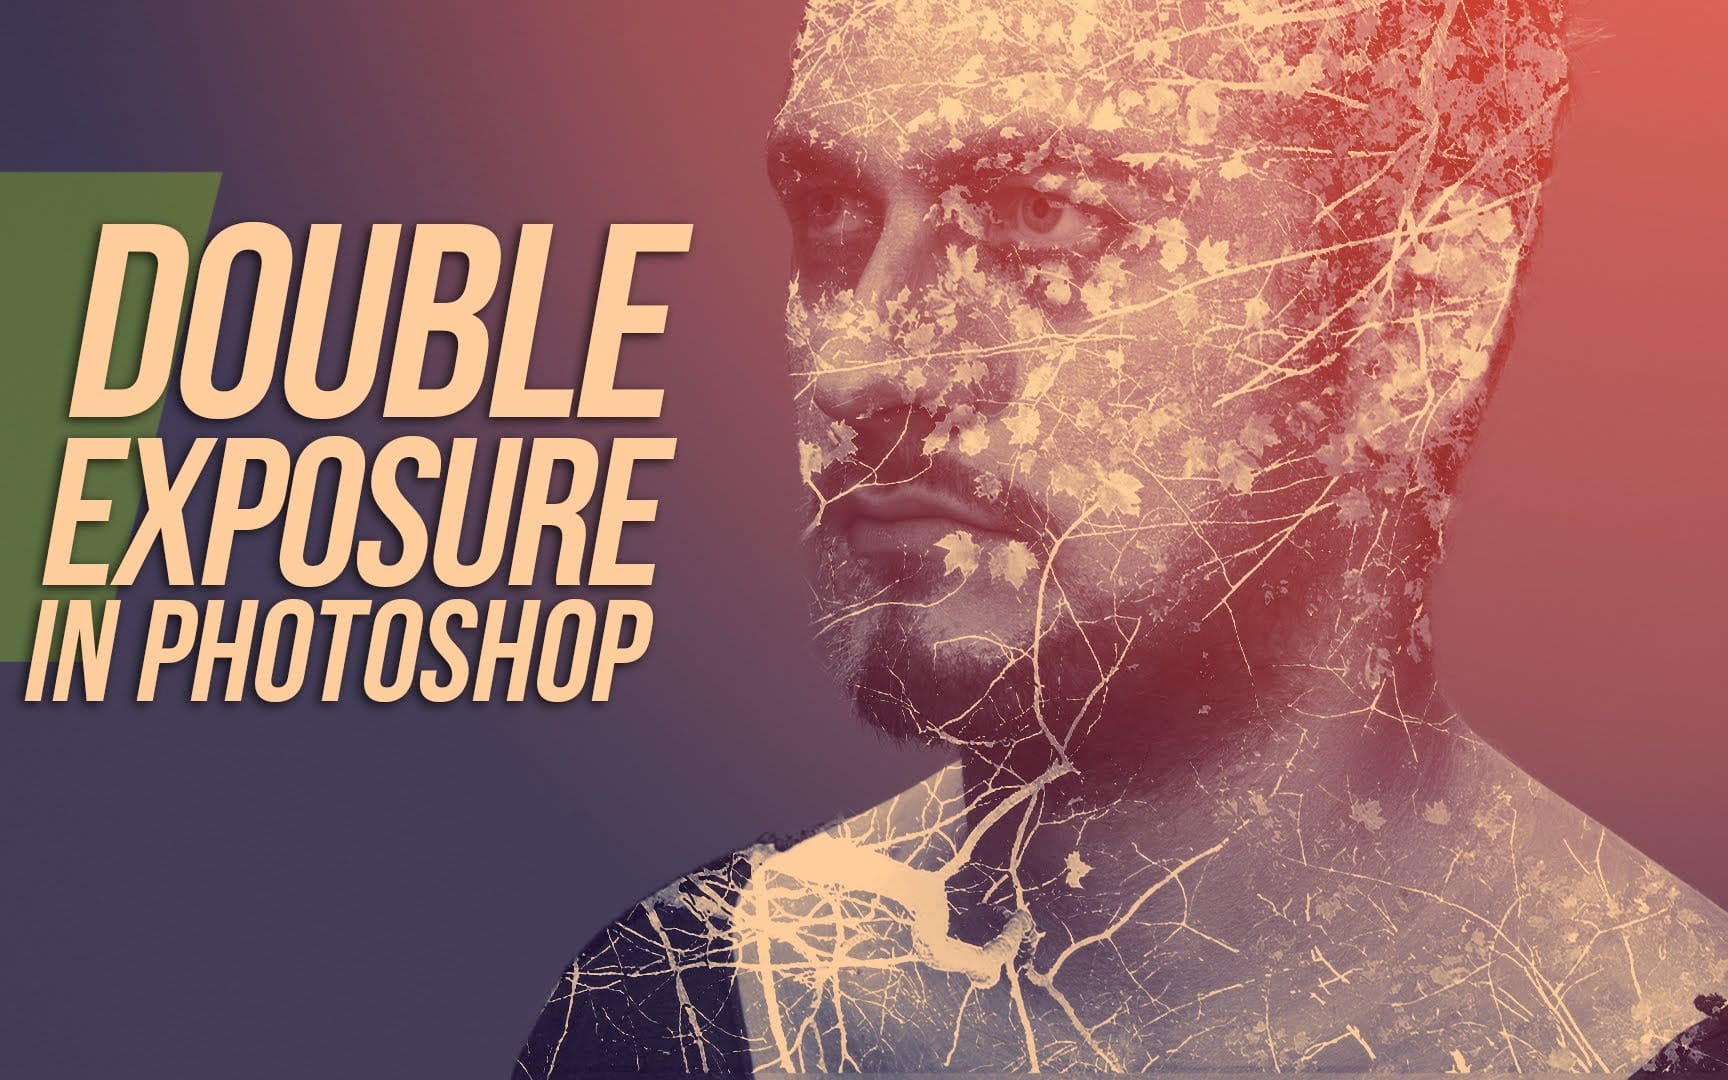
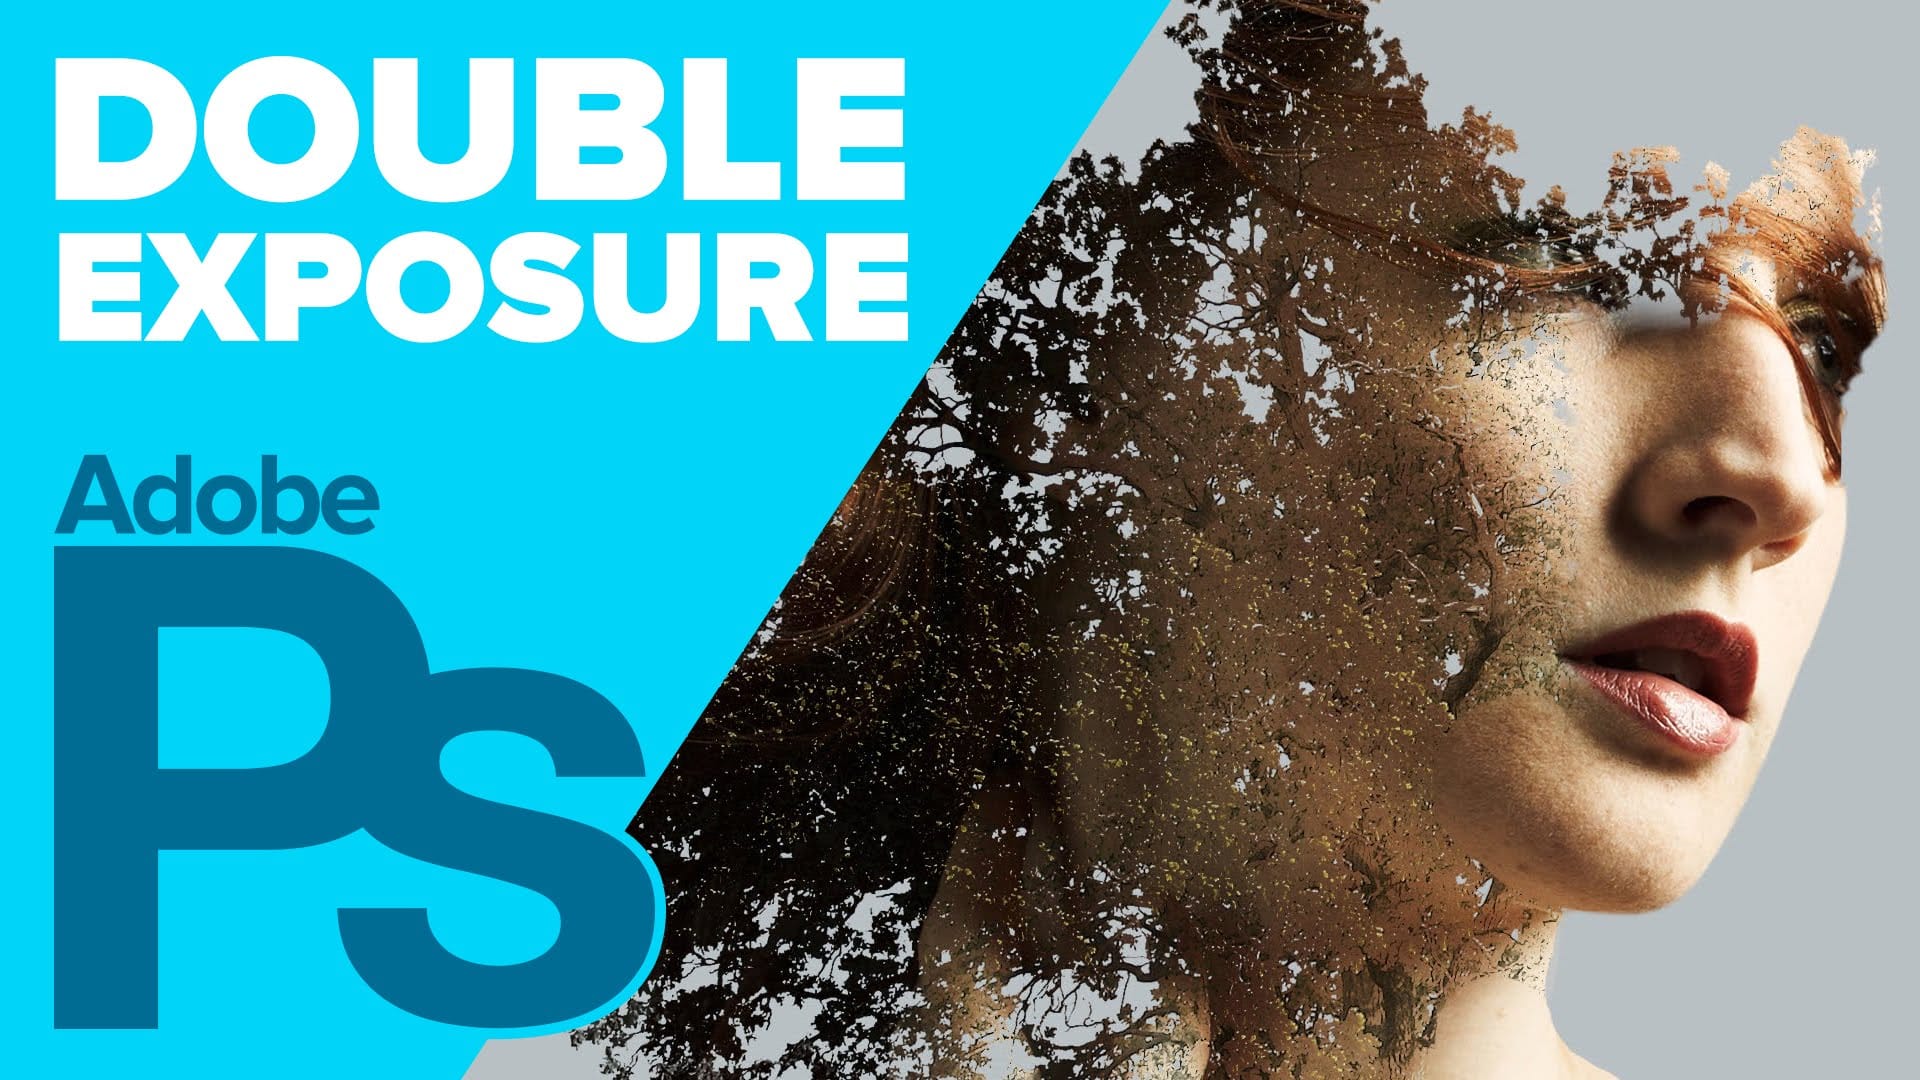
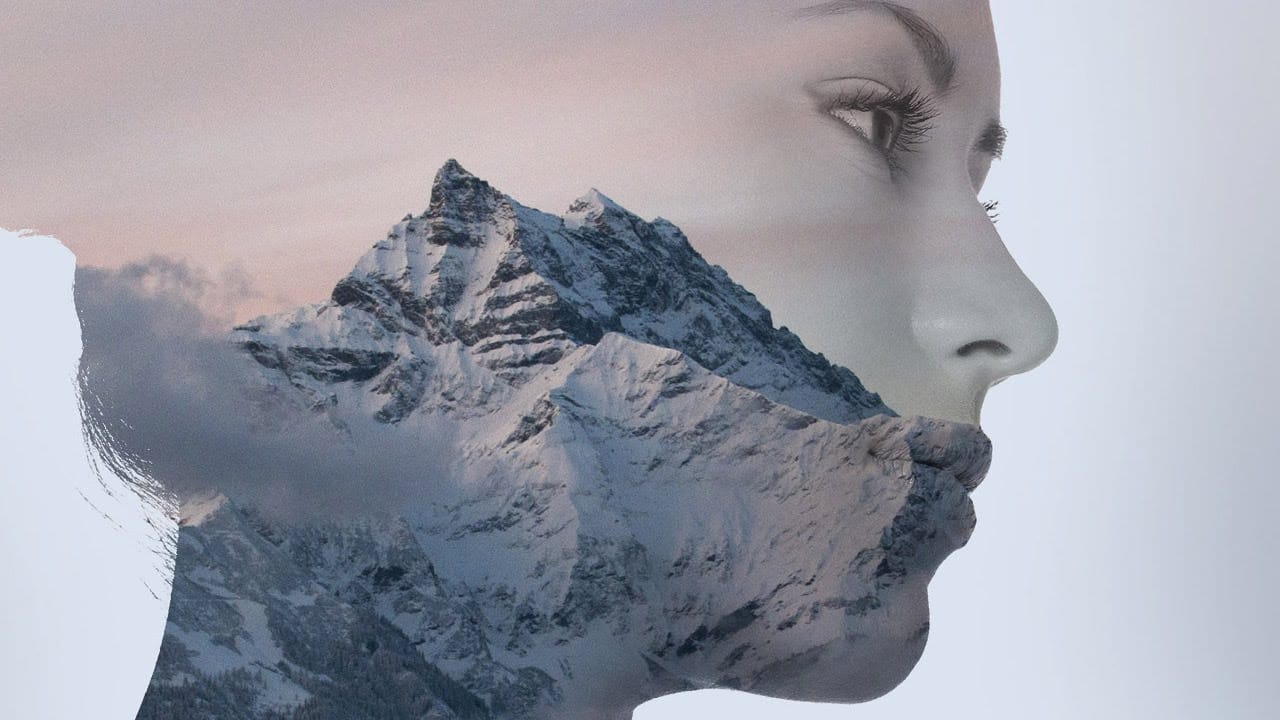
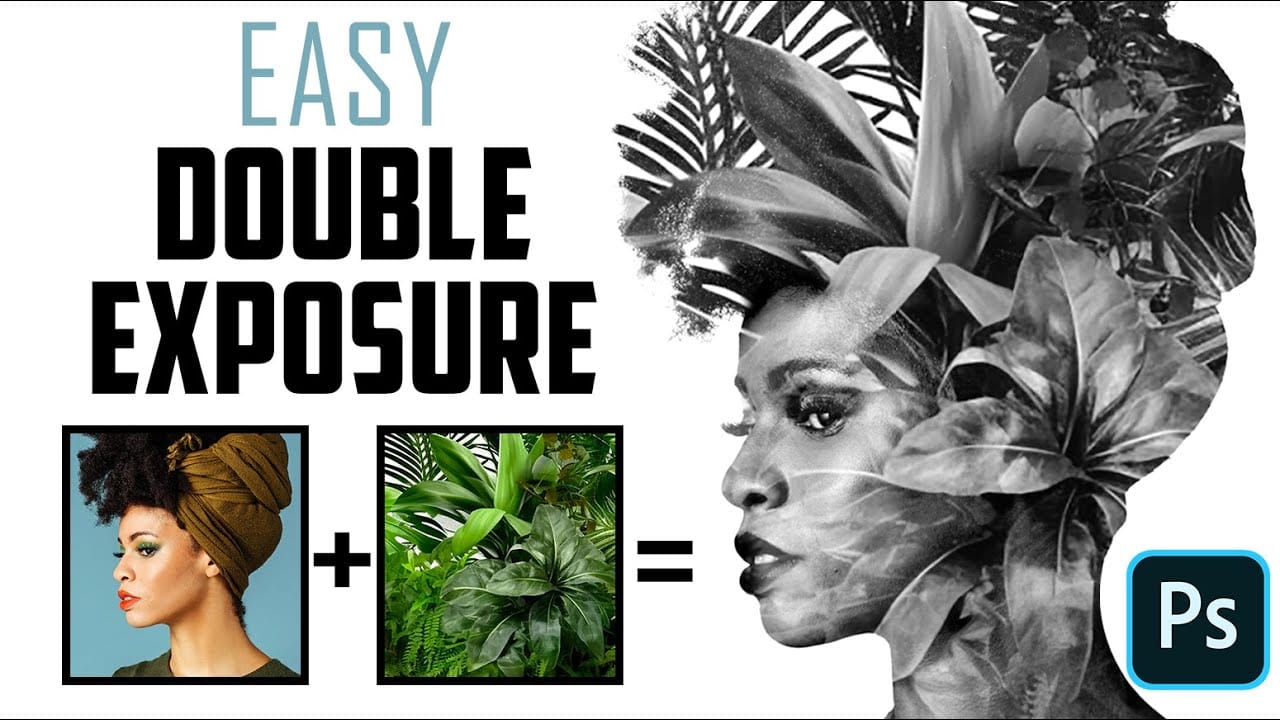
The double exposure effect, a classic technique originating from film photography, allows for the striking fusion of two distinct images into a single, cohesive composition. This method is particularly effective for creating surreal and evocative portraits, blending a subject with landscapes, textures, or abstract elements to convey deeper meaning or artistic vision.
This video tutorial provides a practical guide to achieving a powerful monochrome double-exposure photo portrait using Adobe Photoshop. You will learn essential techniques for subject isolation, image blending, and applying high-contrast black and white effects to create visually compelling results.
Watch the Tutorial
Exploring the Monochrome Double Exposure
Double exposure, at its core, involves layering two or more images on top of each other to create a single, unified visual. Historically, this was achieved by exposing the same frame of film multiple times. In digital image editing, this effect is simulated by blending layers in software like Photoshop, offering artists precise control over opacity, blend modes, and adjustments that were not possible with traditional methods.
Choosing a monochrome palette for double exposure significantly alters the aesthetic and emotional impact. By removing color, the focus shifts entirely to form, texture, light, and shadow, enhancing the interplay between the two superimposed images. This can lend a timeless, dramatic, or introspective quality to the portrait, emphasizing the connection between the subject and the overlaid element without the distraction of color.
The success of a double exposure often hinges on thoughtful image selection. For portraits, it is common to pair a clear subject with an abstract element, a landscape, or another figure. The monochrome treatment helps to unify disparate elements, allowing for a seamless integration that highlights the artistic narrative.
Practical Tips for Double-Exposure Portraits
- Quickly isolate your subject by using Photoshop's Quick Selection Tool and the Select Subject button.
- Utilize a layer mask to non-destructively separate the subject from its background, allowing for flexible adjustments.
- Apply a high-contrast black and white adjustment layer, such as "High Contrast Blue Filter," to create a strong monochrome effect.
- Set the blend mode of your second photo layer to Screen to effectively overlay it onto your subject while maintaining highlights.
- Employ the Brush Tool with a layer mask on the overlaid image to selectively reveal or conceal parts of your subject or the second image.
More Tutorials about Double Exposure Effects
Explore additional resources and tutorials to further enhance your skills in creating captivating double exposure effects in Photoshop.
