How to Professionally Remove Glare from Eyeglasses in Photoshop

How to Professionally Remove Glare from Eyeglasses in Photoshop

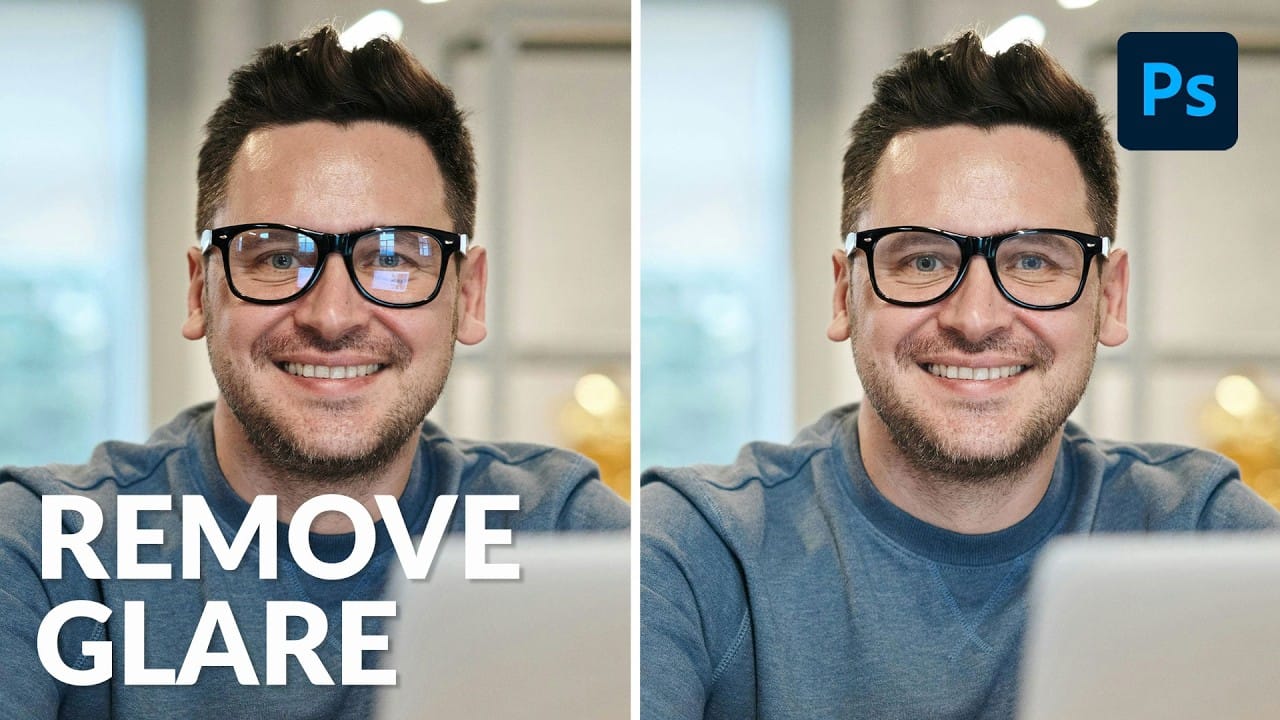
Glare on eyeglasses is a persistent and frustrating problem in photography, often obscuring the subject's eyes and facial features. This common issue can detract from an otherwise perfectly composed portrait, making it appear unprofessional or distracting due to bright reflections.

This tutorial demonstrates a robust hybrid approach to tackling eyeglass glare in Photoshop, combining the efficiency of AI-powered Generative Fill for minor touch-ups with the precision of the classic Clone Stamp tool for more critical areas. This methodology ensures natural-looking results, preserving original facial details and significantly enhancing photo editing workflows for portrait photographers.

Watch the video

Any links or downloads mentioned by the creator are available only on YouTube

Breaking It Down

The core strategy for glare removal in Photoshop involves a strategic combination of artificial intelligence and traditional manual tools.

For small, less critical areas of glare, such as those over an eyebrow or along the frame, Photoshop's Generative Fill can provide quick and acceptable results. However, for glare directly over sensitive facial features like the eyes, relying solely on AI risks generating entirely new features that do not resemble the subject, leading to unnatural outcomes.

For precise and realistic glare removal, particularly over the eyes, the Clone Stamp Tool is indispensable. This technique involves copying a glare-free section of the subject's face, typically the symmetrical area from the other eye or side of the face, onto the affected area.

This process is executed on a new layer, using Alt/Option to sample the source, followed by painting, transforming (Ctrl/Command + T), flipping horizontally, and optionally warping the cloned content to perfectly align with the underlying features.

Layer masks are crucial for blending the cloned content seamlessly. After cloning and positioning the glare-free section, a layer mask is applied to the new layer. Painting with black on this mask selectively conceals parts of the cloned image, allowing precise control over what is revealed and ensuring that only the glare is covered while the subject's original eye and facial contours remain visible.

This non-destructive method preserves image quality and allows for detailed adjustments.

Practical Tips

  • For minor glare areas not covering distinct facial features (e.g., over the frame or forehead), consider using Generative Fill for quick edits.
  • Always work on a new layer when using the Clone Stamp Tool, setting the Sample option to Current and Below for non-destructive editing.
  • Copy from a clean, symmetrical area of the subject's face (e.g., the unaffected eye) to ensure the cloned content integrates naturally and maintains realism.
  • After cloning, use Free Transform (Ctrl/Command + T) to accurately size and position the copied area, remembering to flip horizontally if copying from the opposite side.
  • Leverage layer masks extensively to precisely blend the cloned content, painting with black to reveal original features and using a soft brush for seamless transitions.

Explore more tutorials and access project files to enhance your Photoshop skills.
How to Remove Glare from Glasses in Photoshop
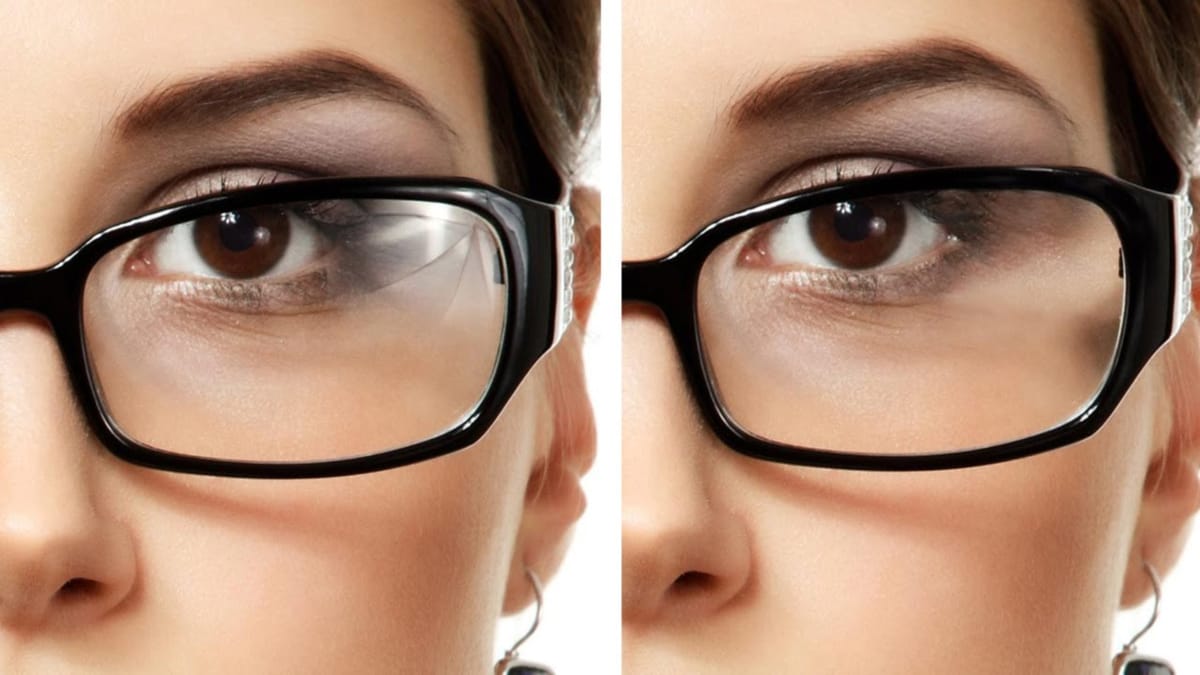
It’s always a sad time when you end up with unwanted reflections in someone’s glasses. Learn how to utilize the clone source dialogue to remove glare in Photoshop More
Magically remove glare from glasses in Photoshop
3 Simple Steps to Remove Complex Glare from Glasses in Photoshop! In this tutorial by PiXimperfect discover the best way to avoid and fix glare or reflections. Using advanced dodging and burning, in this tutorial, we will learn how to even out the brightness to make the glass completely transparent. Then, with the help of […] More
How to Color, Brighten and Sharpen Eyes in Photoshop
In this tutorial by Aaron Nace from Phlearn, learn how to enhance eyes in Photoshop to make them captivating and sharp. Techniques include coloring the eyes by sampling natural hues and adjusting lightness and saturation, using blending modes like “Soft Light” or “Overlay” for a natural look, and softening edges

Get tutorials & freebies delivered to you.

Subscribe to the Photoshop Roadmap newsletter, a weekly roundup of new tutorials, insights and quality downloads, trusted by 6500+ readers.

You might also like

Complete Photoshop Editing Workflow: 5 Steps from Raw to Polished

Photoshop offers endless possibilities for photo enhancement, but many photographers never move beyond basic adjustments because the software feels overwhelming. This comprehensive workflow breaks down photo editing into five manageable stages that work consistently across different photography styles. The systematic approach covers everything from initial raw processing to advanced lighting...

Photoshop Workspace Basics: Navigation, Zooming, and Essential Interface Elements

Photoshop's interface can feel overwhelming when you first open the program. Dozens of panels, tools, and menus compete for attention, making simple tasks feel complicated. This tutorial breaks down the essential workspace elements and teaches fundamental navigation skills that form the foundation of efficient Photoshop work. Watch the...

How to Restore Old Damaged Photos Using Nano Banana in Photoshop

Old family photos with scratches, tears, and missing sections can seem beyond repair. Google's Nano Banana AI model, now integrated into Photoshop, makes full restoration possible in minutes rather than hours. This powerful tool excels at maintaining facial characteristics while automatically filling in damaged areas and adding realistic...

How to Get Higher Quality Results from Photoshop's Generative Fill Tool

Photoshop's Generative Fill creates impressive AI extensions, but the results often look blurry and pixelated when viewed at full size. This quality limitation makes many AI-generated areas unusable for printing or large displays. This technique shows how to work around the 1024x1024 pixel quality limit to create much...

How to Use Photoshop's Liquify Tool for Non-Destructive Portrait Retouching

Clothing wrinkles, hair that lacks volume, and awkward fabric bunching can distract from an otherwise great portrait. Photoshop's Liquify tool offers a powerful solution for smoothing out these issues while preserving the natural look of your subject. This tutorial demonstrates how to use the Liquify tool non-destructively with...

You’ve successfully subscribed to Photoshop Roadmap
Welcome back! You’ve successfully signed in.
Great! You’ve successfully signed up.
Success! Your email is updated.
Your link has expired
Success! Check your email for magic link to sign-in.