How to Place Anything into Perspective in Photoshop

How to Place Anything into Perspective in Photoshop

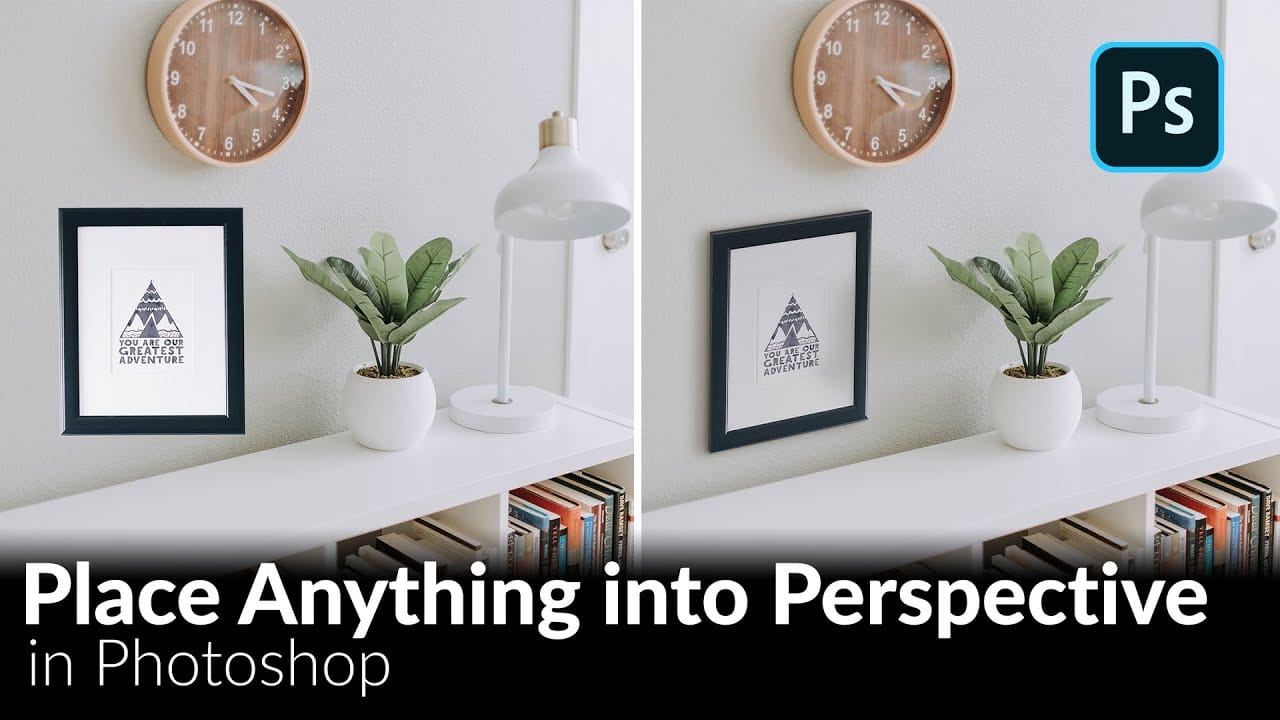
In this tutorial, we'll demonstrate a technique that allows you to seamlessly incorporate any object into a new scene, ensuring perfect perspective alignment. First, we'll guide you through the process of precisely cutting out the desired object using advanced selection tools. Next, we'll utilize the powerful Vanishing Point Filter to position the object within the target scene, aligning it perfectly with the existing perspective.

But we don't stop there. To achieve a truly professional-looking composite, we'll dive into the intricacies of color and lighting adjustments. By carefully matching the object's hue, saturation, and illumination to the surrounding environment, we'll create a flawless integration that will leave your viewers wondering how you achieved such a realistic effect.

To further enhance your learning experience, we've included a sample PSD file, allowing you to closely examine the individual layers and adjustments that contribute to the final image. This hands-on approach will ensure that you fully understand the techniques and can apply them to your own creative projects.

Get tutorials & freebies delivered to you.

Subscribe to the Photoshop Roadmap newsletter, a weekly roundup of new tutorials, insights and quality downloads, trusted by 6500+ readers.

You might also like

Understanding White Balance in Photoshop: Temperature vs Tint Explained

White balance confusion ends here. Temperature and tint work differently to fix color casts, and knowing when to use each tool transforms how you correct photos. Photoshop's new Color and Vibrance adjustment layer finally brings these essential controls natively into the workspace, eliminating the need to jump into...

How to Create Perfect Black and White Photos Using Camera Raw Filter in Photoshop

Camera Raw's black and white mixer transforms color photos into striking monochrome images with precision control. The built-in adjustment tool lets you click and drag directly on your image to lighten or darken specific tones. This non-destructive method preserves your original photo while giving you complete creative control...

Master Photoshop Adjustment Layers for Non-Destructive Editing

Fine-tuning images without destroying original pixel data transforms ordinary photos into compelling visuals. Adjustment layers provide the flexibility to experiment with colors, contrast, and tones while maintaining complete control over every edit. This comprehensive guide demonstrates how to harness Photoshop's most powerful adjustment layers for landscape photography, from...

50+ Nano Banana Uses in Photoshop Beta for Advanced Image Editing

Google's Nano Banana AI model now integrates directly into Photoshop Beta, bringing powerful generative capabilities to image editing. The tool excels at maintaining subject likeness while transforming backgrounds, clothing, and entire scenes with simple text prompts. This integration offers professional-grade AI editing within Photoshop's familiar interface,...

Photoshop Beta: How to Use Google's Nano Banana AI for Advanced Image Editing

Google's Nano Banana AI model now integrates directly into Photoshop Beta, offering superior detail preservation and more realistic results than Adobe's Firefly. This powerful generative fill tool excels at maintaining subject likeness while transforming backgrounds, clothing, and entire scenes. The integration brings professional-grade AI editing capabilities...

You’ve successfully subscribed to Photoshop Roadmap
Welcome back! You’ve successfully signed in.
Great! You’ve successfully signed up.
Success! Your email is updated.
Your link has expired
Success! Check your email for magic link to sign-in.