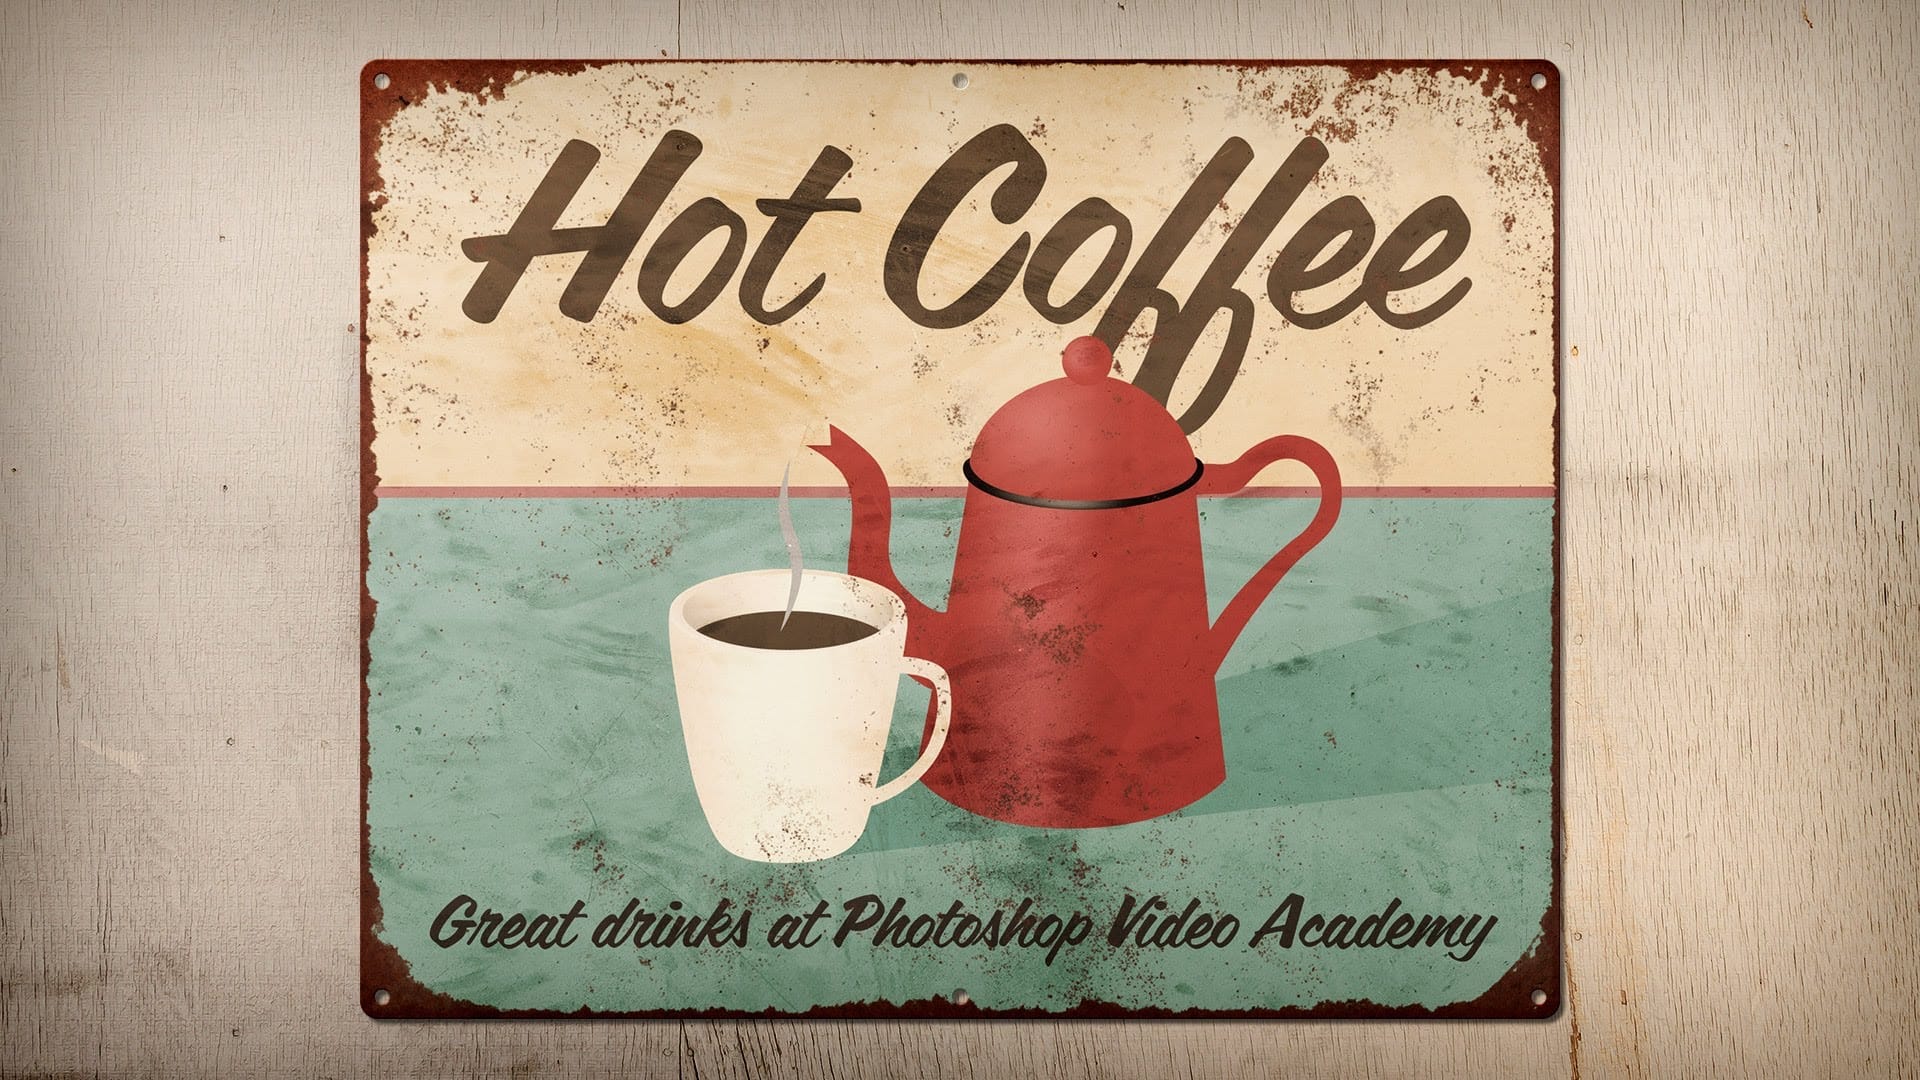
Digital design often seeks to replicate the tactile feel of real-world objects. This video explores how to achieve the authentic appearance of a rubber stamp within Adobe Photoshop.
Viewers will learn to design custom text and frames, apply distressed textures, and integrate this unique stamp effect onto any image, enhancing their projects with a vintage or official aesthetic.
Watch the Video
The Art of Digital Texturing: Replicating Physical Effects
Replicating physical textures in digital art adds depth and realism, transforming flat designs into immersive experiences. Artists often leverage Photoshop's extensive filter library and brush tools to simulate natural wear and tear, such as the subtle imperfections of a physical stamp. This process involves understanding how light interacts with surfaces and how materials degrade over time.
Achieving a convincing rubber stamp effect goes beyond simply adding text. It requires attention to details like ink bleeding, slight smudges, and the characteristic worn edges of a physical stamp. Techniques like applying spatter filters and overlaying scratch textures contribute significantly to this authenticity.
The flexibility of digital tools allows for easy experimentation with various stamp colors and opacities, enabling designers to adapt the effect for diverse applications, from branding elements to artistic compositions.
Practical Tips for Creating Rubber Stamp Effects
- Start with a clear document setup, including appropriate resolution for detail.
- Utilize Photoshop's Filter Gallery, specifically the Spatter filter, to introduce ink-like imperfections.
- Employ Color Range selections to precisely isolate and refine the spatter effect to the desired areas.
- Incorporate high-quality scratch brushes to simulate wear and tear, adjusting brush size for realistic distress.
- Use a Solid Color adjustment layer with a clipping mask to easily experiment with and change the stamp's color.
- Remember to set the stamp layer's blend mode to Multiply when overlaying it on an image, allowing the underlying texture to show through.
Related Articles and Tutorials about Photoshop Effects
Explore more creative techniques to enhance your digital designs with these related resources.


