How to Fix Photoshop's Scratch Disk Full Error Permanently

How to Fix Photoshop's Scratch Disk Full Error Permanently

Few things destroy creative momentum like Photoshop's dreaded "scratch disk full" error. This technical roadblock strikes at the worst possible moment—right when inspiration hits and your project is flowing perfectly.

The error occurs when Photoshop runs out of temporary storage space for your work files. This tutorial walks through both quick emergency fixes and permanent solutions to eliminate this frustrating interruption from your design workflow.

Watch the Tutorial

Video by Doron Studio. Any links or downloads mentioned by the creator are available only on YouTube

Practical Tips for Scratch Disk Management

  • Increase RAM allocation: Navigate to Photoshop Preferences > Performance and adjust the memory slider to the high end of the recommended range
  • Clear temporary data immediately: Use Edit > Purge > All after encountering the error to free up RAM and enable document saving
  • Maintain 15% free storage: Keep substantial hard drive space available by regularly deleting large unused files and emptying trash bins
  • Set up external scratch disk: Use a dedicated external SSD with at least 500GB capacity as your primary scratch disk location
  • Close competing applications: Shut down Chrome, other Adobe programs, and memory-heavy software when working on large Photoshop projects

Explore more Photoshop troubleshooting and optimization techniques.
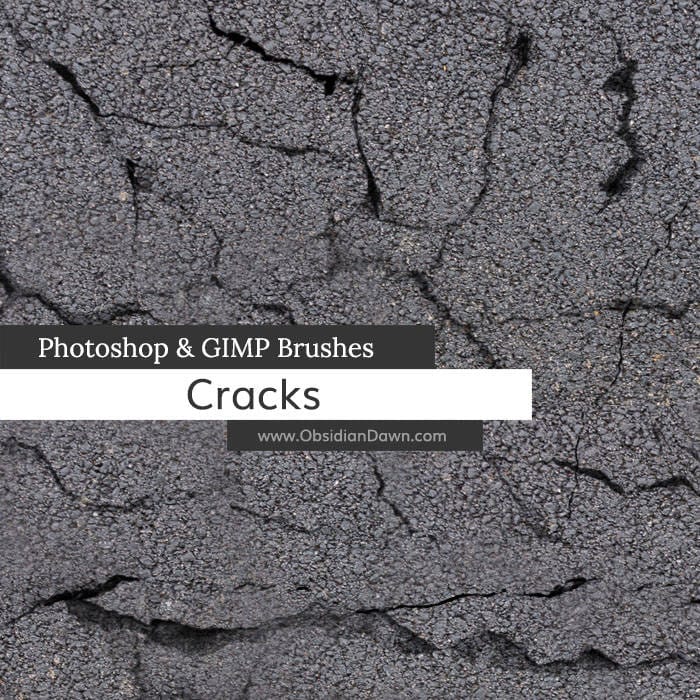
Cracks Photoshop Brushes
The author has created a set of Photoshop brushes that capture the intricate textures of various materials. These brushes are made up of cracks found in stone, pavement, sand, concrete, mud, and more. The author claims that these brushes can be used to recreate the appearance of cracks in almost any medium. The brushes are sizable, with most being around 1000 pixels high or wide. This ensures that the level of detail is preserved, allowing users to seamlessly integrate the cracks into their dig
Cracks Photoshop Brushes
The author provides a comprehensive Photoshop Brushes set that captures the essence of weathered and worn-out surfaces. This collection features a range of concrete cracks, peeled paint, and other textures often found on aging walls. The brushes are designed to help users create realistic and visually striking effects in their digital artwork. Whether you're working on a gritty urban scene, an abandoned building, or a vintage-inspired design, these brushes offer a versatile toolkit to add depth
How to repair an old torn photo in Photoshop
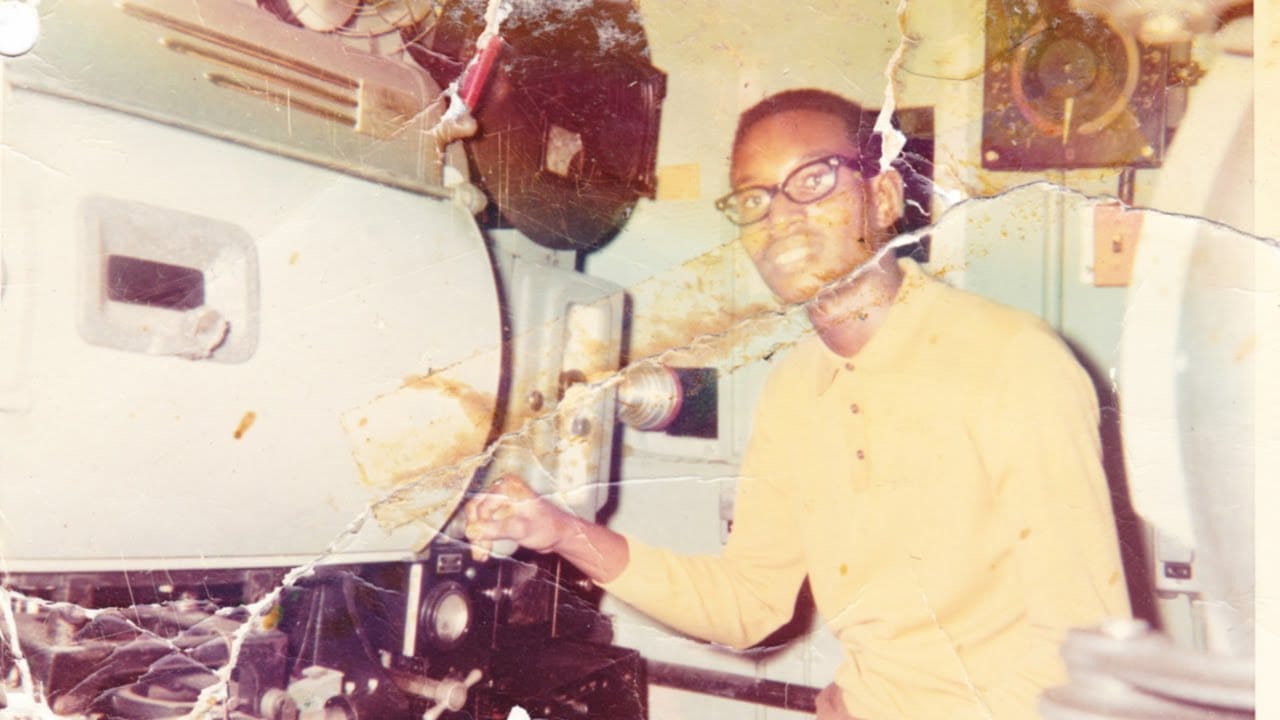
In this tutorial, you'll discover how to breathe new life into an old, torn photograph using Photoshop. Aaron Nace, the expert from Phlearn, will guide you through the process step by step. First, you'll learn how to assess the damage and create a plan for the restoration. Then, you'll dive into the various tools and techniques to repair the tears, scratches, and discoloration. By carefully blending layers and adjusting the image, you'll be able to seamlessly restore the photo to its former glo
Photoshop's Remove Tool is Broken—What Now?
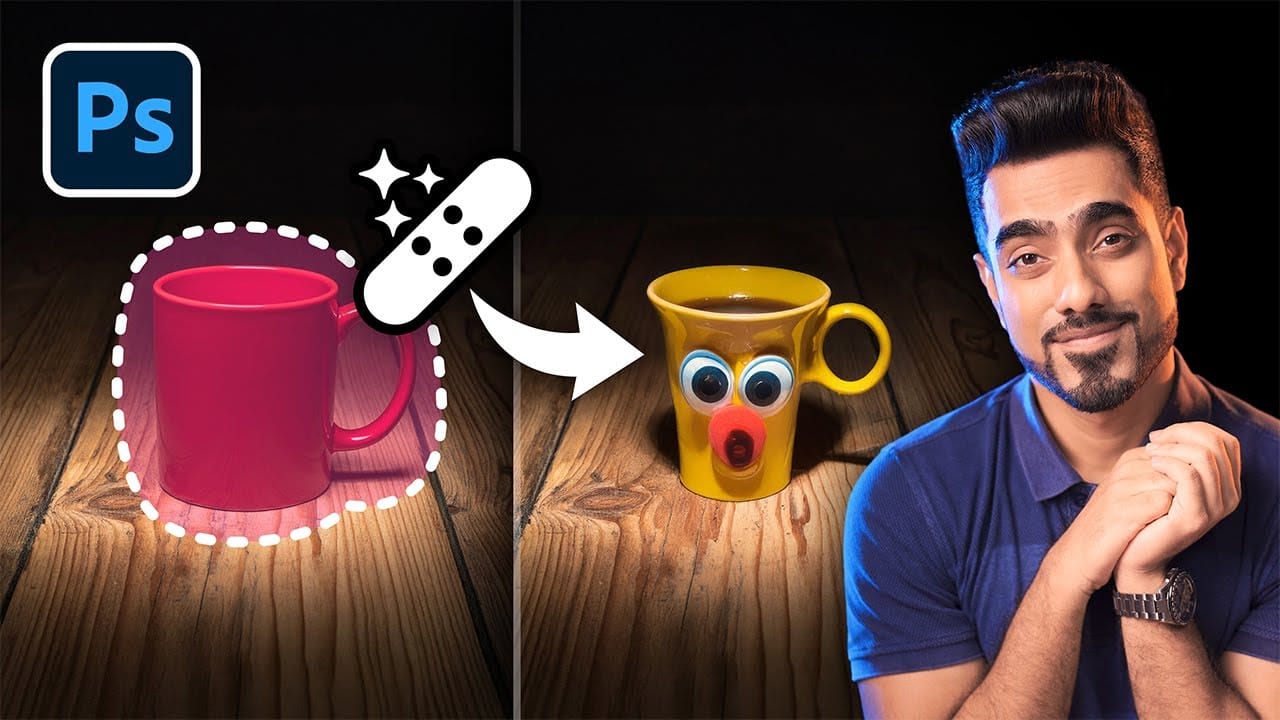
Object removal is a fundamental task in photo editing, but AI-powered tools can sometimes produce unpredictable results. It can be frustrating when a tool designed to remove an object instead replaces it with another unwanted element, disrupting your workflow and requiring extra steps to correct. This tutorial demonstrates how recent updates to the Remove Tool in Photoshop Beta solve these common issues. You will learn how to access the improved tool, use a new selection-based workflow for more

Get tutorials & freebies delivered to you.

Subscribe to the Photoshop Roadmap newsletter, a weekly roundup of new tutorials, insights and quality downloads, trusted by 6500+ readers.

You might also like

Complete Photoshop Editing Workflow: 5 Steps from Raw to Polished

Photoshop offers endless possibilities for photo enhancement, but many photographers never move beyond basic adjustments because the software feels overwhelming. This comprehensive workflow breaks down photo editing into five manageable stages that work consistently across different photography styles. The systematic approach covers everything from initial raw processing to advanced lighting...

Photoshop Workspace Basics: Navigation, Zooming, and Essential Interface Elements

Photoshop's interface can feel overwhelming when you first open the program. Dozens of panels, tools, and menus compete for attention, making simple tasks feel complicated. This tutorial breaks down the essential workspace elements and teaches fundamental navigation skills that form the foundation of efficient Photoshop work. Watch the...

How to Restore Old Damaged Photos Using Nano Banana in Photoshop

Old family photos with scratches, tears, and missing sections can seem beyond repair. Google's Nano Banana AI model, now integrated into Photoshop, makes full restoration possible in minutes rather than hours. This powerful tool excels at maintaining facial characteristics while automatically filling in damaged areas and adding realistic...

How to Get Higher Quality Results from Photoshop's Generative Fill Tool

Photoshop's Generative Fill creates impressive AI extensions, but the results often look blurry and pixelated when viewed at full size. This quality limitation makes many AI-generated areas unusable for printing or large displays. This technique shows how to work around the 1024x1024 pixel quality limit to create much...

How to Use Photoshop's Liquify Tool for Non-Destructive Portrait Retouching

Clothing wrinkles, hair that lacks volume, and awkward fabric bunching can distract from an otherwise great portrait. Photoshop's Liquify tool offers a powerful solution for smoothing out these issues while preserving the natural look of your subject. This tutorial demonstrates how to use the Liquify tool non-destructively with...

You’ve successfully subscribed to Photoshop Roadmap
Welcome back! You’ve successfully signed in.
Great! You’ve successfully signed up.
Success! Your email is updated.
Your link has expired
Success! Check your email for magic link to sign-in.