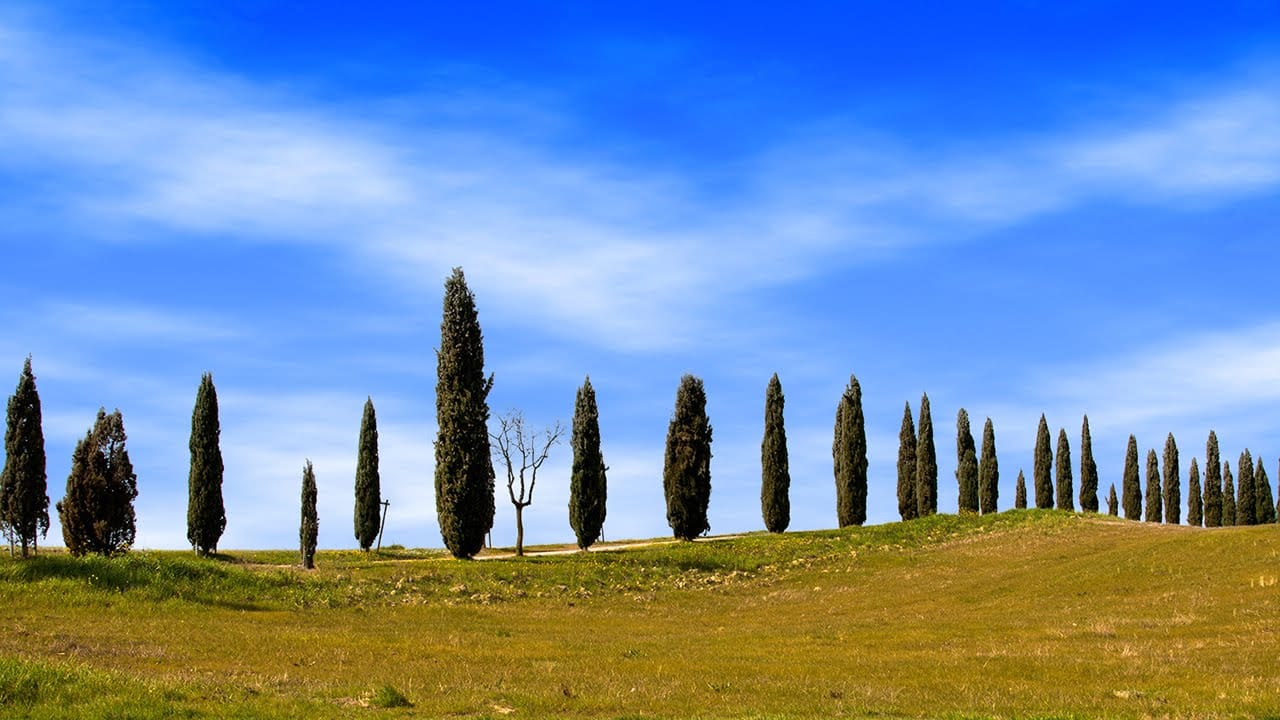
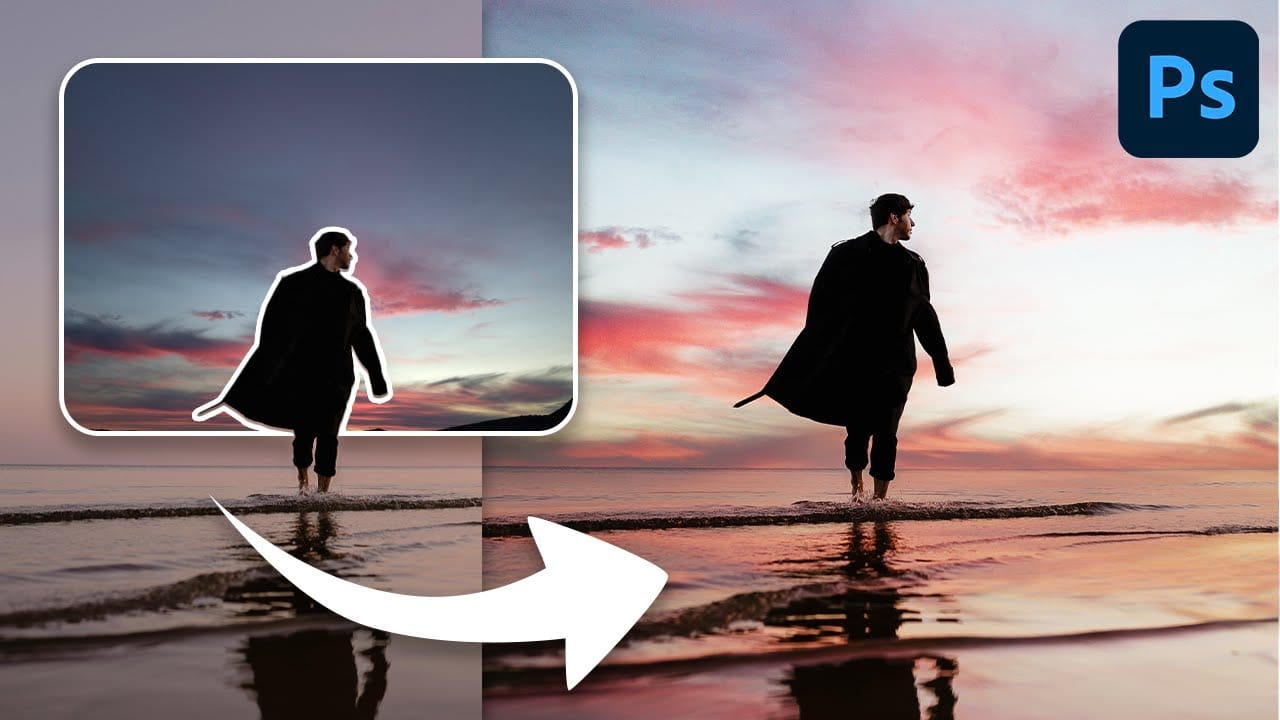
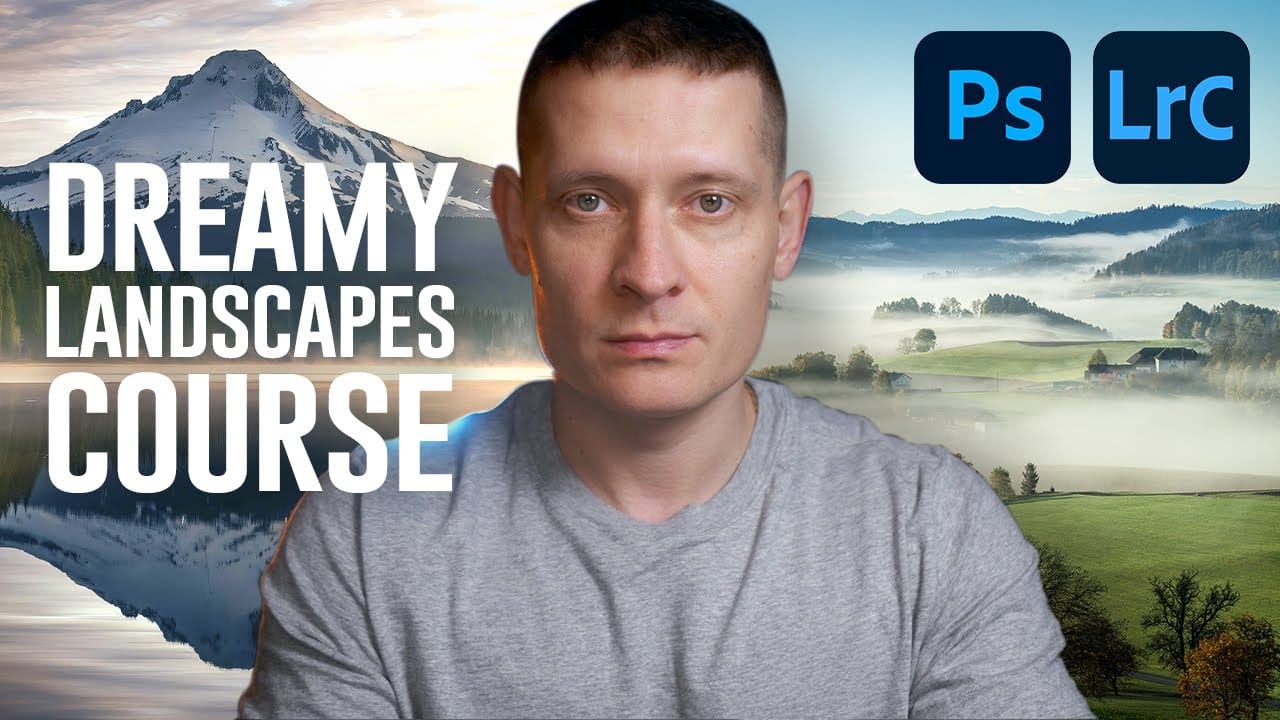
Landscape photography often presents unique challenges and opportunities for post-processing. Capturing the grandeur of nature requires not only a keen eye but also the ability to refine and enhance images to truly convey the scene's atmosphere and depth.
This video tutorial demonstrates a comprehensive workflow for editing landscape photos, primarily utilizing Adobe Camera Raw (compatible with Lightroom) and Photoshop. Viewers will learn how to apply non-destructive adjustments, create depth through selective edits, and introduce realistic light effects to transform their images.
Watch the Landscape Photo Editing Tutorial
The Power of Selective Adjustments in Landscape Photography
Effective landscape photo editing often hinges on the principle of selective adjustments, rather than applying global changes across an entire image. This approach allows photographers to address specific areas—such as the sky, foreground, or distant mountains—independently, tailoring exposure, contrast, and color to each element's unique needs. By isolating adjustments, one can maintain detail in highlights while lifting shadows, or enhance atmospheric effects without desaturating other parts of the scene.
Tools like Adobe Camera Raw's masking capabilities or Lightroom's local adjustment brushes are indispensable for this process. They enable precise control over luminosity and color, allowing for the creation of depth and visual interest. For instance, darkening the edges of a frame can draw the viewer's eye towards the central subject, while subtly brightening a distant peak can enhance its prominence and separation from the background. This meticulous attention to detail ensures that the final image possesses a natural yet impactful quality.
Furthermore, the strategic use of atmospheric effects, such as haze or dehaze, can significantly influence the perceived depth and mood of a landscape. Reducing haze can bring clarity to distant elements, while adding a touch of mist can evoke a sense of mystery or softness. These nuanced adjustments contribute to a more immersive and emotionally resonant photographic experience.
Practical Tips for Editing Landscape Photos
- Start with Smart Objects: Convert your background layer to a Smart Object before applying Camera Raw Filter settings to enable non-destructive editing and allow for future modifications.
- Utilize Camera Raw Masking: Employ the masking brush (shortcut
K) within Camera Raw to make precise, localized adjustments to different parts of your landscape, such as the sky, foreground, or specific elements like trees and mist. - Create Depth with Light: Strategically lighten shadows in the background (e.g., mountains) while keeping foreground shadows slightly darker to create a sense of depth and separation in your image.
- Refine Atmospheric Effects: Use the Dehaze slider in Camera Raw to either reduce atmospheric haze for clarity or introduce subtle mist effects to enhance mood and depth in specific areas.
- Add Realistic Light Beams: Generate sun rays or light beams in Photoshop by creating a new layer, using a soft, light-colored brush, and transforming the shape with
Ctrl/Command + TandCtrl/Commanddragging to stretch the light. Adjust opacity for realism.
Related Articles and Tutorials about Landscape Photo Editing
Explore more techniques to enhance your landscape photography and master advanced Photoshop skills.


