A cluttered toolbar can slow down your workflow when you can't find the tools you need. Meanwhile, dozens of useful tools remain hidden in groups or completely out of sight.
Learning to customize your toolbar lets you organize tools according to your actual workflow, remove tools you never use, and create presets for different types of projects.
Watch the Video
Video by PiXimperfect. Any links or downloads mentioned by the creator are available only on YouTube
Practical Tips
Here are the key techniques for customizing your toolbar effectively:
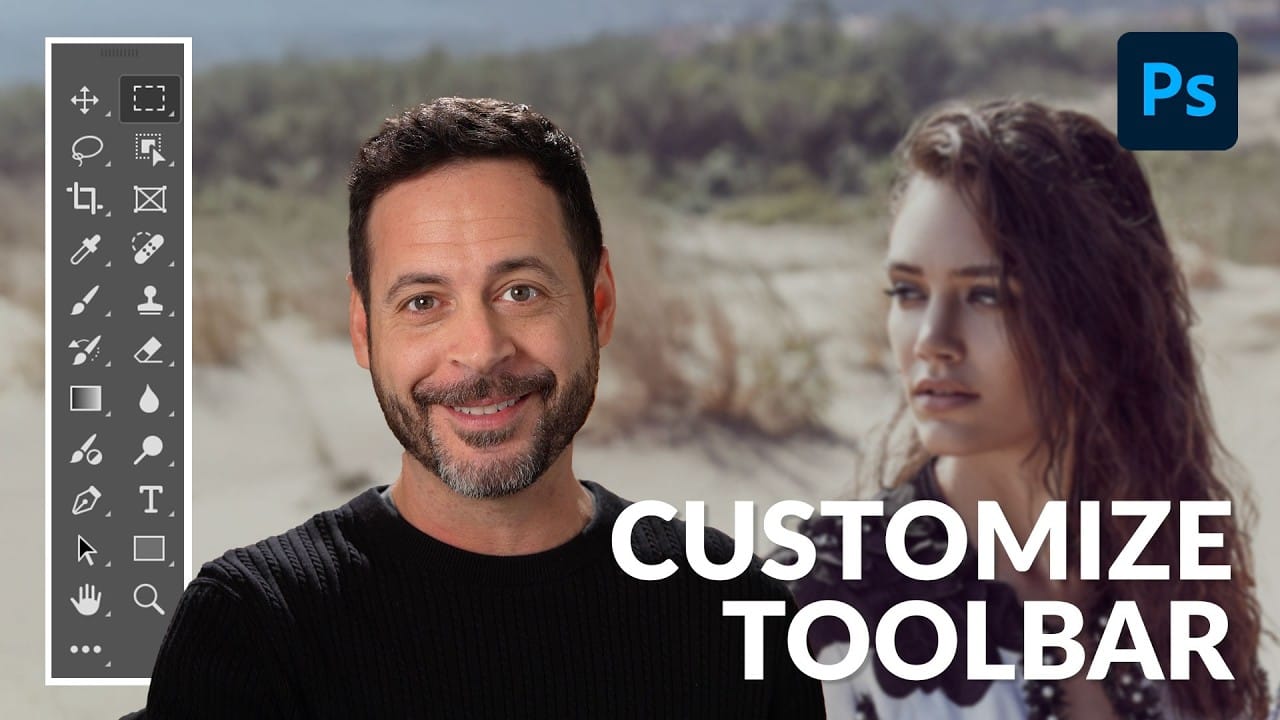
- Access hidden tools by clicking the three dots at the bottom of the toolbar, then holding and selecting "Edit Toolbar"
- Drag tools from the right panel (extra tools) to the left panel (visible tools) to add them to your toolbar
- Remove unused tools by dragging them from the left panel back to the right panel to free up space
- Group related tools by dragging one tool into another's group rather than placing it as a standalone tool
- Save your custom arrangement as a preset so you can restore it later or switch between different toolbar configurations
Related Articles and Tutorials
Explore more tutorials on customizing your workspace and discovering useful features:
Customize Your Photoshop Toolbar for an Optimized Workflow
Working in Photoshop often means navigating a toolbar filled with dozens of tools, many of which may rarely or never be used in a typical workflow.
This can lead to a cluttered interface, making it challenging to quickly locate essential tools and slowing down your creative process. The default arrangement, while functional, isn't optimized for every user's specific needs, leading to wasted time searching for features.
This guide demonstrates how to personalize your Photoshop toolbar by rearra
7 Overlooked Photoshop Tools That Will Save You Hours
You're probably using Photoshop the hard way.
You've mastered the basics - Magic Wand for selections, Clone Stamp for removals, layer masks for compositing. But you're likely missing out on dozens of features that could cut your editing time in half.
Adobe has quietly (okay, not so quietly) added dozens of time-saving features that most users never discover.
Here's the thing: Photoshop's interface is overwhelming. With hundreds of tools and panels, it's natural to stick with what works and ig

Customize and Create Your Own Photoshop Tools
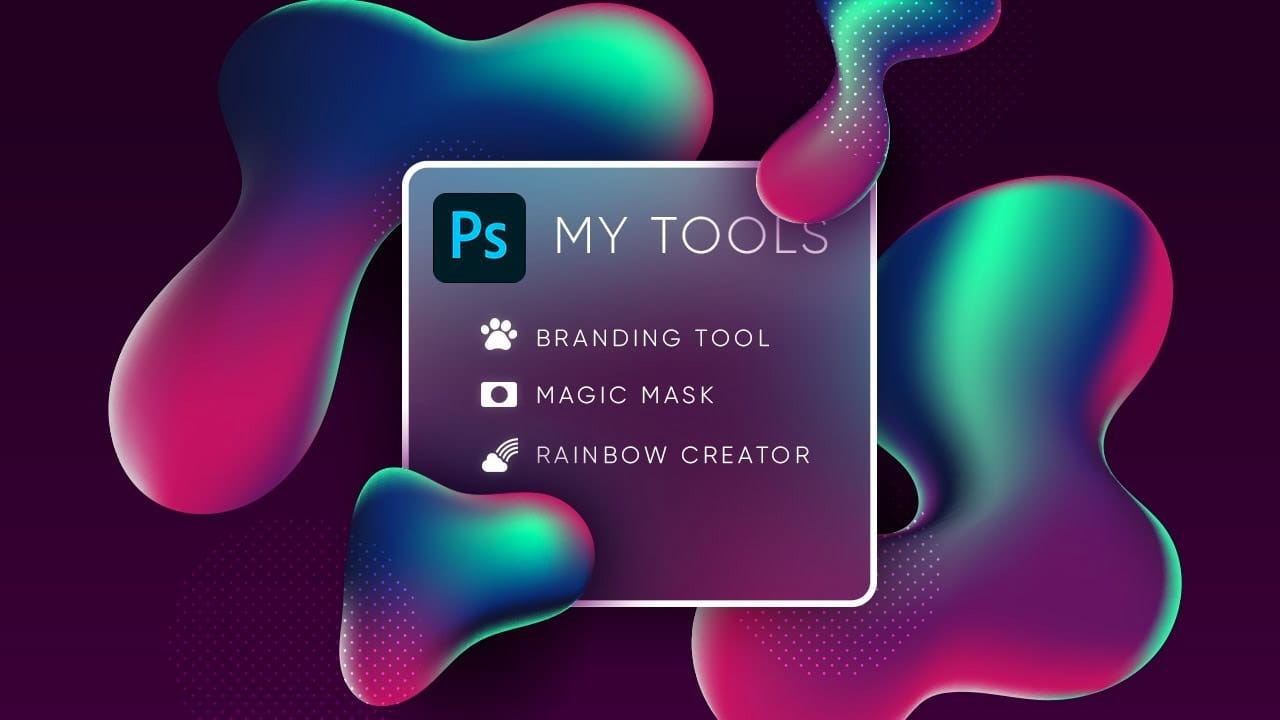
Unlock the Power of "Tool Presets" to Create Custom Tools & Make Your Workflow Extremely Fast! Simplify your Photoshop life by learning the concepts of Tool Presets, and then, we will explore some built-in presets to get you started.
In this tutorial, we will learn to create two super useful custom tools, and also how to create your own tools according to your personal workflow in Photoshop. No matter what you do in Photoshop, from designing to retouching or even compositing, custom tools are i
Photoshop Workspace Basics: Navigation, Zooming, and Essential Interface Elements
Photoshop's interface can feel overwhelming when you first open the program. Dozens of panels, tools, and menus compete for attention, making simple tasks feel complicated.
This tutorial breaks down the essential workspace elements and teaches fundamental navigation skills that form the foundation of efficient Photoshop work.
Watch the Tutorial
Essential Workspace Navigation Tips
These core techniques will help you work more efficiently in Photoshop from day one:
* Access hidden panels q
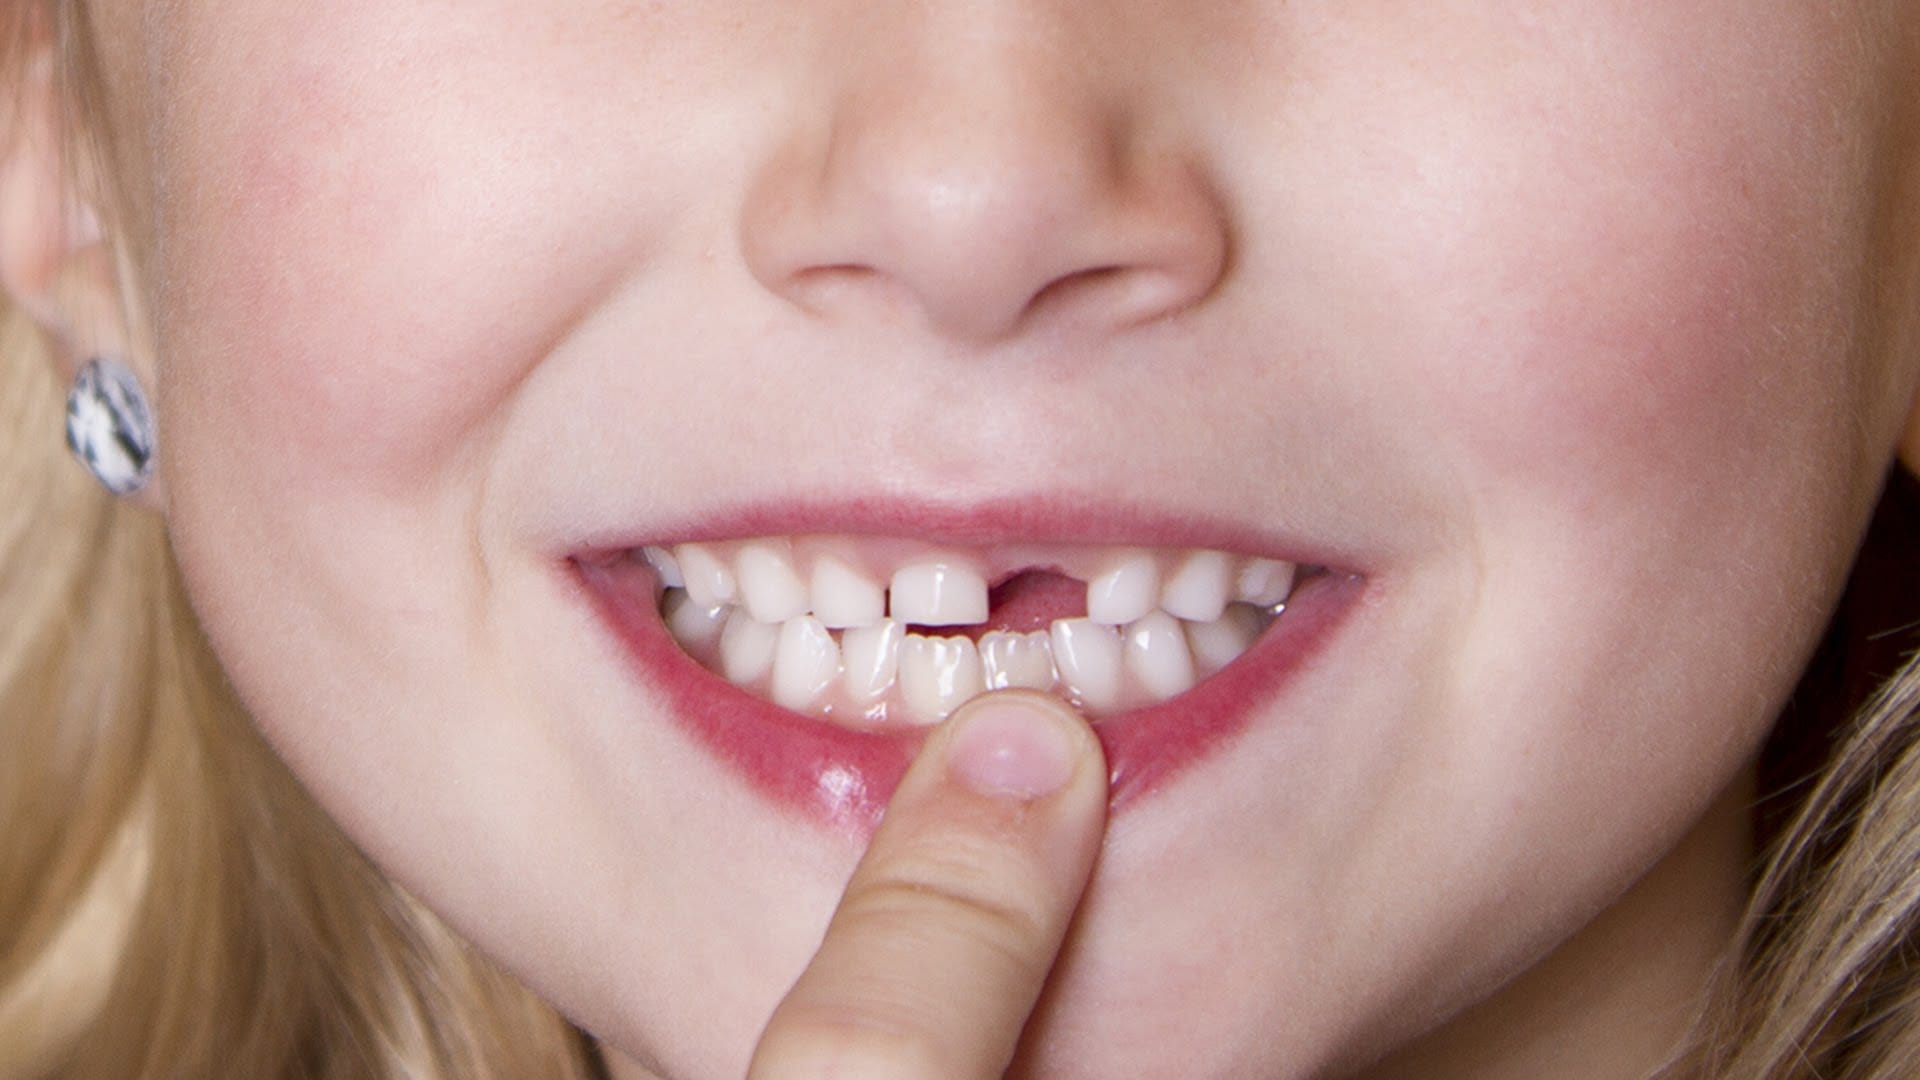
How to Fix Missing Teeth in Photoshop
Have you ever needed to fix missing teeth in a photo? It's a common issue, but luckily, Photoshop makes it easy to address. In this quick tutorial, you'll learn a simple technique to make those gaps disappear.
The process is straightforward. First, use the Stamp Tool to copy the surrounding tooth enamel and fill in the missing area. Then, refine the edges using the Healing Brush to blend it seamlessly. Finally, add some subtle shading to make the repair look natural.
The whole thing can be don
Photoshop's Remove Tool is Broken—What Now?
Object removal is a fundamental task in photo editing, but AI-powered tools can sometimes produce unpredictable results. It can be frustrating when a tool designed to remove an object instead replaces it with another unwanted element, disrupting your workflow and requiring extra steps to correct.
This tutorial demonstrates how recent updates to the Remove Tool in Photoshop Beta solve these common issues. You will learn how to access the improved tool, use a new selection-based workflow for more