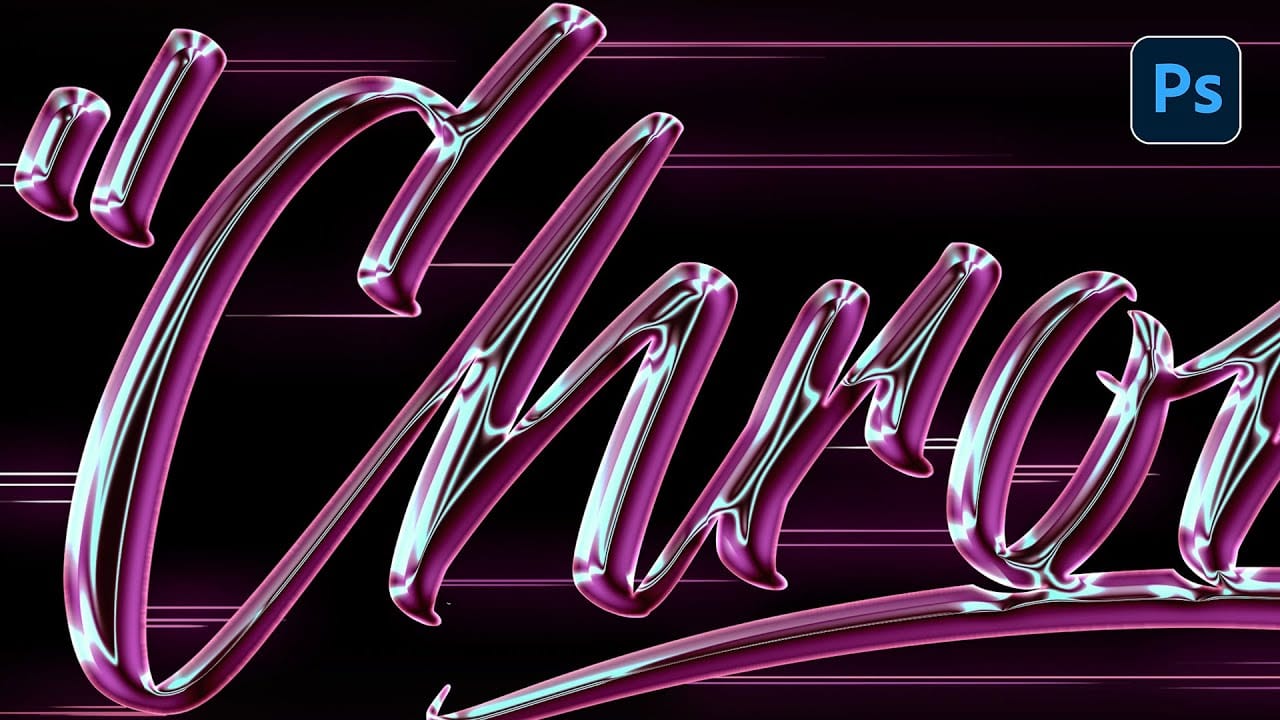
The iconic 80s chrome aesthetic brings a bold, reflective energy to any design. This style evokes nostalgia and a futuristic vibe, making it perfect for standout titles, logos, and digital artwork.
Recreating these vibrant, high-gloss effects requires specific techniques within Photoshop. This tutorial provides a comprehensive guide to crafting detailed chrome looks with fully adjustable elements, ensuring a custom result for your projects.
Watch the Tutorial
Understanding the Core Principles of Chrome Effects
Achieving realistic chrome effects in Photoshop relies on a precise layering strategy and an understanding of how light interacts with reflective surfaces. The process begins with setting up a high-fidelity document and establishing a neutral base for the metallic surface. Crucially, the technique involves isolating layer effects within groups, which prevents unintended interactions and allows for more complex styling.
The heart of this chrome look is the gradient map adjustment layer. This powerful tool re-maps the subtle grayscale variations created by bevel and emboss effects into a full spectrum of colors, simulating detailed reflections. By customizing the gradient, designers effectively define the chrome's environment, creating a vibrant, reflective illusion on flat text.
- Document Bit Depth: Setting the Photoshop document to 16-bit ensures smoother, richer gradient transitions for the chrome.
- Gray Value Remapping: A gradient map transforms subtle grayscale variations into complex, colorful reflections.
- Isolated Layer Effects: Grouping a layer isolates its effects, allowing subsequent adjustments to apply over the rendered result.
- Gradient Map as Environment: Custom gradient presets define the reflective "sky" and "horizon" of the chrome.
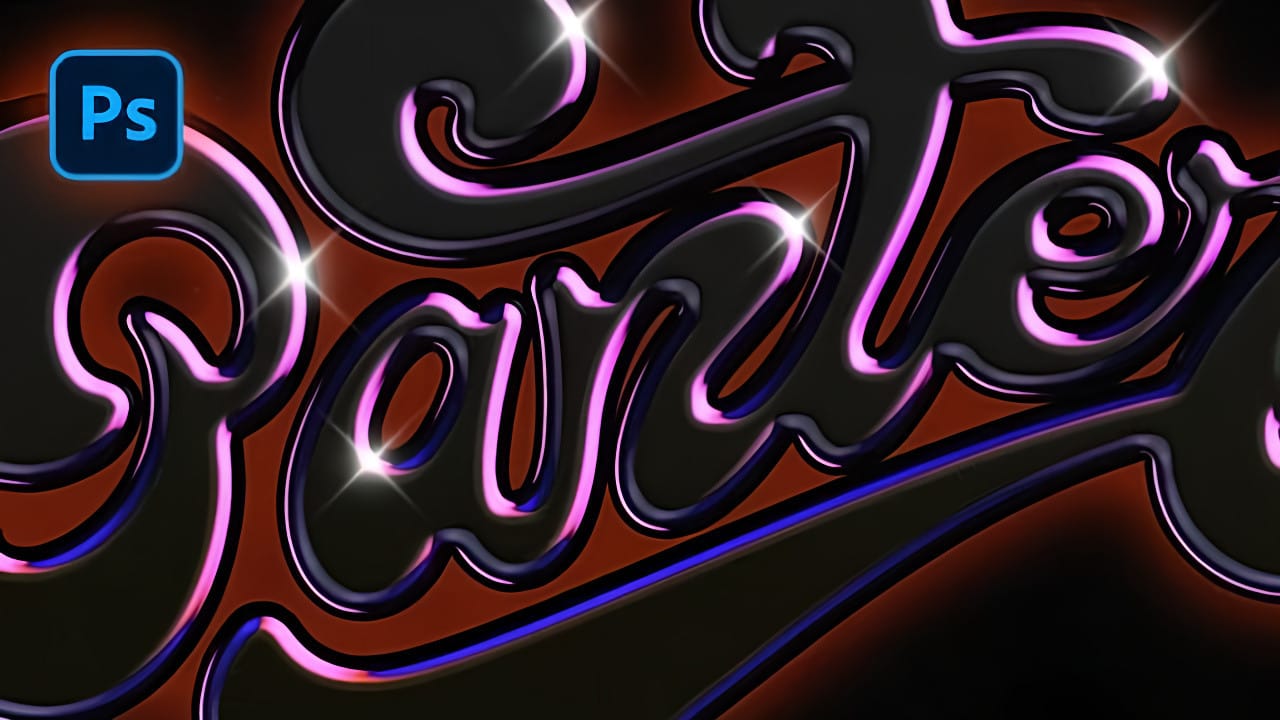
- Detailing Reflections: Inner shadow and stroke effects add subtle, precise bends and highlights to the metallic surface.
Practical Tips for Crafting Chrome Effects
- Start with a 16-bit document to ensure optimal gradient blending and detail in the chrome effect.
- Set the initial text color to 50% gray, providing a neutral base that the gradient map will transform into reflections.
- Place the text layer within its own group folder to effectively isolate its bevel and emboss effects from subsequent adjustments.
- Apply the outer glow effect to the *group folder* rather than directly to the text layer to prevent the glow from being recolored by the gradient map.
- Experiment with the Inner Shadow and Stroke layer styles to introduce subtle, dynamic bends and precise highlights into the chrome's reflections.
More Tutorials about Chrome Effects
Explore other techniques for creating metallic and chrome finishes in Photoshop with these related guides.