How to Create Seamless Patterns in Photoshop Using the Offset Filter

How to Create Seamless Patterns in Photoshop Using the Offset Filter

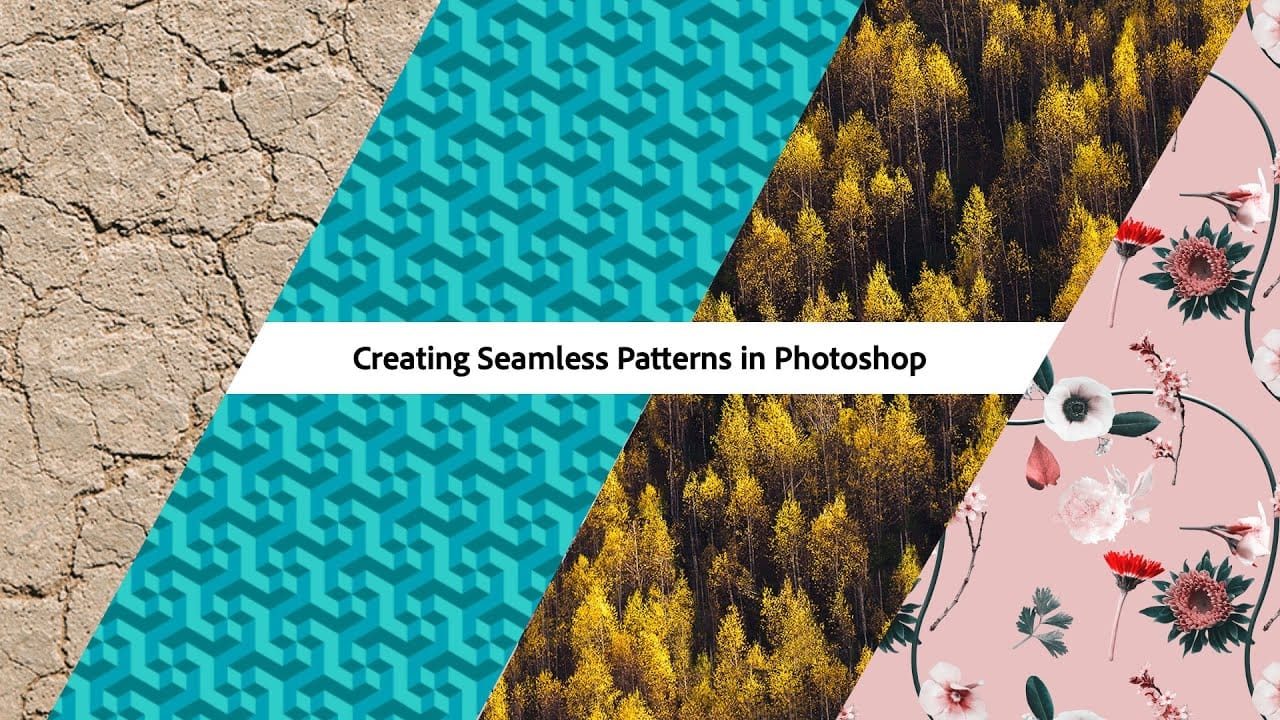
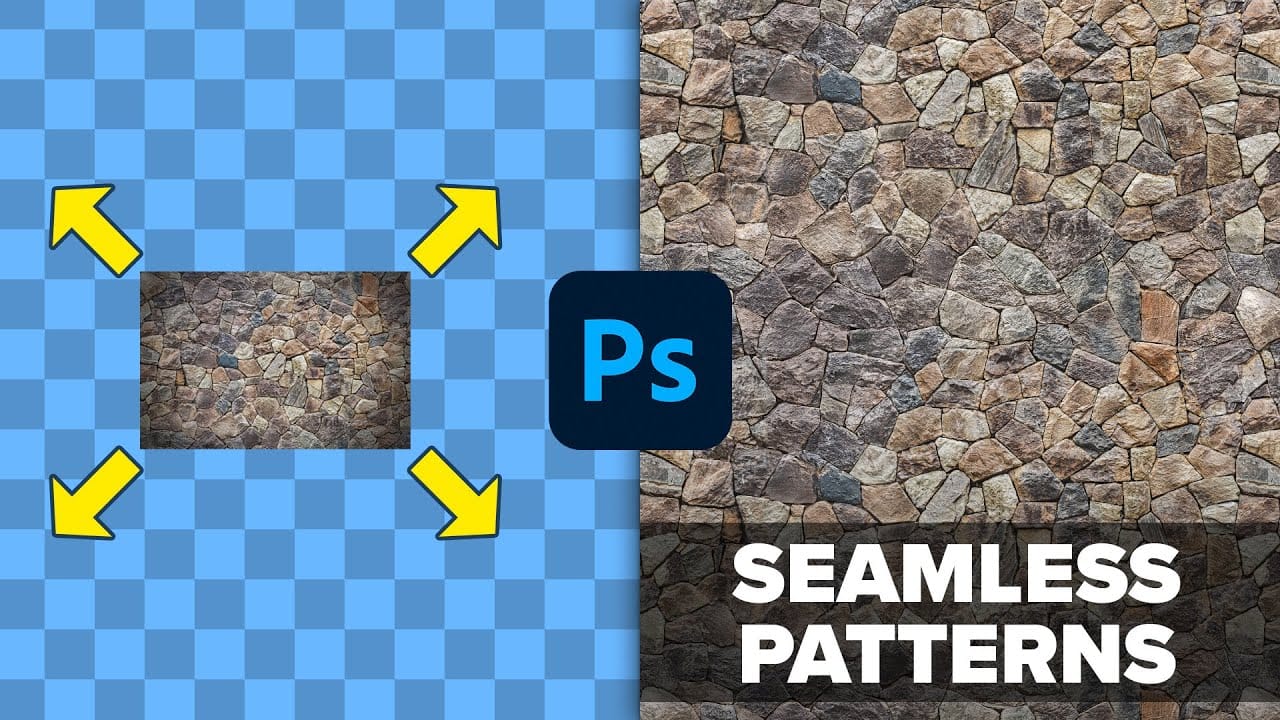
Transforming ordinary images into professional repeating patterns opens up endless creative possibilities. From custom backgrounds to textile designs, seamless patterns eliminate obvious cutting lines and repetitive elements that reveal themselves when an image tiles across a surface.

This technique works with any type of image - from photographs to collages to digital artwork - and creates patterns that can be scaled, rotated, and positioned without showing visible seams or obvious repetition.

Watch the Tutorial

Video by Nucly • Photoshop and Creative Design Training. Any links or downloads mentioned by the creator are available only on YouTube

The Power of the Offset Filter Technique

The Offset filter serves as the cornerstone of seamless pattern creation in Photoshop. This technique splits your image into four quadrants and repositions them, revealing exactly where seams would appear in a repeating pattern.

Pattern resolution plays a crucial role in professional results. Photoshop supports patterns up to 3500 pixels, which provides enough detail for scaling and high-resolution applications while maintaining visual quality.

  • Center positioning ensures consistent pattern alignment across all edges
  • Square dimensions create versatile patterns that work in any orientation
  • Wraparound settings prevent edge cutoffs during the offset process
  • Manual gap filling offers more control than automated pattern generation
  • Pattern export protects your work from software crashes or unexpected closures

Practical Tips for Seamless Pattern Creation

  • Set your document to 3500x3500 pixels for maximum pattern resolution and scaling flexibility
  • Use guides to center your main element perfectly before applying the offset filter
  • Apply offset values of exactly half your document dimensions (1750 pixels for a 3500px document)
  • Fill gaps with copied elements from your original layer rather than using complex blending techniques
  • Export your finished patterns immediately to prevent loss from unexpected program crashes

Explore more techniques for creating professional repeating patterns and backgrounds.

Creating Seamless Patterns in Photoshop
In this tutorial, Adobe Evangelist Paul Trani delves into the process of creating seamless patterns in Photoshop. Seamless patterns are essential for various design projects, from backgrounds to textiles, and mastering them can significantly enhance your design capabilities. Paul takes you through the entire process, from setting up your initial design to ensuring that the pattern tiles seamlessly across any surface. He covers essential techniques such as defining pattern edges, adjusting spaci
How to create seamless patterns in Photoshop with graphics or images
If you want to learn how to make a pattern in photoshop, this tutorial will share how to create a seamless repeating pattern with both graphics and an image. This way you can design a pattern for your digital art, printing, or graphic design, while also saving textured patterns from images to use in your composites and photo manipulations! With the help of the Offest filter, this entire process of making a pattern in photoshop is surprisingly simple and is an awesome way to add more creative as
3 Powerful Techniques to Create Seamless Patterns in Photoshop
This tutorial by Jesus Ramirez from the PTC Photoshop Training Channel introduces three effective techniques for creating seamless patterns in Photoshop. If you have ever wanted to transform a simple photo into a beautiful repeating design, this is a great place to start. You will become familiar with essential tools such as Pattern Preview and Generative Fill, which are crucial in this process. These tools will help simplify your workflow and enhance your designs. Additionally, you will discov
How To Create A Seamless Backdrop In Photoshop
When working with smaller backgrounds, especially on location, it can be challenging to achieve a professional studio look. Fortunately, Photoshop offers simple techniques to transform your images effectively. While generative fill may seem like an easy option, it often leads to unexpected results, such as distorted limbs or mismatched backgrounds. Instead, a manual approach can yield better outcomes.Start by selecting your subject and creating a new color fill layer that matches the original b

Get tutorials & freebies delivered to you.

Subscribe to the Photoshop Roadmap newsletter, a weekly roundup of new tutorials, insights and quality downloads, trusted by 6500+ readers.

You might also like

Complete Photoshop Editing Workflow: 5 Steps from Raw to Polished

Photoshop offers endless possibilities for photo enhancement, but many photographers never move beyond basic adjustments because the software feels overwhelming. This comprehensive workflow breaks down photo editing into five manageable stages that work consistently across different photography styles. The systematic approach covers everything from initial raw processing to advanced lighting...

Photoshop Workspace Basics: Navigation, Zooming, and Essential Interface Elements

Photoshop's interface can feel overwhelming when you first open the program. Dozens of panels, tools, and menus compete for attention, making simple tasks feel complicated. This tutorial breaks down the essential workspace elements and teaches fundamental navigation skills that form the foundation of efficient Photoshop work. Watch the...

How to Restore Old Damaged Photos Using Nano Banana in Photoshop

Old family photos with scratches, tears, and missing sections can seem beyond repair. Google's Nano Banana AI model, now integrated into Photoshop, makes full restoration possible in minutes rather than hours. This powerful tool excels at maintaining facial characteristics while automatically filling in damaged areas and adding realistic...

How to Get Higher Quality Results from Photoshop's Generative Fill Tool

Photoshop's Generative Fill creates impressive AI extensions, but the results often look blurry and pixelated when viewed at full size. This quality limitation makes many AI-generated areas unusable for printing or large displays. This technique shows how to work around the 1024x1024 pixel quality limit to create much...

How to Use Photoshop's Liquify Tool for Non-Destructive Portrait Retouching

Clothing wrinkles, hair that lacks volume, and awkward fabric bunching can distract from an otherwise great portrait. Photoshop's Liquify tool offers a powerful solution for smoothing out these issues while preserving the natural look of your subject. This tutorial demonstrates how to use the Liquify tool non-destructively with...

You’ve successfully subscribed to Photoshop Roadmap
Welcome back! You’ve successfully signed in.
Great! You’ve successfully signed up.
Success! Your email is updated.
Your link has expired
Success! Check your email for magic link to sign-in.