How to Create Retro Chrome Text Effects in Photoshop

How to Create Retro Chrome Text Effects in Photoshop

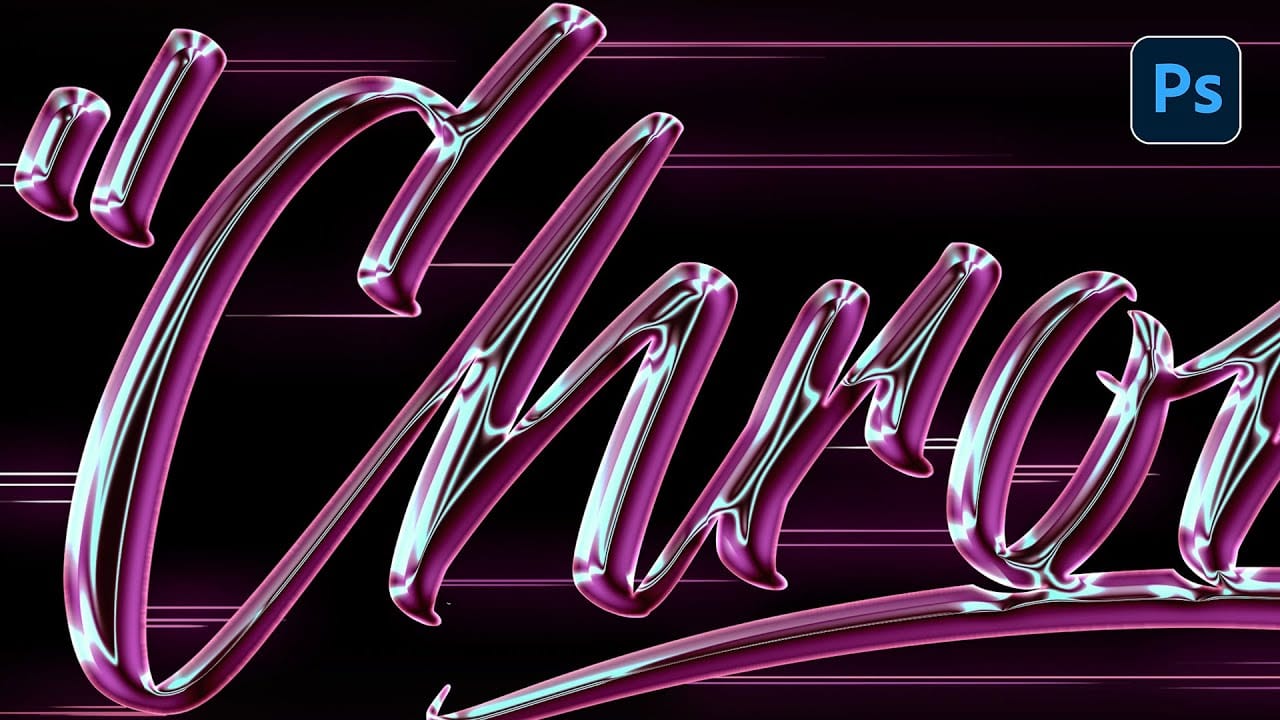
Chrome text effects instantly elevate any design with their sleek, metallic finish and dimensional depth. The reflective surfaces and gradient layers create that premium, high-end aesthetic perfect for retro-futuristic designs, gaming graphics, and eye-catching headlines.

This tutorial demonstrates how to build convincing chrome effects using layer styles, gradient mapping, and color blending techniques that transform ordinary text into polished metallic artwork.

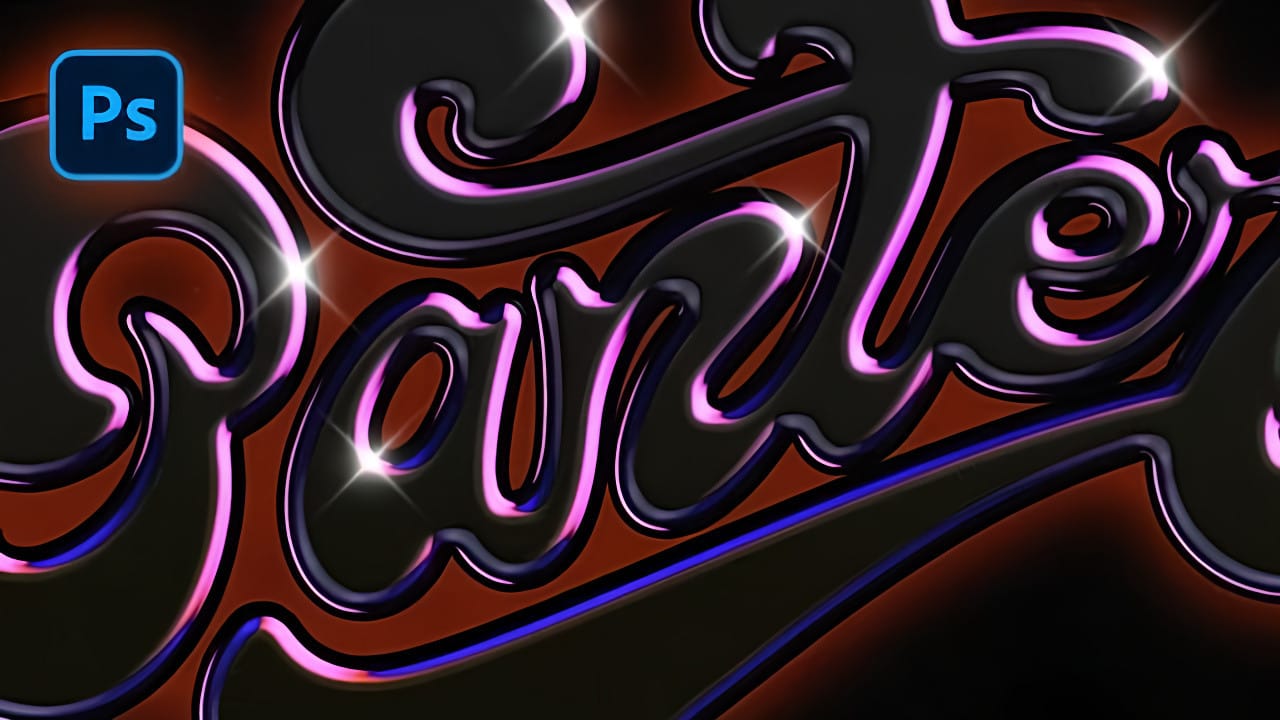
Watch the Video Tutorial

Video by P A N T E R. Any links or downloads mentioned by the creator are available only on YouTube

Understanding Chrome Text Layer Structure

Chrome effects rely on careful layering and strategic use of Photoshop's blending capabilities. The foundation starts with proper text setup and builds complexity through multiple adjustment layers working together.

The key lies in combining bevel and emboss effects with gradient mapping to simulate the way light reflects off metallic surfaces. Color gradients create the illusion of depth while overlay blending modes enhance the metallic sheen.

  • Layer organization — grouping text elements prevents blend mode conflicts
  • Gradient mapping — creates realistic color transitions across the chrome surface
  • Contour adjustments — controls how light appears to wrap around the text edges
  • Anti-aliasing fixes — ensures clean, professional edges without pixel artifacts

Practical Tips for Chrome Text Effects

  • Start with 50% gray text to provide neutral base for metallic color mapping
  • Use inner bevel with high depth settings (1000) for pronounced dimensional effect
  • Apply gradient tool with overlay blend mode to enhance surface reflections
  • Create multiple gradient handles with alternating light and dark colors for realistic chrome transitions
  • Duplicate text layer with stroke settings to eliminate anti-aliasing artifacts around edges

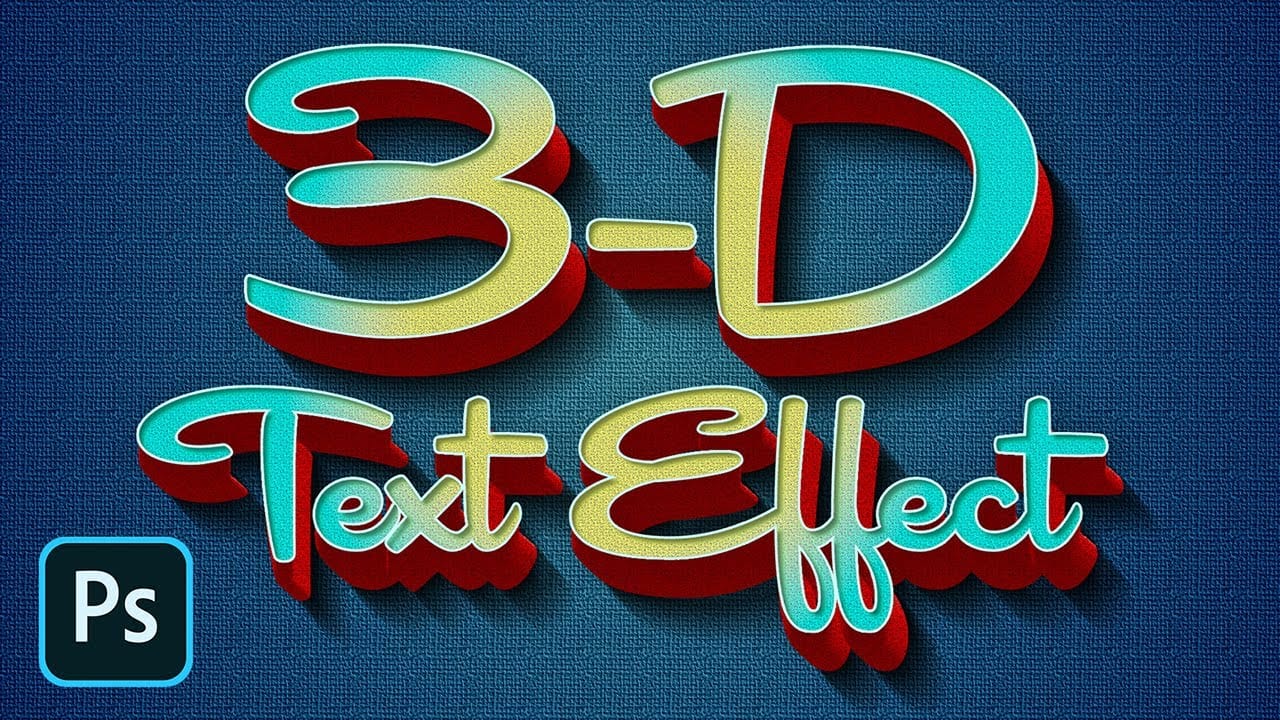
More Tutorials About Chrome and Metallic Text Effects

Explore additional techniques for creating stunning metallic typography in Photoshop.

How to Create a 3D Retro Text Effect in Adobe Photoshop
In this Adobe Photoshop tutorial by Spoon Graphics, you'll learn how to create a great-looking retro text effect. Using a mix of layer styles and clever Photoshop techniques, this tutorial guides you through the process step-by-step. The best part is that it utilizes Smart Objects, allowing you to non-destructively create the effect, meaning the original type element can still be updated to change the wording. This approach ensures flexibility and ease of editing while achieving a stylish retr
Electric chrome text effect Photoshop Tutorial
In this tutorial by Angelo Konofaos, you'll learn how to create an electric chrome text effect in Adobe Photoshop. Using blending options and adjustment layers, the tutorial guides you through the process of transforming text into a sleek chrome finish that radiates a vibrant, electric feel. Perfect for adding a futuristic touch to your designs, this tutorial teaches you some interesting techniques to achieve polished and eye-catching text effects that grabs the attention. Watch tutorial
How to Create a Dark Chrome Text Effect in Photoshop Using Advanced Layer Styles
Chrome effects transform ordinary text into polished, metallic masterpieces that command attention. The reflective surfaces and dimensional depth create that premium, high-end look perfect for logos, headlines, and promotional graphics. This tutorial demonstrates a layered approach using multiple bevel and emboss effects, strategic color choices, and gradient overlays to build realistic chrome text with a dark, sophisticated finish. Watch the Tutorial Understanding Chrome Text Effects in Di
How to Create a Retro 3D Text Design in Photoshop
The allure of retro design continues to captivate, offering a nostalgic aesthetic that can add unique character to modern projects. Creating dynamic 3D text effects is a powerful way to infuse this vintage charm into your digital art, transforming flat typography into eye-catching, dimensional elements. This tutorial provides a comprehensive guide to crafting a compelling retro 3D text design in Photoshop. You will learn essential techniques for building depth, applying intricate layer styles,

Get tutorials & freebies delivered to you.

Subscribe to the Photoshop Roadmap newsletter, a weekly roundup of new tutorials, insights and quality downloads, trusted by 6500+ readers.

You might also like

Complete Photoshop Editing Workflow: 5 Steps from Raw to Polished

Photoshop offers endless possibilities for photo enhancement, but many photographers never move beyond basic adjustments because the software feels overwhelming. This comprehensive workflow breaks down photo editing into five manageable stages that work consistently across different photography styles. The systematic approach covers everything from initial raw processing to advanced lighting...

Photoshop Workspace Basics: Navigation, Zooming, and Essential Interface Elements

Photoshop's interface can feel overwhelming when you first open the program. Dozens of panels, tools, and menus compete for attention, making simple tasks feel complicated. This tutorial breaks down the essential workspace elements and teaches fundamental navigation skills that form the foundation of efficient Photoshop work. Watch the...

How to Restore Old Damaged Photos Using Nano Banana in Photoshop

Old family photos with scratches, tears, and missing sections can seem beyond repair. Google's Nano Banana AI model, now integrated into Photoshop, makes full restoration possible in minutes rather than hours. This powerful tool excels at maintaining facial characteristics while automatically filling in damaged areas and adding realistic...

How to Get Higher Quality Results from Photoshop's Generative Fill Tool

Photoshop's Generative Fill creates impressive AI extensions, but the results often look blurry and pixelated when viewed at full size. This quality limitation makes many AI-generated areas unusable for printing or large displays. This technique shows how to work around the 1024x1024 pixel quality limit to create much...

How to Use Photoshop's Liquify Tool for Non-Destructive Portrait Retouching

Clothing wrinkles, hair that lacks volume, and awkward fabric bunching can distract from an otherwise great portrait. Photoshop's Liquify tool offers a powerful solution for smoothing out these issues while preserving the natural look of your subject. This tutorial demonstrates how to use the Liquify tool non-destructively with...

You’ve successfully subscribed to Photoshop Roadmap
Welcome back! You’ve successfully signed in.
Great! You’ve successfully signed up.
Success! Your email is updated.
Your link has expired
Success! Check your email for magic link to sign-in.