How to Create Realistic Cracked Skin using Photoshop

How to Create Realistic Cracked Skin using Photoshop

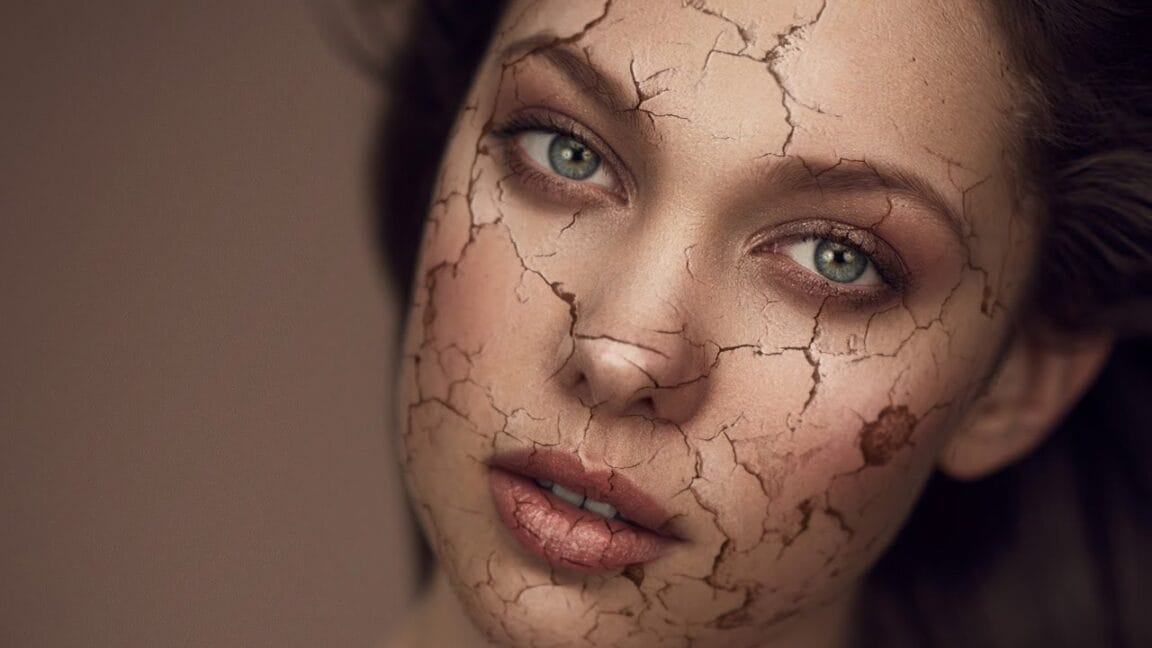
Transform ordinary portraits into striking, textured images with advanced Photoshop techniques. This tutorial reveals how to add dramatic, realistic skin cracking effects that elevate your creative photo editing skills.

Watch the Tutorial

Video by Photoshop Tutorials. Any links or downloads mentioned by the creator are available only on YouTube

Practical Tips for Creating Cracked Skin Texture

Master the art of adding realistic texture to your digital portraits with these professional techniques.

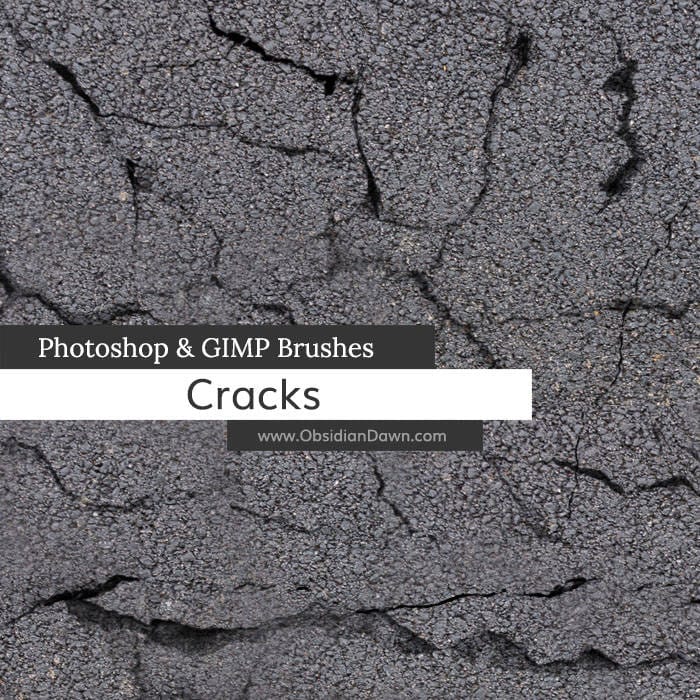
• Carefully warp and transform your texture layer to match the contours of the subject's face
• Use layer blending modes like Multiply to integrate the texture seamlessly • Adjust levels and saturation to eliminate unwanted greys and whites
• Mask out specific areas like eyes and lips for a more refined result
• Apply subtle grain and sharpening for enhanced realism
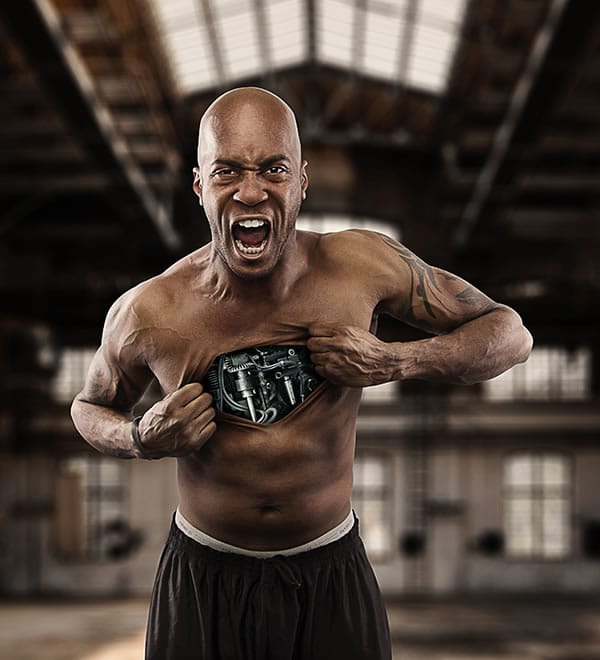
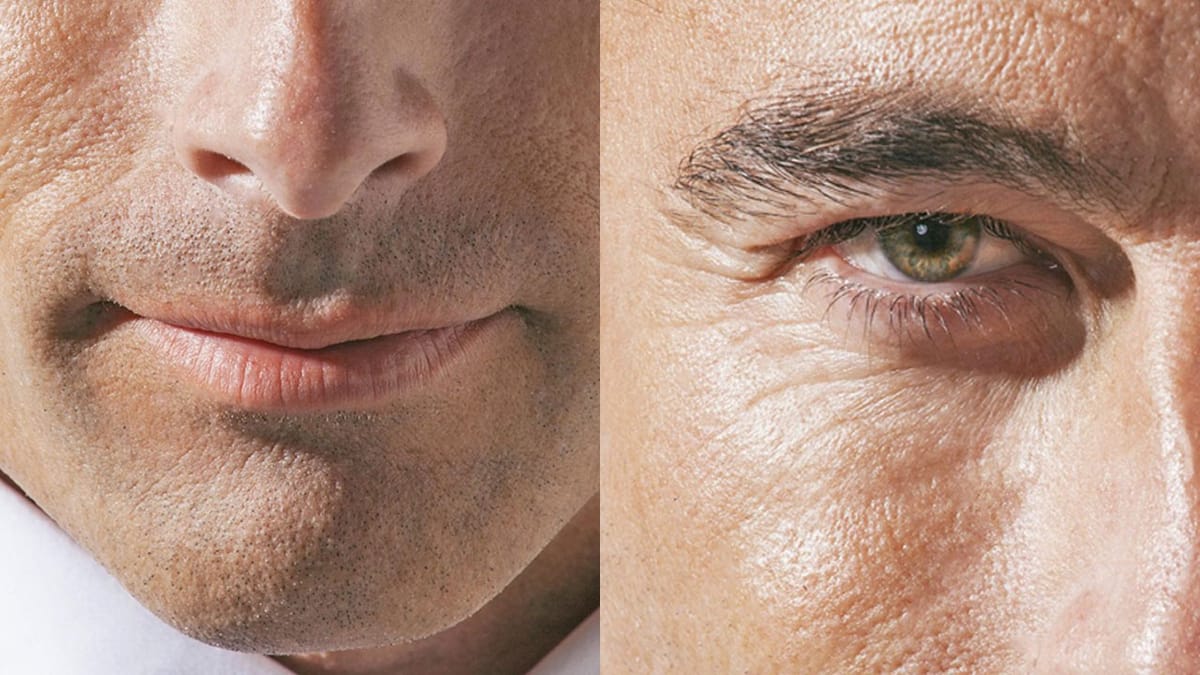
Explore more advanced Photoshop techniques for transforming skin in your images.

Create a cracked skin effect in Photoshop
In this tutorial by Phlearn, you will learn how to create an impressive cracked skin effect in Photoshop.
Cracks Photoshop Brushes
The author has created a set of Photoshop brushes that capture the intricate textures of various materials.
Skin tearing effect in Photoshop
In this tutorial, you will learn how to create a skin tearing effect in Photoshop, and you will also how to light and shoot the photography, as well. Process preview Read more at TutsPlus… More
How to Retouch Mature Skin in Photoshop
In this tutorial by Aaron Nace from Phlearn, learn how to retouch handsome, mature men by reducing wrinkles, pores, and adding color back to their skin. The approach emphasizes maintaining natural skin texture and avoiding overly intense edits that remove character. Techniques include using Shadows and Highlights adjustments to soften

Get tutorials & freebies delivered to you.

Subscribe to the Photoshop Roadmap newsletter, a weekly roundup of new tutorials, insights and quality downloads, trusted by 6500+ readers.

You might also like

Complete Photoshop Editing Workflow: 5 Steps from Raw to Polished

Photoshop offers endless possibilities for photo enhancement, but many photographers never move beyond basic adjustments because the software feels overwhelming. This comprehensive workflow breaks down photo editing into five manageable stages that work consistently across different photography styles. The systematic approach covers everything from initial raw processing to advanced lighting...

Photoshop Workspace Basics: Navigation, Zooming, and Essential Interface Elements

Photoshop's interface can feel overwhelming when you first open the program. Dozens of panels, tools, and menus compete for attention, making simple tasks feel complicated. This tutorial breaks down the essential workspace elements and teaches fundamental navigation skills that form the foundation of efficient Photoshop work. Watch the...

How to Restore Old Damaged Photos Using Nano Banana in Photoshop

Old family photos with scratches, tears, and missing sections can seem beyond repair. Google's Nano Banana AI model, now integrated into Photoshop, makes full restoration possible in minutes rather than hours. This powerful tool excels at maintaining facial characteristics while automatically filling in damaged areas and adding realistic...

How to Get Higher Quality Results from Photoshop's Generative Fill Tool

Photoshop's Generative Fill creates impressive AI extensions, but the results often look blurry and pixelated when viewed at full size. This quality limitation makes many AI-generated areas unusable for printing or large displays. This technique shows how to work around the 1024x1024 pixel quality limit to create much...

How to Use Photoshop's Liquify Tool for Non-Destructive Portrait Retouching

Clothing wrinkles, hair that lacks volume, and awkward fabric bunching can distract from an otherwise great portrait. Photoshop's Liquify tool offers a powerful solution for smoothing out these issues while preserving the natural look of your subject. This tutorial demonstrates how to use the Liquify tool non-destructively with...

You’ve successfully subscribed to Photoshop Roadmap
Welcome back! You’ve successfully signed in.
Great! You’ve successfully signed up.
Success! Your email is updated.
Your link has expired
Success! Check your email for magic link to sign-in.