How to Create Dramatic Colors in Photoshop: A 5-Step Color Grading Process

How to Create Dramatic Colors in Photoshop: A 5-Step Color Grading Process

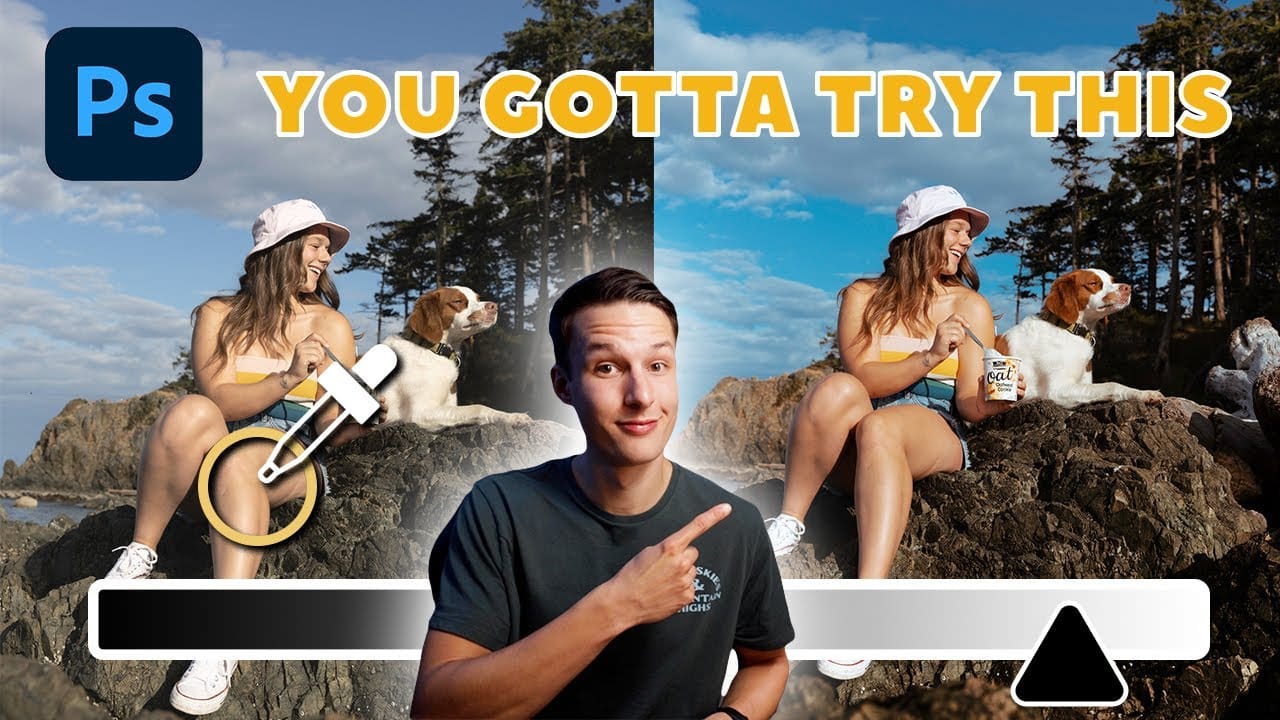
Photography often captures moments in natural tones, but sometimes an image calls for something bolder. Dramatic color grading transforms ordinary photos into striking visual statements that grab attention and evoke emotion.

This comprehensive approach combines Camera Raw adjustments with Photoshop's powerful color tools to create rich, cinematic looks. The process works especially well for outdoor scenes where you can push blues, oranges, and complementary colors to their limits.

Watch the Tutorial

Video by Brendan Williams. Any links or downloads mentioned by the creator are available only on YouTube

The Science Behind Dramatic Color Grading

Color grading originated in film production, where colorists would adjust the mood and atmosphere of scenes through careful color manipulation. Digital photography inherited these techniques, allowing photographers to create cinematic looks that were once exclusive to Hollywood productions.

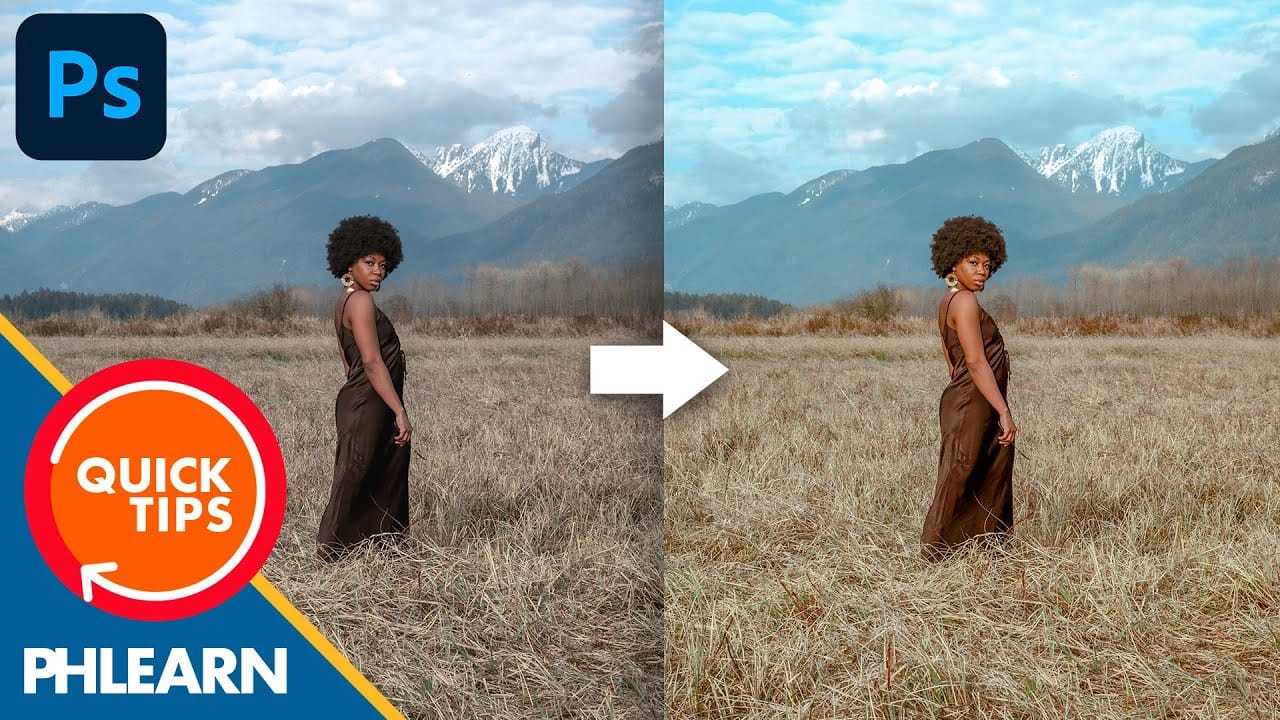
The key to effective dramatic color grading lies in understanding color relationships. Complementary colors—those opposite each other on the color wheel—create the most striking contrasts. Blue and orange combinations are particularly popular because they naturally separate subjects from backgrounds and create depth.

Multiple adjustment layers work together to build complex color relationships. Each layer serves a specific purpose: Camera Raw establishes the foundation, HSL adjustments refine specific color ranges, and selective color provides precision control. This layered approach prevents the harsh, artificial look that comes from pushing colors too far with a single adjustment.

Practical Tips for Dramatic Color Grading

  • Always complete your exposure adjustments before working with colors—proper exposure provides the foundation for effective color grading
  • Use the Apply Image technique on adjustment layer masks to blend color changes naturally with your photo's existing tones
  • Work with complementary colors like blue/orange or cyan/red to create the most visually striking results
  • Sample colors directly using the hand tool in HSL adjustments rather than guessing which color channel affects specific areas
  • Finish with dodging and burning to add selective contrast that supports your color story

More Tutorials About Color Grading in Photoshop

Explore additional techniques for enhancing and manipulating colors in your photography work.

3 must-try techniques to enhance colors in Photoshop
When you're editing a photo in Photoshop, making your colors pop is likely on the top of your to-do list. There are a variety of great tools to use in Photoshop, but with these three techniques, you will be able to get more rich colors in your edits, while also having more control over how they appear. With the help of layer masks, blend if, and camera raw, you'll be surprised by how these lesser-known Photoshop tricks can improve the look of your edits. Watch tutorial
Six easy ways to select colors in Photoshop
In this episode of "3, 2, 1… Photoshop!", longtime Adobe evangelist Julieanne Kost shares essential tips and tricks for selecting colors in Photoshop. Julieanne introduces six easy methods to choose colors effectively, whether you're working on a detailed project or just need a quick color pick. You'll learn how to use the eyedropper tool for precise color selection, manipulate foreground and background colors, and utilize the heads-up-display (HUD) color picker for a more interactive experienc
Create a bright and beautiful color grade in Photoshop
In this tutorial, Aaron Nace from Phlearn demonstrates how to enhance your photos with a bright and vibrant color grade using the Camera RAW filter in Photoshop. This technique is particularly effective for model photography and landscape shots, offering a way to elevate the visual appeal of your images with a polished, professional finish. Aaron guides you through the process of applying and adjusting color grades, showing how the Camera RAW filter can be used to fine-tune colors and achieve a
5 ways to create Photoshop watercolor effects, explained and compared.
Are you trying to turn your photograph into a dreamy watercolor painting, and feeling bitter about not being the talented artist who also happens to own a Wacom tablet? Well, we feel you, especially so as the Photoshop watercolor plugin produces results that are far from desirable (we're being polite here). But, don't despair just yet. You can definitely apply beautiful watercolor effects to your images using the right combination of techniques and tools. After much arduous research, here are t

Get tutorials & freebies delivered to you.

Subscribe to the Photoshop Roadmap newsletter, a weekly roundup of new tutorials, insights and quality downloads, trusted by 6500+ readers.

You might also like

Complete Photoshop Editing Workflow: 5 Steps from Raw to Polished

Photoshop offers endless possibilities for photo enhancement, but many photographers never move beyond basic adjustments because the software feels overwhelming. This comprehensive workflow breaks down photo editing into five manageable stages that work consistently across different photography styles. The systematic approach covers everything from initial raw processing to advanced lighting...

Photoshop Workspace Basics: Navigation, Zooming, and Essential Interface Elements

Photoshop's interface can feel overwhelming when you first open the program. Dozens of panels, tools, and menus compete for attention, making simple tasks feel complicated. This tutorial breaks down the essential workspace elements and teaches fundamental navigation skills that form the foundation of efficient Photoshop work. Watch the...

How to Restore Old Damaged Photos Using Nano Banana in Photoshop

Old family photos with scratches, tears, and missing sections can seem beyond repair. Google's Nano Banana AI model, now integrated into Photoshop, makes full restoration possible in minutes rather than hours. This powerful tool excels at maintaining facial characteristics while automatically filling in damaged areas and adding realistic...

How to Get Higher Quality Results from Photoshop's Generative Fill Tool

Photoshop's Generative Fill creates impressive AI extensions, but the results often look blurry and pixelated when viewed at full size. This quality limitation makes many AI-generated areas unusable for printing or large displays. This technique shows how to work around the 1024x1024 pixel quality limit to create much...

How to Use Photoshop's Liquify Tool for Non-Destructive Portrait Retouching

Clothing wrinkles, hair that lacks volume, and awkward fabric bunching can distract from an otherwise great portrait. Photoshop's Liquify tool offers a powerful solution for smoothing out these issues while preserving the natural look of your subject. This tutorial demonstrates how to use the Liquify tool non-destructively with...

You’ve successfully subscribed to Photoshop Roadmap
Welcome back! You’ve successfully signed in.
Great! You’ve successfully signed up.
Success! Your email is updated.
Your link has expired
Success! Check your email for magic link to sign-in.