How to Create Colorful Cartoon Doodles on Model Photos in Photoshop

How to Create Colorful Cartoon Doodles on Model Photos in Photoshop

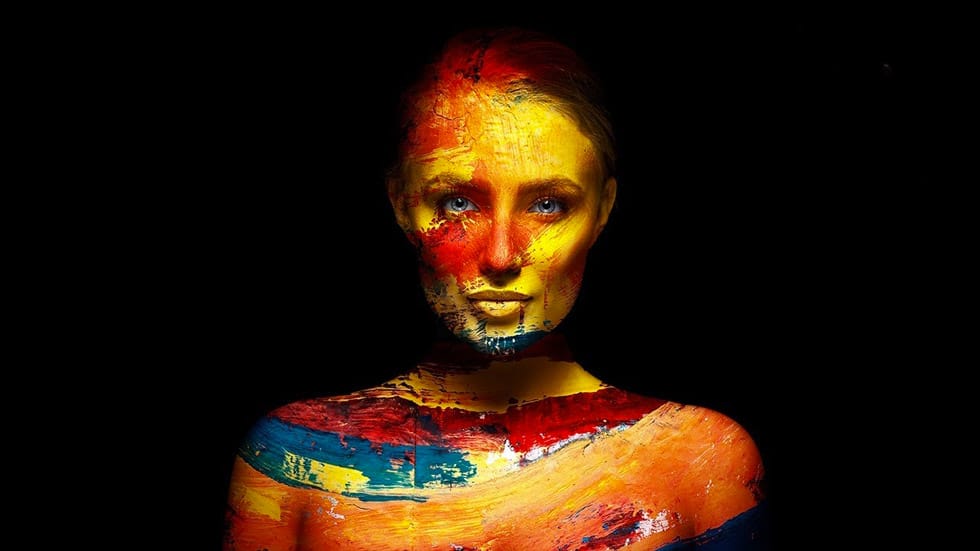
Cartoon-style illustrations layered over photography create a unique visual fusion that bridges reality and artistic expression. This playful approach transforms ordinary portraits into vibrant, graphic compositions that feel both contemporary and whimsical.

The technique combines traditional drawing skills with digital painting tools to create outlined shapes, bold colors, and stylized details that complement the photographic base. The result is an eye-catching style that works perfectly for creative projects, social media content, or artistic experimentation.
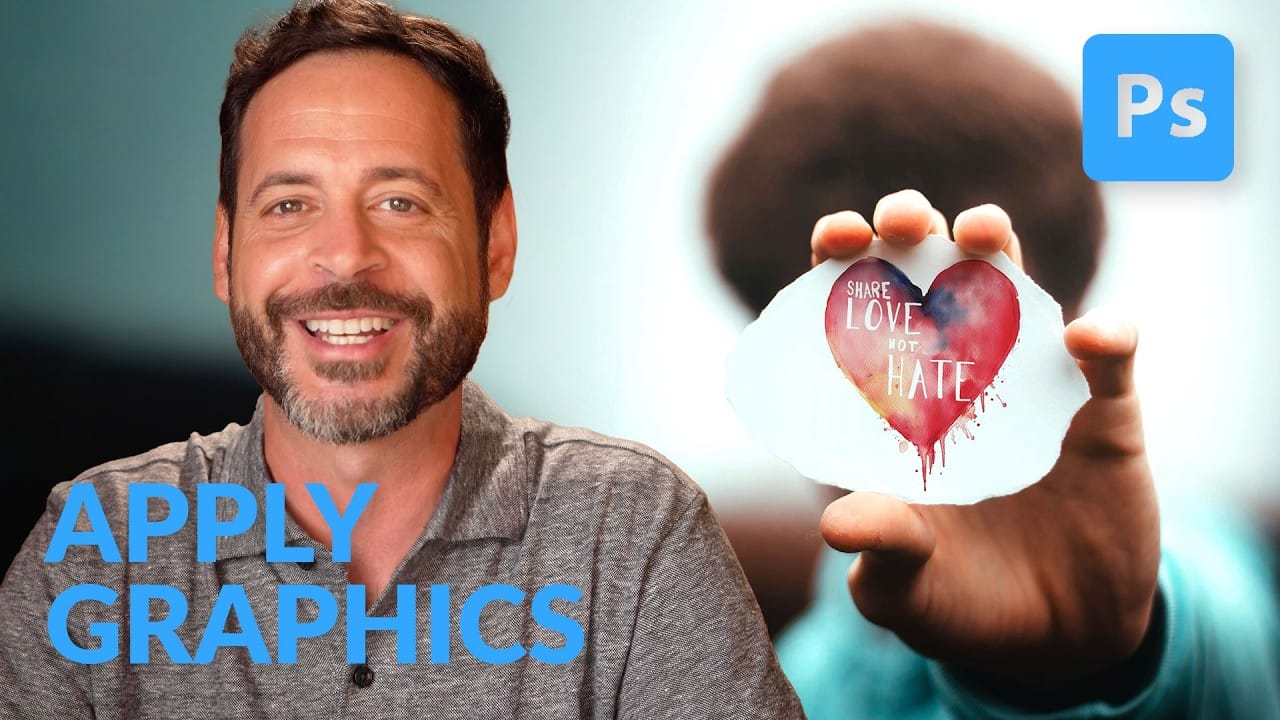
Watch the Tutorial

Video by P A N T E R. Any links or downloads mentioned by the creator are available only on YouTube

Digital Illustration Over Photography

The hybrid approach of combining hand-drawn elements with photography has roots in mixed media art and graphic design. Digital tools have made this technique more accessible, allowing artists to experiment with layer-based workflows that separate outlines, fills, and shading elements. This method provides flexibility to adjust colors, opacity, and effects without damaging the original artwork.

Professional illustrators often use this technique for editorial work, advertising, and social media content because it creates instant visual impact. The cartoon overlay approach works particularly well when the illustration style contrasts with the realistic photography underneath. Bold, saturated colors and simplified shapes help the drawn elements stand out while maintaining harmony with the photographic base.

Layer organization becomes crucial when working with multiple illustrated elements. Grouping related components like outlines and fills allows for easier color adjustments and keeps the workspace manageable as the composition grows more complex.

Practical Tips for Cartoon Doodle Overlays

  • Set up pen pressure sensitivity in brush settings under Shape Dynamics to create natural line variation
  • Rotate the canvas using R + drag to draw curved shapes more naturally with your hand movement
  • Use Color Overlay effects on outline layers to quickly change colors without repainting
  • Create separate layers for outlines, fills, and shading to maintain editing flexibility
  • Add shading on separate layers with reduced opacity instead of mixing darker colors directly

Explore more techniques for adding artistic elements to portrait photography.

Add Creative Color and Texture to Portraits in Photoshop
In this tutorial by PiXimperfect you will learn how to apply highly realistic paints and textures to portraits in Photoshop. Learn how to manually mold the texture according to the shape of the portrait and use advanced blend modes and blend-if to blend in the colors in the most natural fashion. In this tutorial, we will also learn how to dodge and burn to add more dimension and make your creative portrait really pop. Watch tutorial
How to Add Special Effects in Photoshop
This video tutorial by PHLEARN demonstrates how to add special effects in Photoshop using photos from the same photoshoot. Aaron begins with a photo taken for a Fourth of July sale, featuring sparklers around the subject. The tutorial covers the use of blending modes and adjustment layers to create visually striking effects. Throughout the video, viewers are guided on how to group photos, change blending modes, use the move tool for positioning, and apply layer masks to hide unwanted areas. Add
Add creative lights and colors to your image in Photoshop
You're about to learn how to transform your images with creative lights and colors in Photoshop. This tutorial will guide you through the process of adding vibrant hues and eye-catching effects to your photographs. First, you'll explore the use of gradients and brushes to enhance your image. These tools will allow you to layer different colors and luminous accents, creating a visually striking result. With a few simple steps, you'll be able to turn your ordinary image into an impressive work of
How to Apply Graphics and Change Colors in Photoshop
Integrating graphics and adjusting colors are fundamental skills in Photoshop, enabling designers and artists to transform disparate elements into cohesive visual narratives. From compositing a logo onto a product image to blending text into a scene, mastering these techniques is crucial for achieving professional results. This video demonstrates practical methods for seamlessly applying graphics from one image to another, extracting specific elements like text, and efficiently changing their c

Get tutorials & freebies delivered to you.

Subscribe to the Photoshop Roadmap newsletter, a weekly roundup of new tutorials, insights and quality downloads, trusted by 6500+ readers.

You might also like

Complete Photoshop Editing Workflow: 5 Steps from Raw to Polished

Photoshop offers endless possibilities for photo enhancement, but many photographers never move beyond basic adjustments because the software feels overwhelming. This comprehensive workflow breaks down photo editing into five manageable stages that work consistently across different photography styles. The systematic approach covers everything from initial raw processing to advanced lighting...

Photoshop Workspace Basics: Navigation, Zooming, and Essential Interface Elements

Photoshop's interface can feel overwhelming when you first open the program. Dozens of panels, tools, and menus compete for attention, making simple tasks feel complicated. This tutorial breaks down the essential workspace elements and teaches fundamental navigation skills that form the foundation of efficient Photoshop work. Watch the...

How to Restore Old Damaged Photos Using Nano Banana in Photoshop

Old family photos with scratches, tears, and missing sections can seem beyond repair. Google's Nano Banana AI model, now integrated into Photoshop, makes full restoration possible in minutes rather than hours. This powerful tool excels at maintaining facial characteristics while automatically filling in damaged areas and adding realistic...

How to Get Higher Quality Results from Photoshop's Generative Fill Tool

Photoshop's Generative Fill creates impressive AI extensions, but the results often look blurry and pixelated when viewed at full size. This quality limitation makes many AI-generated areas unusable for printing or large displays. This technique shows how to work around the 1024x1024 pixel quality limit to create much...

How to Use Photoshop's Liquify Tool for Non-Destructive Portrait Retouching

Clothing wrinkles, hair that lacks volume, and awkward fabric bunching can distract from an otherwise great portrait. Photoshop's Liquify tool offers a powerful solution for smoothing out these issues while preserving the natural look of your subject. This tutorial demonstrates how to use the Liquify tool non-destructively with...

You’ve successfully subscribed to Photoshop Roadmap
Welcome back! You’ve successfully signed in.
Great! You’ve successfully signed up.
Success! Your email is updated.
Your link has expired
Success! Check your email for magic link to sign-in.