How to Create and Use Layer Masks in Photoshop

How to Create and Use Layer Masks in Photoshop

Layer masks represent one of Photoshop's most powerful non-destructive editing tools, providing photographers and designers with precise control over image visibility. Unlike permanently deleting parts of an image, layer masks allow for reversible adjustments that can be refined throughout the creative process.

In this comprehensive tutorial, you'll explore everything from fundamental layer mask concepts to advanced techniques like mask copying, unlinking, and group masking. Learn how to use the Select and Mask workspace for edge refinement, discover troubleshooting tips for common masking challenges, and understand how to apply masks across different layer types for professional image composites.

Watch the Video

Video by PHLEARN. Any links or downloads mentioned by the creator are available only on YouTube

The Fundamentals of Layer Mask Theory

At their core, layer masks operate on a simple grayscale principle where white reveals, black conceals, and gray provides partial transparency. This foundation makes them uniquely suited for creating complex image composites with seamless transitions between elements. The non-destructive nature of layer masks distinguishes them from other editing techniques, allowing creators to iterate and refine without sacrificing original image quality.

Understanding the relationship between masks and layers is essential for professional image editing. Masks grant pixel-level control without permanently altering the source image, creating a flexible workflow that can be adjusted at any point in the creative process. The key concepts include mask visualization modes, edge refinement techniques, and strategic application across different layer types — from simple pixel layers to complex smart objects and text.

Essential Layer Mask Techniques

  • Create a layer mask by selecting your subject with Select > Subject and clicking the layer mask icon in the layers panel
  • Refine mask edges by double-clicking the layer mask to access the Select and Mask dialog box
  • Copy a layer mask by holding Alt (Option) and dragging the mask thumbnail to another layer
  • Unlink a mask from its layer by clicking the chain link icon to move them independently
  • Apply a single mask to multiple elements by grouping layers first, then adding the mask to the group

Expand your skills with these additional resources about mastering layer masks in Photoshop.
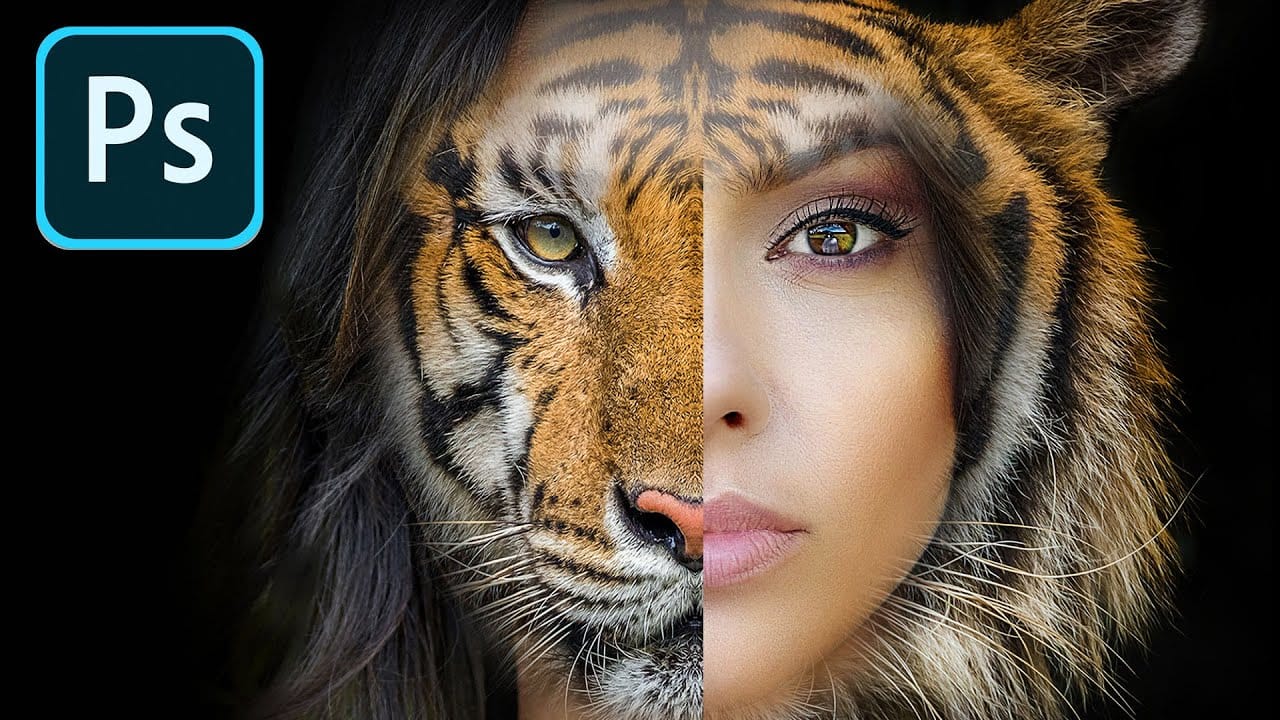
How to use Photoshop layer masks for beginners
In this Photoshop tutorial, Colin Smith teaches beginners the fundamentals of Layer Masks. Comprehensive explanations, step-by-step demos, and practical applications help you master Photoshop's Layer Masks, unlocking their powerful capabilities and creative possibilities. The tutorial covers core Layer Mask concepts, their purpose and functionality, and how they enhance your workflow and achieve stunning results. You'll learn to selectively hide or reveal layer elements, blend and composite ima
Unlocking the Power of Layer Masks in Photoshop
Layer masks are a fundamental feature in Photoshop that allow for greater control over images. They enable you to hide or reveal portions of a layer without permanently altering the original content. This non-destructive editing approach is beneficial for making precise adjustments to your designs. You can use layer masks in various ways. For example, they help blend multiple images, create seamless transitions, or apply effects to specific areas. By painting on the mask with black or white, yo
Create a Portrait Mask Illusion With Photoshop
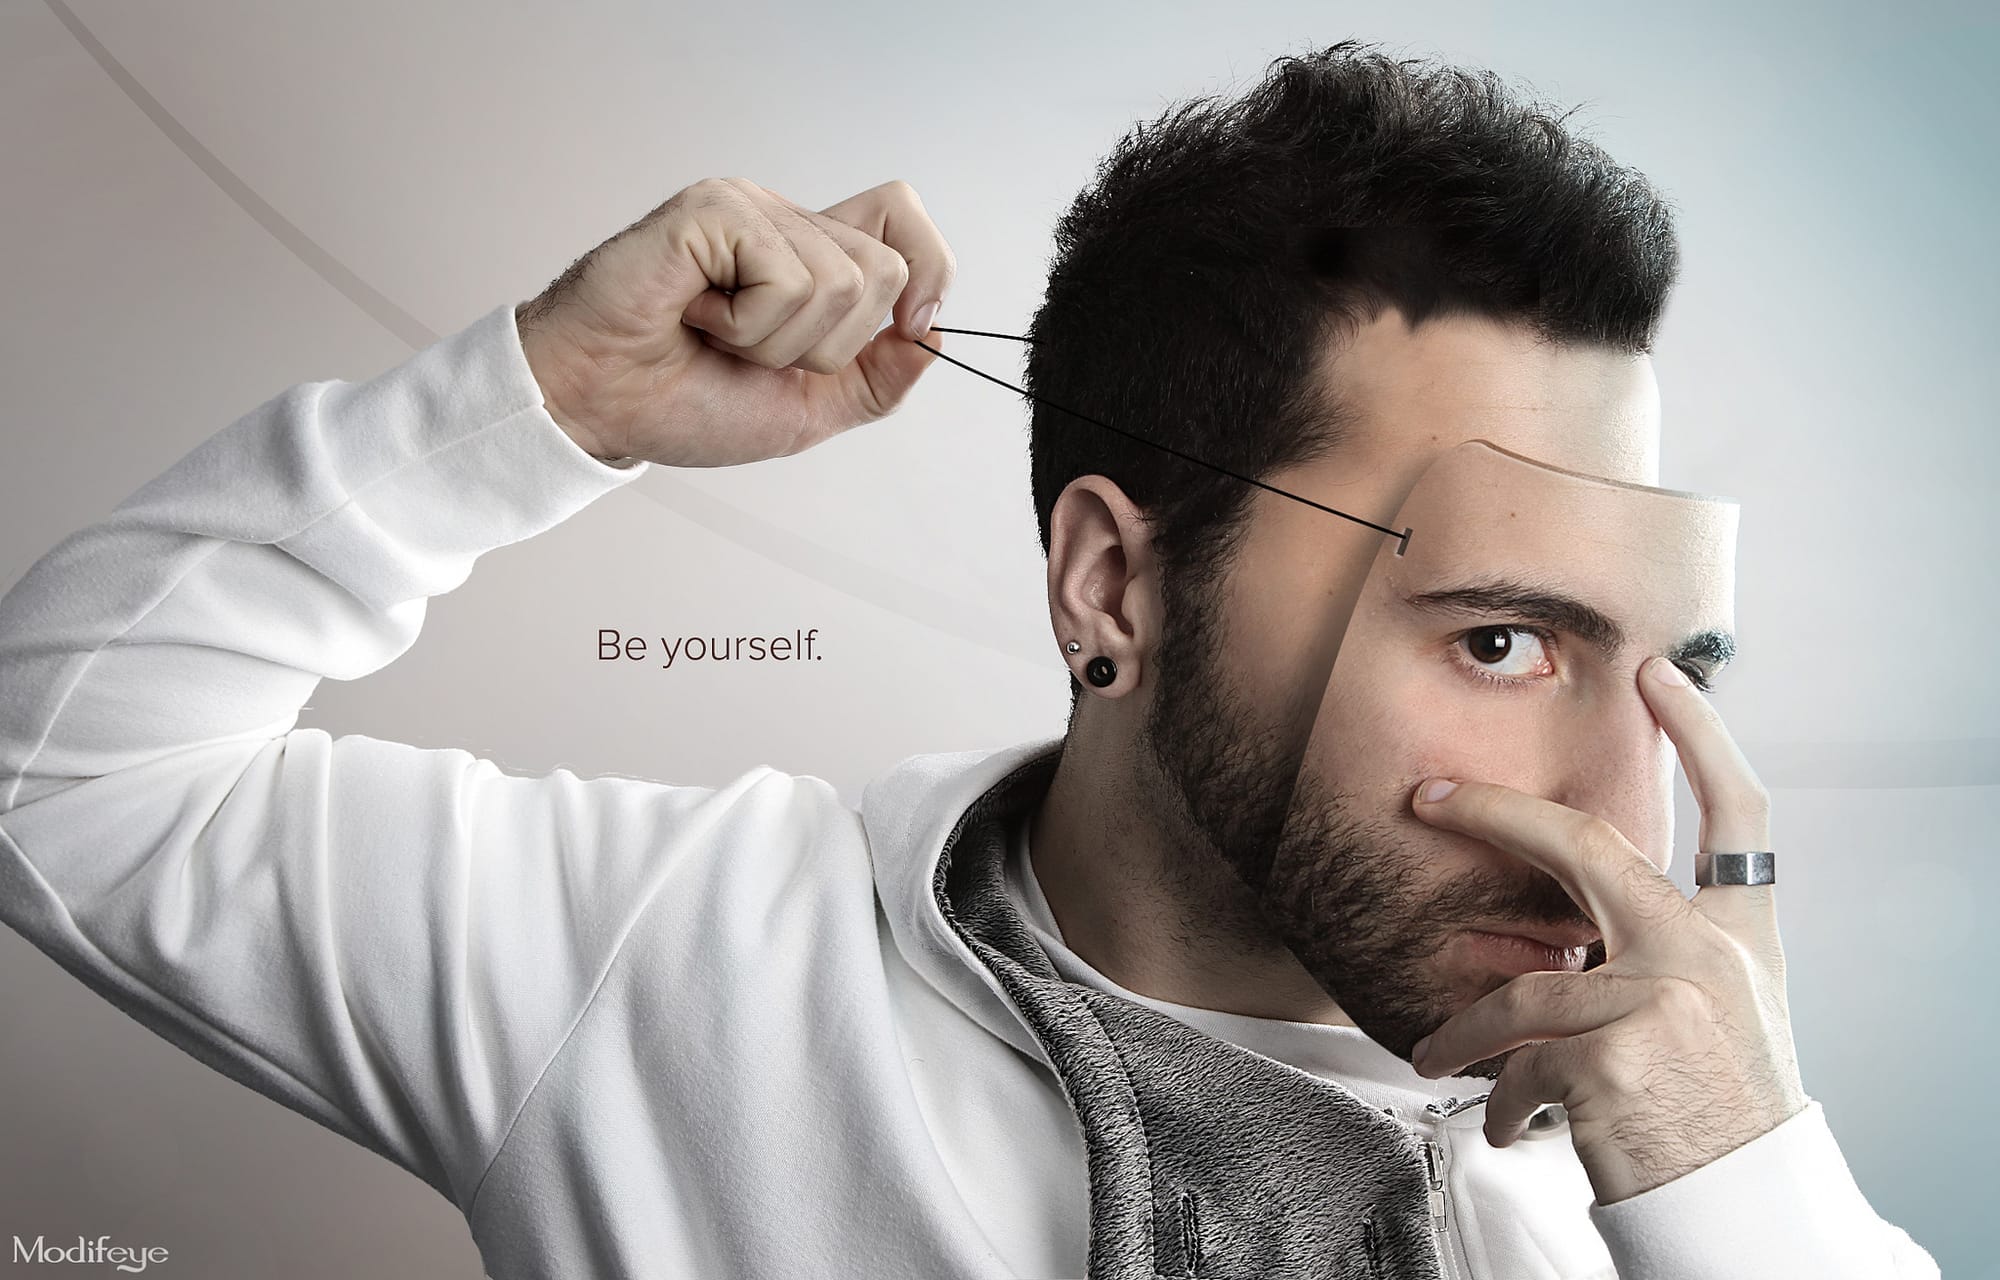
Here is a longer version with paragraphs, written in the third person or second singular voice, and without using the prohibited words: If you're looking to create an eye-catching portrait illusion, this tutorial is for you. You'll learn how to make a face mask using a photo of the subject's own face. The author demonstrates the simple techniques they used to achieve this effect in Photoshop. First, you'll need to capture a high-quality photo of the subject's face. Then, you'll edit the image
Using Color to Emphasize a Scene With Layers Mask
In this tutorial I'm going to show you what I do when a scene has too much unwanted color and how to emphasize a part of the scene with just a bit of a color to draw attention. Try to find a picture with bright colors or a subject you really want to stand out. The first thing we need to do is convert your image to black and white. There are a couple of ways to do this. The easiest way is to simply desaturate your image using the Hue/Saturation adjustment layer. The best way to do it is using th

Get tutorials & freebies delivered to you.

Subscribe to the Photoshop Roadmap newsletter, a weekly roundup of new tutorials, insights and quality downloads, trusted by 6500+ readers.

You might also like

How to Create Circle Cropped Photos with Transparent Backgrounds in Photoshop

Circular cropping transforms standard photographs into clean, professional profile images perfect for websites, social media, and presentations. The frame tool method creates non-destructive crops with transparent backgrounds that export seamlessly across different platforms. This streamlined workflow eliminates the need for complex selections or masks while maintaining full control over image...

How to Use Generative Upscale to Restore and Enhance Low-Resolution Images in Photoshop

Low-resolution images often limit your creative projects, especially when you need sharp prints or high-quality displays. Photoshop's Generative Upscale feature transforms small, pixelated photos into crisp, detailed images using AI-powered enhancement. This tool offers three distinct AI models, each designed for specific image types—from landscapes and portraits...

How to Use Harmonize to Automatically Match Lighting in Photoshop Composites

Creating seamless composites traditionally requires hours of manual color correction and lighting adjustments. The new Harmonize tool changes this by automatically analyzing your background and matching your subject's lighting, shadows, and color tones with a single click. This AI-powered feature eliminates the need for complex adjustment layers and...

How to Use Adobe Photoshop in ChatGPT for Photo Editing

Adobe Photoshop is now integrated directly into ChatGPT, allowing you to edit photos using simple text descriptions. This new feature lets you enhance images, apply creative effects, and make targeted adjustments without needing a Photoshop subscription. You can describe what you want to change and fine-tune adjustments using familiar Photoshop...

How to Fix Skin Tones in Photoshop - Complete Guide

Skin tones can make or break a portrait, yet color casts and uneven lighting often leave subjects looking unnatural or flat. Whether dealing with mixed lighting conditions, camera white balance issues, or post-processing mishaps, getting skin colors right requires a systematic approach that works consistently across different scenarios. This comprehensive...

You’ve successfully subscribed to Photoshop Roadmap
Welcome back! You’ve successfully signed in.
Great! You’ve successfully signed up.
Success! Your email is updated.
Your link has expired
Success! Check your email for magic link to sign-in.