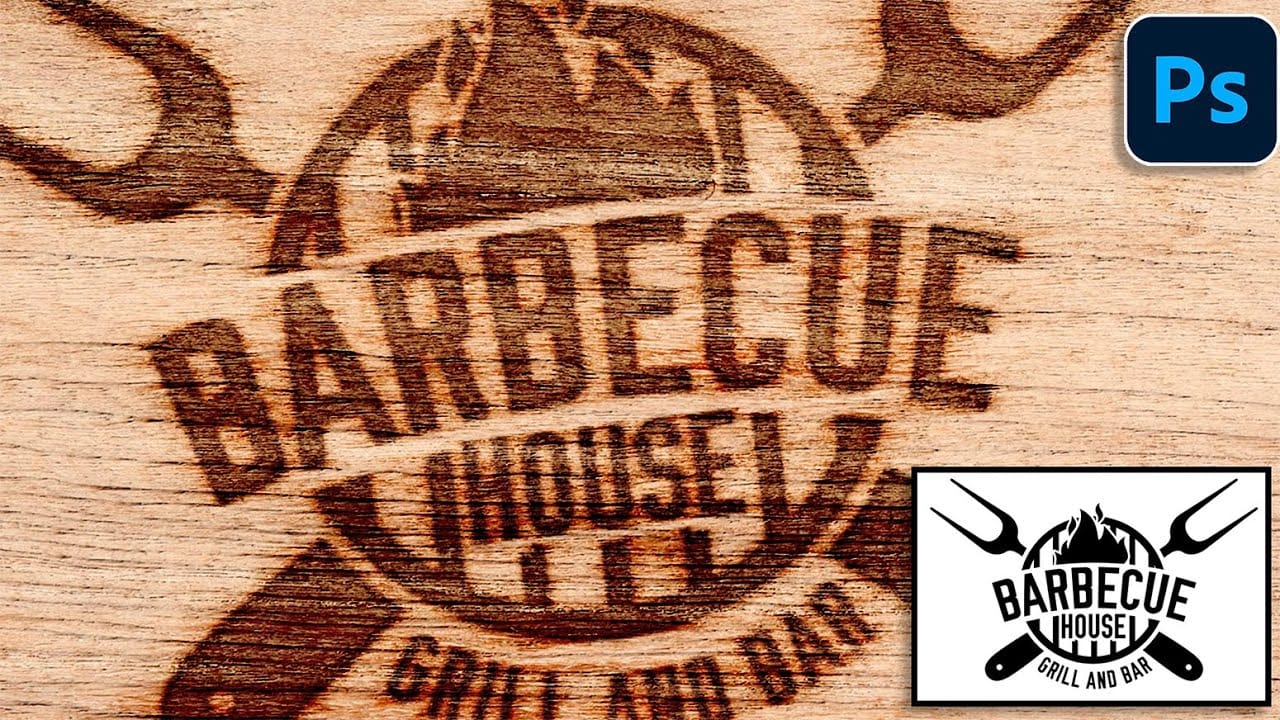
How to Create a Wood Burn Effect in Photoshop

How to Create a Wood Burn Effect in Photoshop

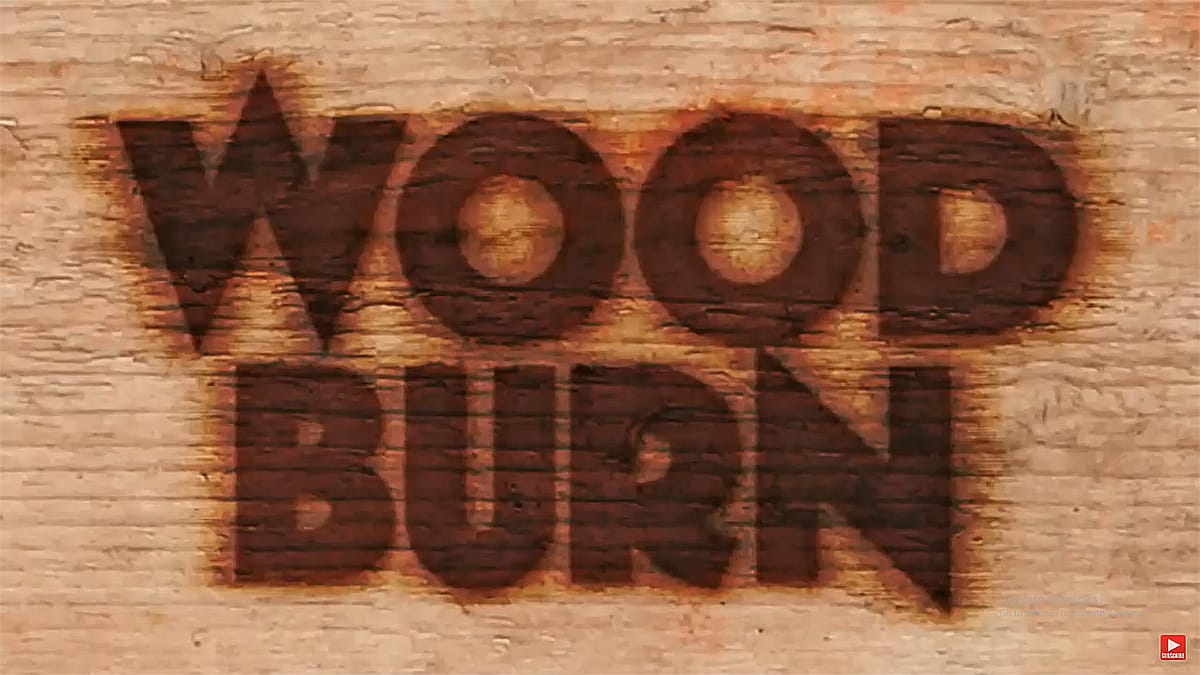
Wood burning transforms simple text and graphics into rustic, branded designs that carry the authenticity of crafted woodwork. This timeless aesthetic connects digital art with traditional craftsmanship, creating visuals that feel both handmade and professional.

Photoshop's layering and blending capabilities make it possible to simulate the charred, weathered appearance of wood burning without needing actual pyrography tools. The technique combines texture work, strategic blending modes, and careful opacity control to achieve convincing results.

Watch the Tutorial

Video by Photoshop Arthouse. Any links or downloads mentioned by the creator are available only on YouTube

The Art of Digital Wood Burning

Pyrography, or traditional wood burning, uses controlled heat to create designs on wood. This ancient technique remains popular for personalizing signs, art, and branded items.

Replicating this effect digitally requires understanding its key visual elements: charred edges, subtle depth, and how burned areas interact with wood grain. Real wood burning consumes wood fibers, creating slightly recessed areas and gradual transitions from black to natural wood tones.

Photoshop's Color Burn blend mode realistically simulates actual burning by darkening the base color through increased contrast, mimicking how fire intensifies wood's natural darkness. Blend If sliders enable precise control over the wood texture's tonal ranges for seamless integration of the burned effect with the underlying grain.

Practical Tips for Wood Burn Effects

  • Use high-contrast source material – Pure black and white graphics work best, as intermediate grays can muddy the final effect
  • Apply the Wind filter strategically – Multiple applications in different directions create natural-looking char patterns that simulate real wood fiber disturbance
  • Set output levels to 72 for the black channel – This prevents completely black areas that would look digitally harsh rather than naturally burned
  • Feather selections by 2 pixels when creating shadow layers – This softens edges to match the organic nature of wood burning
  • Use Inner Glow with Linear Burn mode – This combination creates the subtle rim lighting that occurs around real burned edges

More Tutorials about Wood and Fire Effects

Explore additional techniques for creating realistic burning and wood effects in Photoshop.
Create a Text Burnt on Wood in Photoshop
Today, Marty Geller from Blue Lightning TV will show us how to create a text effect that looks burnt onto a wood background, similar to a branding, using Photoshop. This tutorial is extremely detailed, loaded with useful techniques, and very easy to follow. Marty guides you through the steps to achieve a realistic burnt wood effect, perfect for adding a rustic and vintage touch to your designs. Whether you're working on a logo, poster, or any other creative project, this tutorial will provide y
Create a Fire Burning Effect in Photoshop
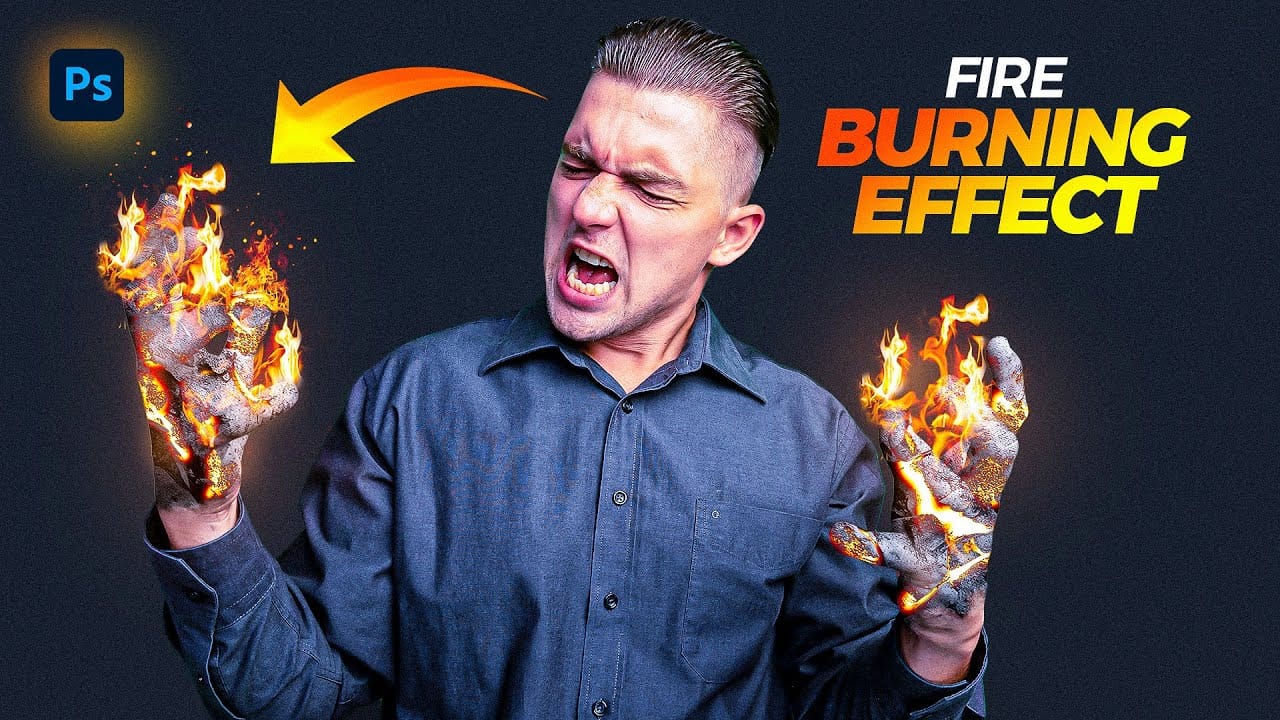
Creating a fire-burning effect in Photoshop is a fascinating process that can enhance your images dramatically. Start by setting up a new file with dimensions of 1920 x 1080 pixels. Import the necessary images, which can be found in the provided link. Duplicate your main layer using Ctrl + J, then convert it to black and white through the Image Adjustments menu by selecting Hue/Saturation and removing all saturation. Next, apply an inverted mask to the black and white layer. Use the brush tool
Apply a Burning Flames Effect to a Photo in Photoshop
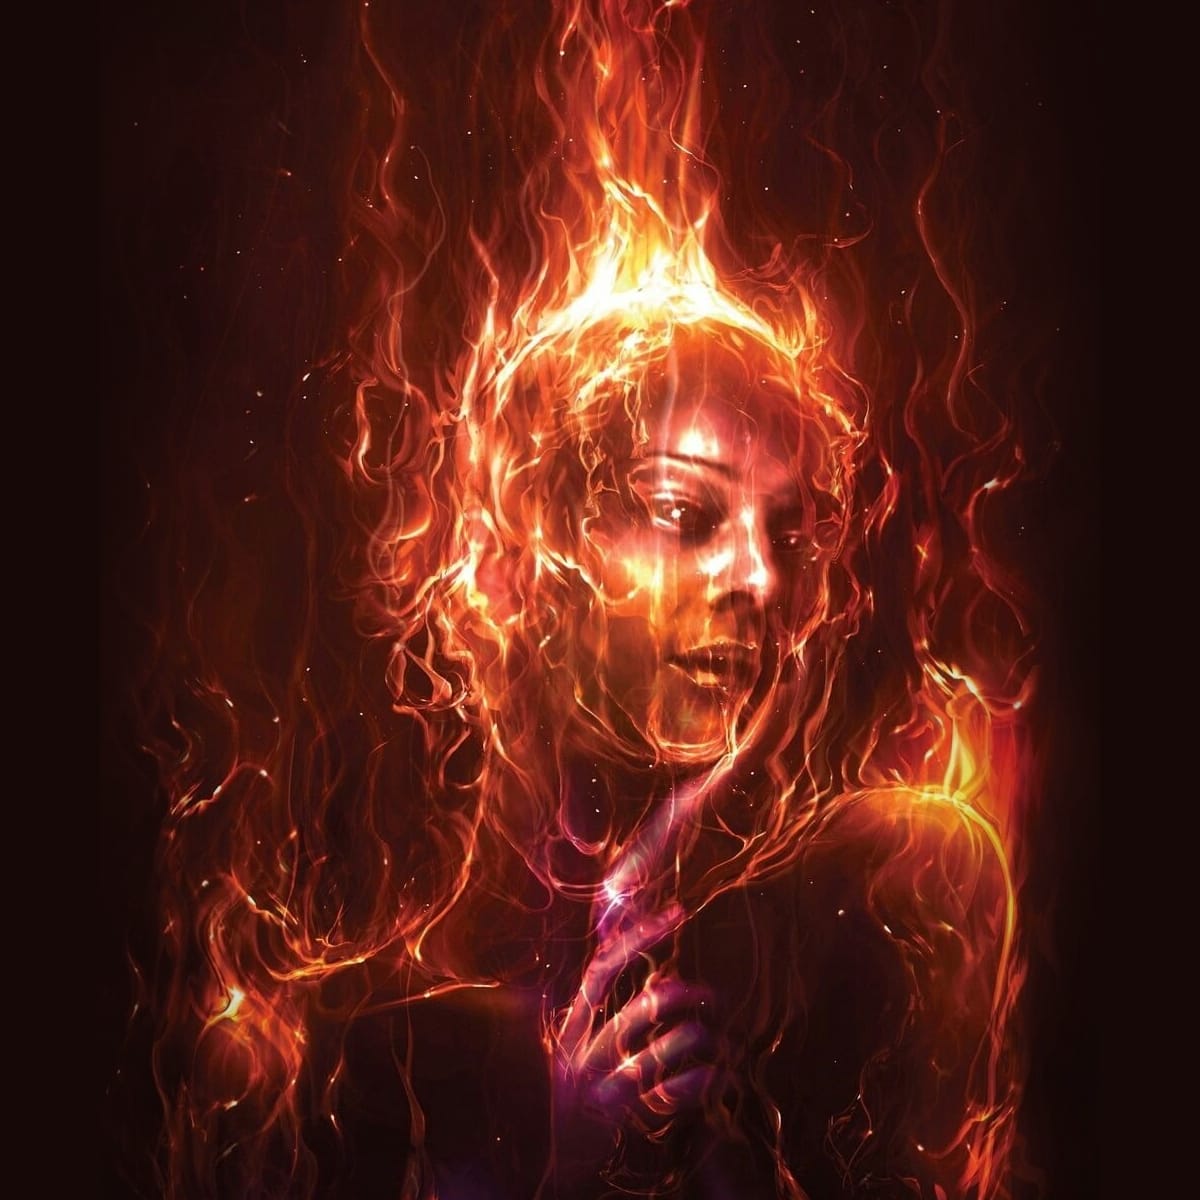
In this tutorial by Neville D'Souza, you will learn how to take a simple model shot and transform it into a striking, dynamic piece of art that resembles a spitting, crackling beacon of fire. The tutorial guides you through the process using some of the most common tools available in Photoshop, showcasing techniques that allow you to create intricate and impressive effects. The author meticulously explains each step, ensuring you can follow along without the need for third-party plug-ins. By th
Create a Realistic Wood Text Effect in Photoshop
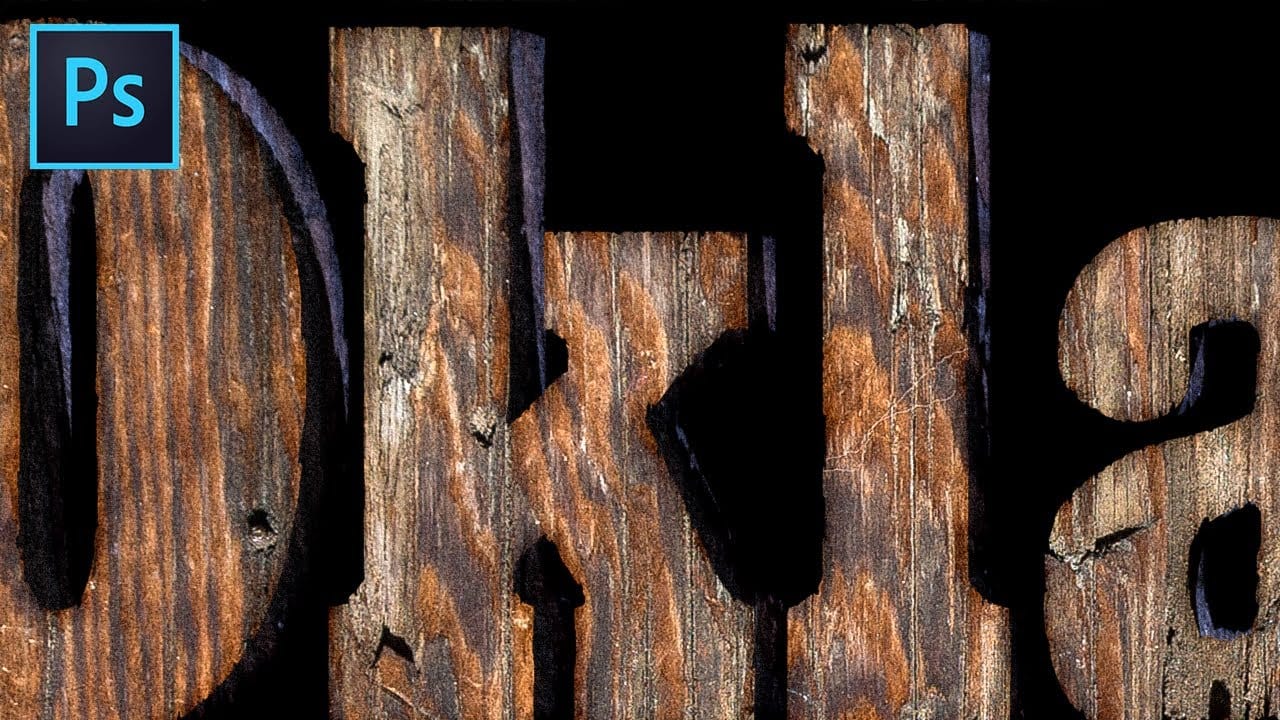
Learn a quick and easy technique for creating distressed 3D wood typography using just one texture and a few Photoshop tools and tricks. In this tutorial by TextureLabs, you'll discover how to transform your text into a realistic wooden design with a distressed finish. The process is straightforward, making it accessible even for beginners. Plus, free texture links and additional resources are provided to help you achieve the best results. This tutorial is perfect for adding a rustic, natural

Get tutorials & freebies delivered to you.

Subscribe to the Photoshop Roadmap newsletter, a weekly roundup of new tutorials, insights and quality downloads, trusted by 6500+ readers.

You might also like

Complete Photoshop Editing Workflow: 5 Steps from Raw to Polished

Photoshop offers endless possibilities for photo enhancement, but many photographers never move beyond basic adjustments because the software feels overwhelming. This comprehensive workflow breaks down photo editing into five manageable stages that work consistently across different photography styles. The systematic approach covers everything from initial raw processing to advanced lighting...

Photoshop Workspace Basics: Navigation, Zooming, and Essential Interface Elements

Photoshop's interface can feel overwhelming when you first open the program. Dozens of panels, tools, and menus compete for attention, making simple tasks feel complicated. This tutorial breaks down the essential workspace elements and teaches fundamental navigation skills that form the foundation of efficient Photoshop work. Watch the...

How to Restore Old Damaged Photos Using Nano Banana in Photoshop

Old family photos with scratches, tears, and missing sections can seem beyond repair. Google's Nano Banana AI model, now integrated into Photoshop, makes full restoration possible in minutes rather than hours. This powerful tool excels at maintaining facial characteristics while automatically filling in damaged areas and adding realistic...

How to Get Higher Quality Results from Photoshop's Generative Fill Tool

Photoshop's Generative Fill creates impressive AI extensions, but the results often look blurry and pixelated when viewed at full size. This quality limitation makes many AI-generated areas unusable for printing or large displays. This technique shows how to work around the 1024x1024 pixel quality limit to create much...

How to Use Photoshop's Liquify Tool for Non-Destructive Portrait Retouching

Clothing wrinkles, hair that lacks volume, and awkward fabric bunching can distract from an otherwise great portrait. Photoshop's Liquify tool offers a powerful solution for smoothing out these issues while preserving the natural look of your subject. This tutorial demonstrates how to use the Liquify tool non-destructively with...

You’ve successfully subscribed to Photoshop Roadmap
Welcome back! You’ve successfully signed in.
Great! You’ve successfully signed up.
Success! Your email is updated.
Your link has expired
Success! Check your email for magic link to sign-in.