How to Create a VHS Glitch Effect in Photoshop

How to Create a VHS Glitch Effect in Photoshop

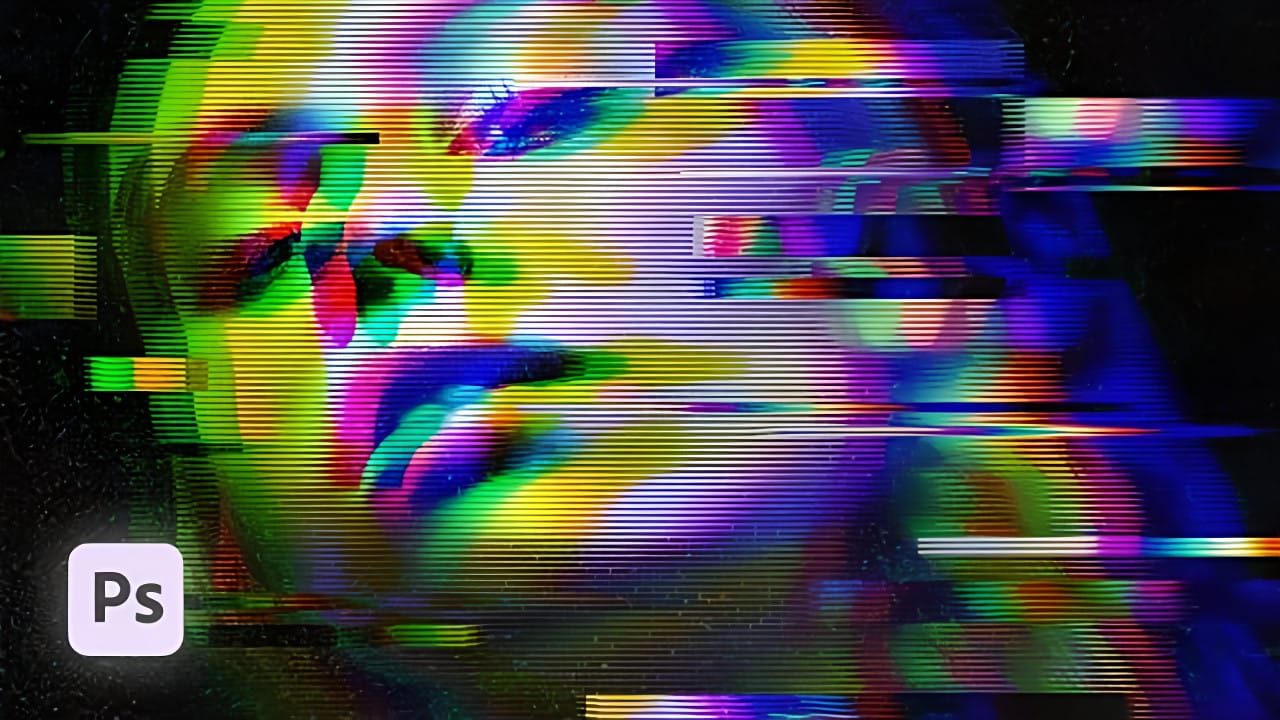
VHS glitch effects capture the nostalgic charm of analog video distortion, transforming clean digital images into retro masterpieces. These effects recreate the visual artifacts of old videotapes — horizontal scan lines, color channel separation, and pixelated interference that defined an entire era of visual media.

This tutorial demonstrates how to build a convincing VHS glitch effect using Photoshop's filters, blend modes, and displacement techniques. You'll learn to create authentic-looking analog distortion that brings vintage video aesthetics to modern digital work.

Watch the Video Tutorial

Video by P A N T E R. Any links or downloads mentioned by the creator are available only on YouTube

The Science Behind VHS Distortion

VHS glitch effects stem from real technical limitations of analog video recording. Magnetic tape degradation, tracking errors, and signal interference created the distinctive visual artifacts we now recreate digitally. The most recognizable elements include chromatic aberration from color channel misalignment and horizontal scan line disruption.

Digital recreation of these effects requires understanding how analog systems processed video signals. Color information was stored separately from luminance data, which explains why VHS glitches often show red, green, and blue channels shifting independently. The horizontal nature of most glitch patterns reflects how analog video was recorded in scan lines.

Modern glitch art embraces these technical "failures" as aesthetic choices. The imperfection becomes intentional, creating visual interest through controlled chaos that references our collective memory of analog media.

Essential Tips for VHS Glitch Effects

  • Separate your image into red, green, and blue channels using smart objects to maintain editability throughout the process
  • Use horizontal displacement rather than vertical to mimic authentic VHS tracking errors and scan line distortion
  • Apply the Unsharp Mask filter with high contrast settings to create the harsh, over-processed look of degraded video
  • Create scan lines using the Halftone Pattern filter with line patterns, then blend them using Multiply mode at low opacity
  • Add rectangular selections and reposition them to simulate video frame corruption and digital artifacts

More Tutorials About Glitch Effects

Explore additional techniques for creating digital distortion and retro video effects.
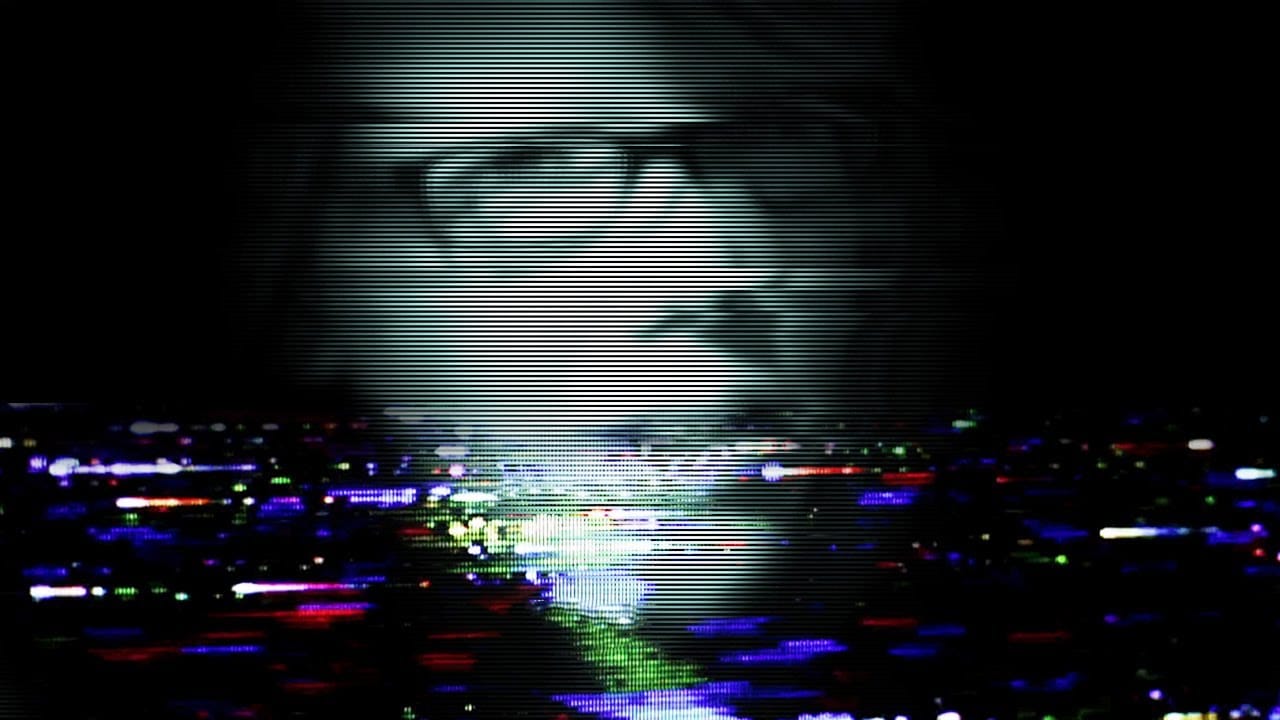
Create a Glitch Art Effect in Photoshop
Glitch art has emerged as a distinctive aesthetic in the digital age, rooted in the unexpected visual outcomes of digital errors. This art form transforms technical malfunctions into deliberate creative expressions, offering a unique visual language. This tutorial explores how to simulate this captivating effect from a standard photograph in Photoshop, guiding you through the essential steps to transform your images into compelling glitch art pieces. Watch the Video The Digital Aesthetic of
How to Make Tape Effect in Photoshop
In this tutorial, you will learn how to create a realistic masking tape effect in Photoshop. The step-by-step instructions make it easy for anyone, regardless of skill level, to follow along and achieve impressive results. You will start by familiarizing yourself with the necessary tools and techniques. The tutorial guides you through each stage, ensuring that you understand the process clearly. As you progress, you will see how simple adjustments can make a significant difference in the final
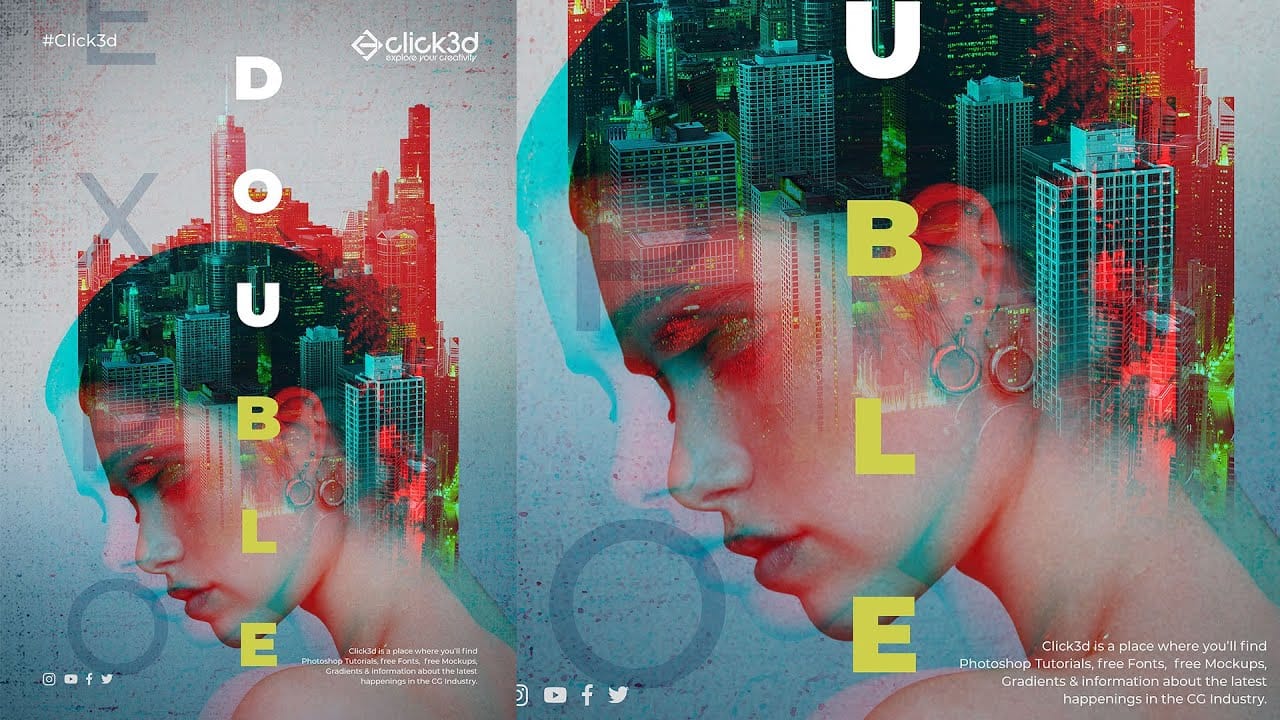
Double Exposure Glitch Poster Design in Photoshop
In this Photoshop tutorial by Click3D, you'll learn how to create a striking double exposure glitch poster design. The tutorial guides you through the process step by step, starting with the basics of setting up your project and selecting your images. You'll discover how to combine double exposure techniques with glitch effects to achieve a unique and eye-catching design. The tutorial covers essential steps like blending layers, applying distortion effects, and refining your poster to enhance t
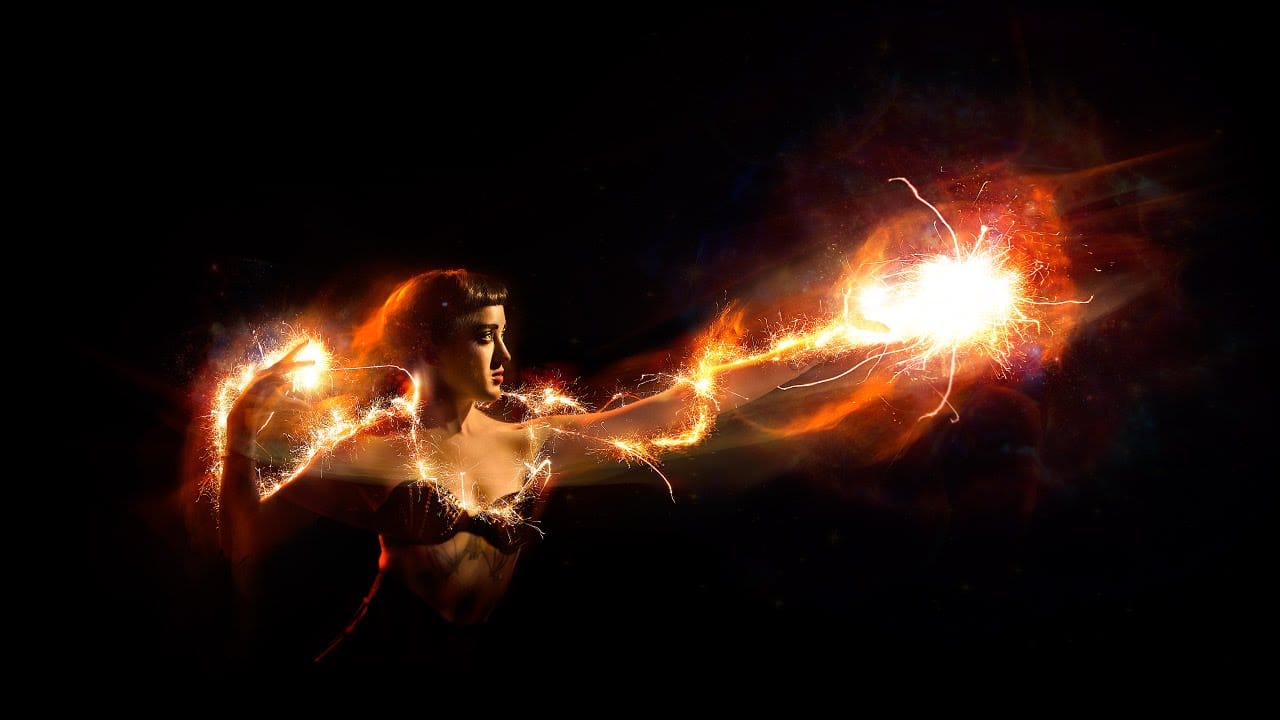
How to Add Special Effects in Photoshop
This video tutorial by PHLEARN demonstrates how to add special effects in Photoshop using photos from the same photoshoot. Aaron begins with a photo taken for a Fourth of July sale, featuring sparklers around the subject. The tutorial covers the use of blending modes and adjustment layers to create visually striking effects. Throughout the video, viewers are guided on how to group photos, change blending modes, use the move tool for positioning, and apply layer masks to hide unwanted areas. Add

Get tutorials & freebies delivered to you.

Subscribe to the Photoshop Roadmap newsletter, a weekly roundup of new tutorials, insights and quality downloads, trusted by 6500+ readers.

You might also like

Complete Photoshop Editing Workflow: 5 Steps from Raw to Polished

Photoshop offers endless possibilities for photo enhancement, but many photographers never move beyond basic adjustments because the software feels overwhelming. This comprehensive workflow breaks down photo editing into five manageable stages that work consistently across different photography styles. The systematic approach covers everything from initial raw processing to advanced lighting...

Photoshop Workspace Basics: Navigation, Zooming, and Essential Interface Elements

Photoshop's interface can feel overwhelming when you first open the program. Dozens of panels, tools, and menus compete for attention, making simple tasks feel complicated. This tutorial breaks down the essential workspace elements and teaches fundamental navigation skills that form the foundation of efficient Photoshop work. Watch the...

How to Restore Old Damaged Photos Using Nano Banana in Photoshop

Old family photos with scratches, tears, and missing sections can seem beyond repair. Google's Nano Banana AI model, now integrated into Photoshop, makes full restoration possible in minutes rather than hours. This powerful tool excels at maintaining facial characteristics while automatically filling in damaged areas and adding realistic...

How to Get Higher Quality Results from Photoshop's Generative Fill Tool

Photoshop's Generative Fill creates impressive AI extensions, but the results often look blurry and pixelated when viewed at full size. This quality limitation makes many AI-generated areas unusable for printing or large displays. This technique shows how to work around the 1024x1024 pixel quality limit to create much...

How to Use Photoshop's Liquify Tool for Non-Destructive Portrait Retouching

Clothing wrinkles, hair that lacks volume, and awkward fabric bunching can distract from an otherwise great portrait. Photoshop's Liquify tool offers a powerful solution for smoothing out these issues while preserving the natural look of your subject. This tutorial demonstrates how to use the Liquify tool non-destructively with...

You’ve successfully subscribed to Photoshop Roadmap
Welcome back! You’ve successfully signed in.
Great! You’ve successfully signed up.
Success! Your email is updated.
Your link has expired
Success! Check your email for magic link to sign-in.