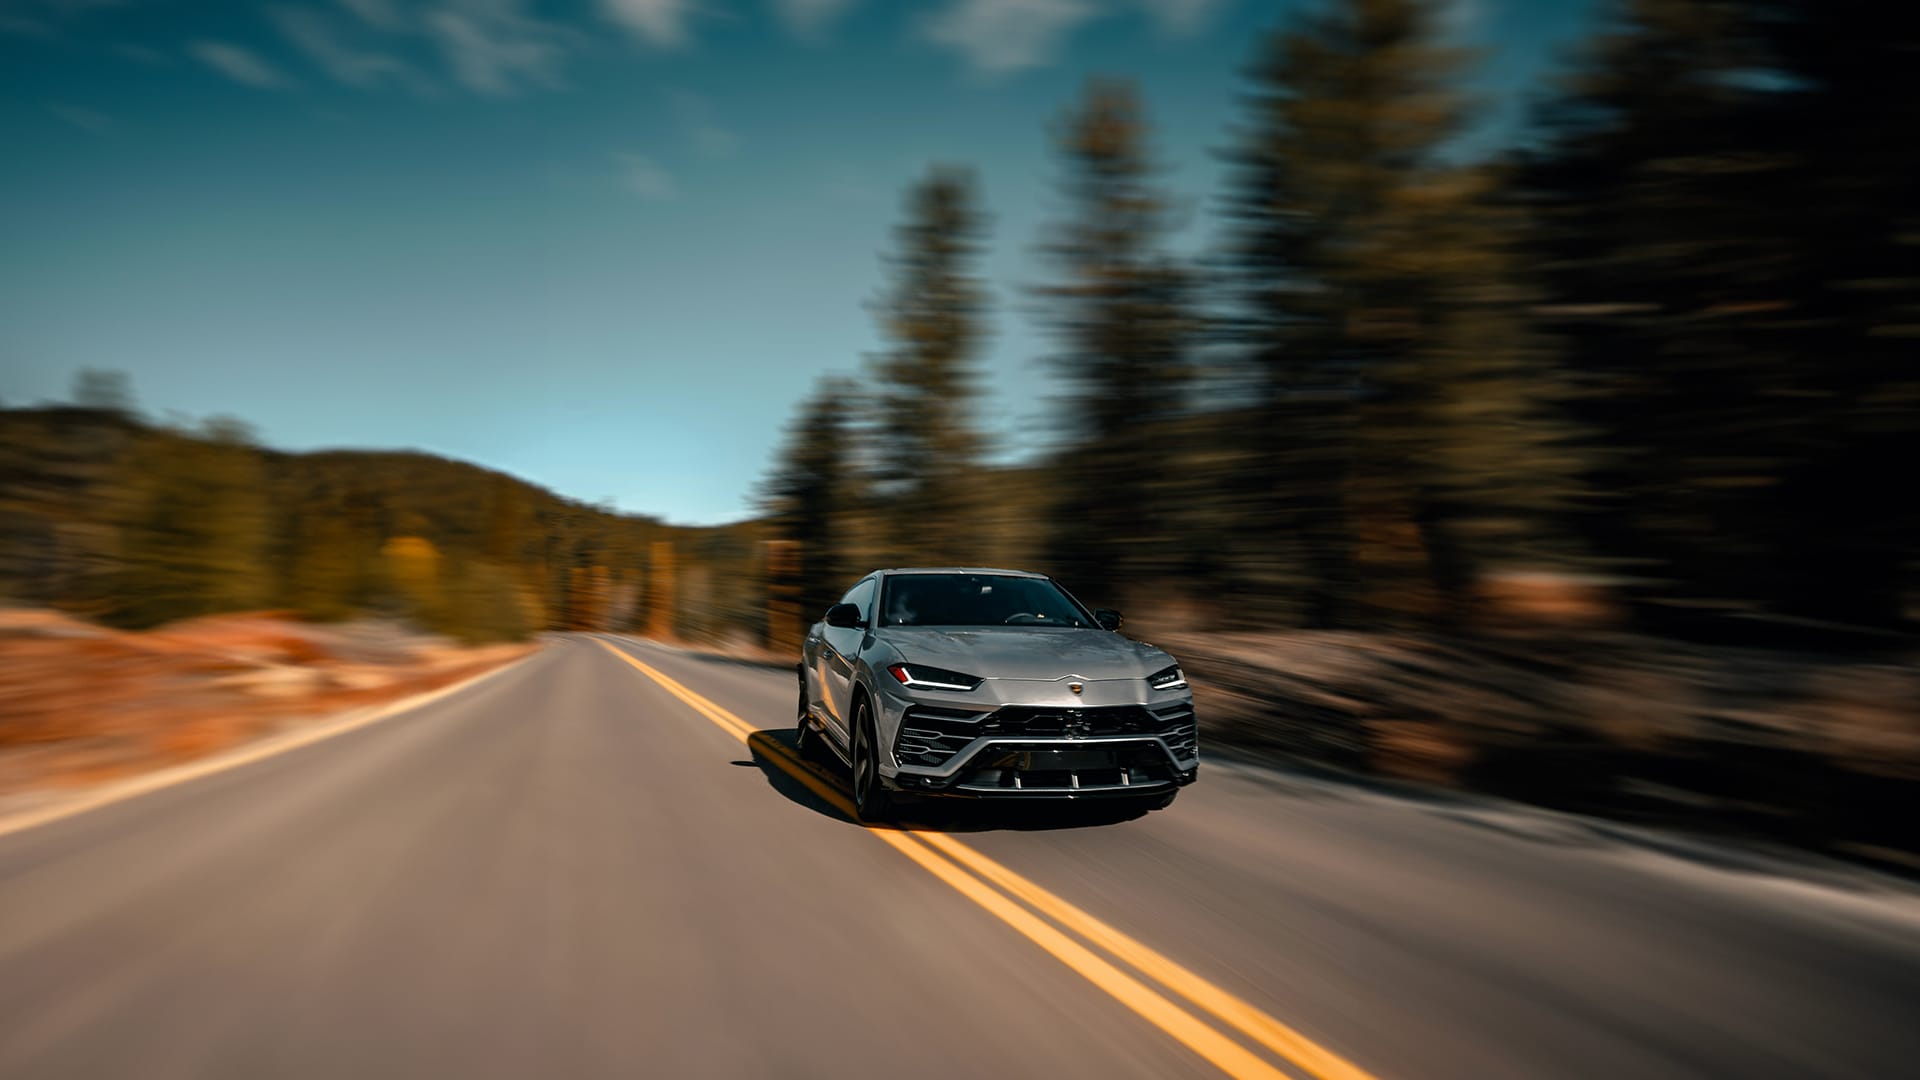
Static cars can appear to race down highways with the right motion blur techniques. This effect transforms ordinary photos into dynamic scenes that capture the sensation of speed and movement.
The process combines path blur, spin blur, and custom smoke effects to create realistic motion that follows perspective lines and adds atmospheric details.
Watch the Tutorial
Video by Photoshop Arthouse. Any links or downloads mentioned by the creator are available only on YouTube
Essential Tips for Motion Effects
- Convert layers to smart objects before applying blur filters to maintain non-destructive editing capabilities throughout the project
- Set different speed values at path endpoints when using Path Blur - zero at the front and higher values at the back create natural motion gradients
- Use separate layers for wheel spin blur to control tire rotation independently from the main vehicle motion
- Click multiple times instead of brushing when applying smoke effects to randomize size, angle, and direction for realistic dust trails
- Apply layer masks with soft brushes to blend spinning wheels naturally with the motion-blurred car body
Related Tutorials About Motion Effects
Explore more techniques for creating dynamic movement and blur effects in your photos.
How to Create a Speed Effect in Photoshop
This Photoshop tutorial offers clear guidance on blending graphics with portraits in an effective way. You will learn how to use the Super Zoom feature, which allows you to upscale graphics without compromising their resolution. This ensures that your images maintain a high quality, no matter how much you enlarge them.
The tutorial also covers Gradient Maps, which help achieve better color matching between your portraits and graphics. Understanding this technique will enhance the overall look o
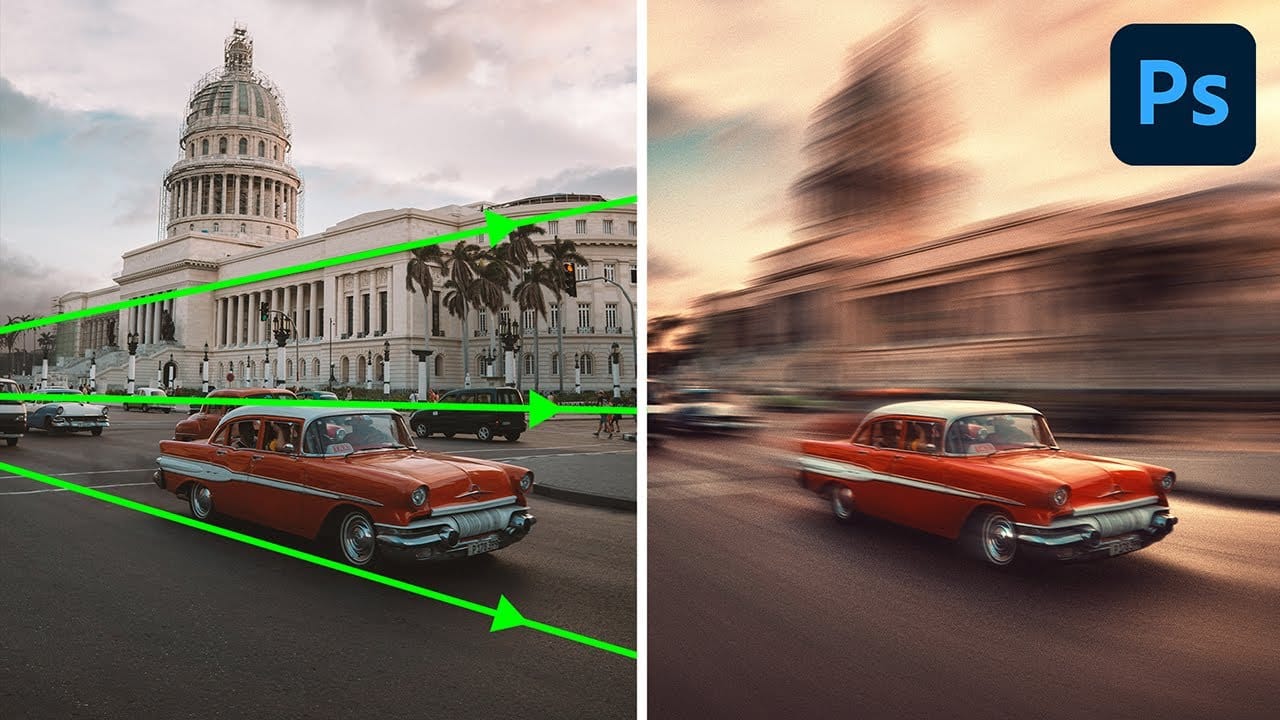
Generate a Perspective Motion effect with Photoshop
In this detailed tutorial, PiXimperfect demonstrates how to create a dynamic perspective motion effect in Photoshop. The lesson focuses on adding motion blur that aligns with the perspective of an object, making it appear as if it's moving rapidly through space. Using multiple paths to capture the perspective, you'll learn how to apply blur effects along these lines to simulate realistic motion.
The tutorial covers advanced techniques with Path Blur to not only create motion but also enhance th
Create Motion Blur Text Effect in Photoshop with Path Blur
Motion blur transforms static typography into dynamic visual elements that appear to race across the screen. This effect creates the illusion of speed and movement, perfect for sports graphics, action posters, and modern designs.
The technique combines Photoshop's Path Blur filter with strategic layering and color gradients to produce professional-looking motion trails.
Watch the Tutorial
Essential Tips for Motion Blur Text Effects
* Convert text to smart objects before applying transform