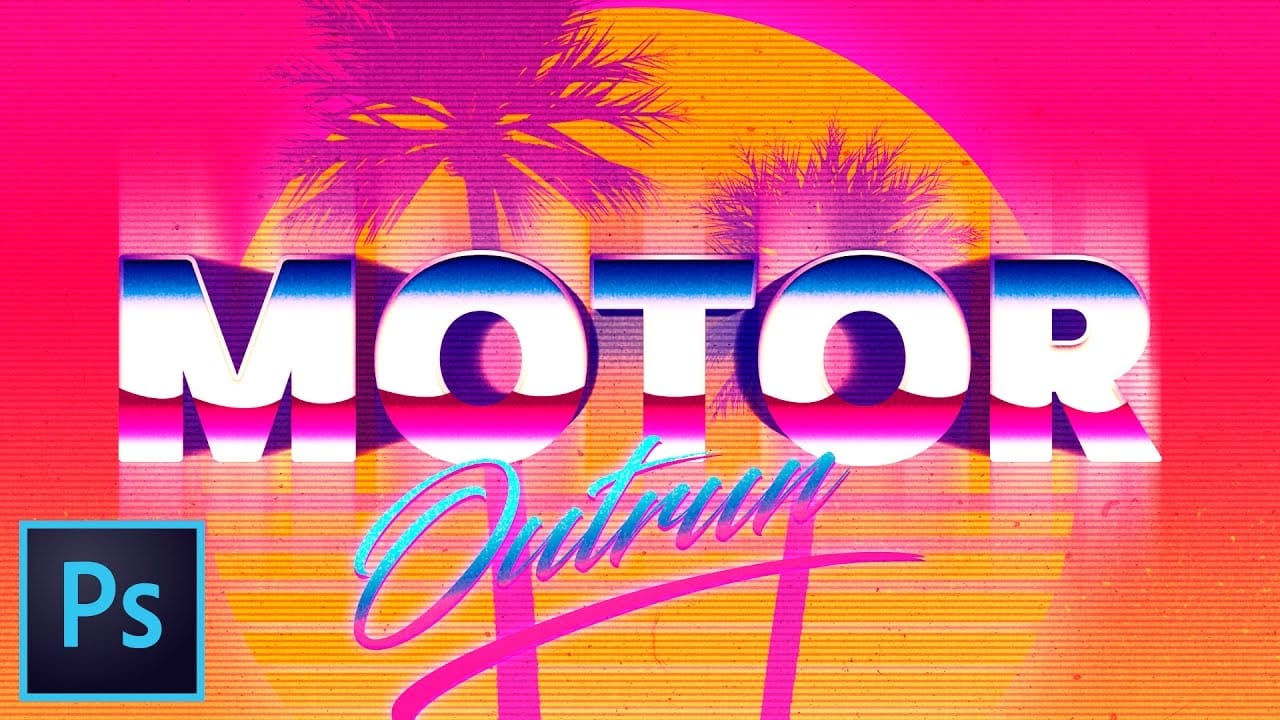
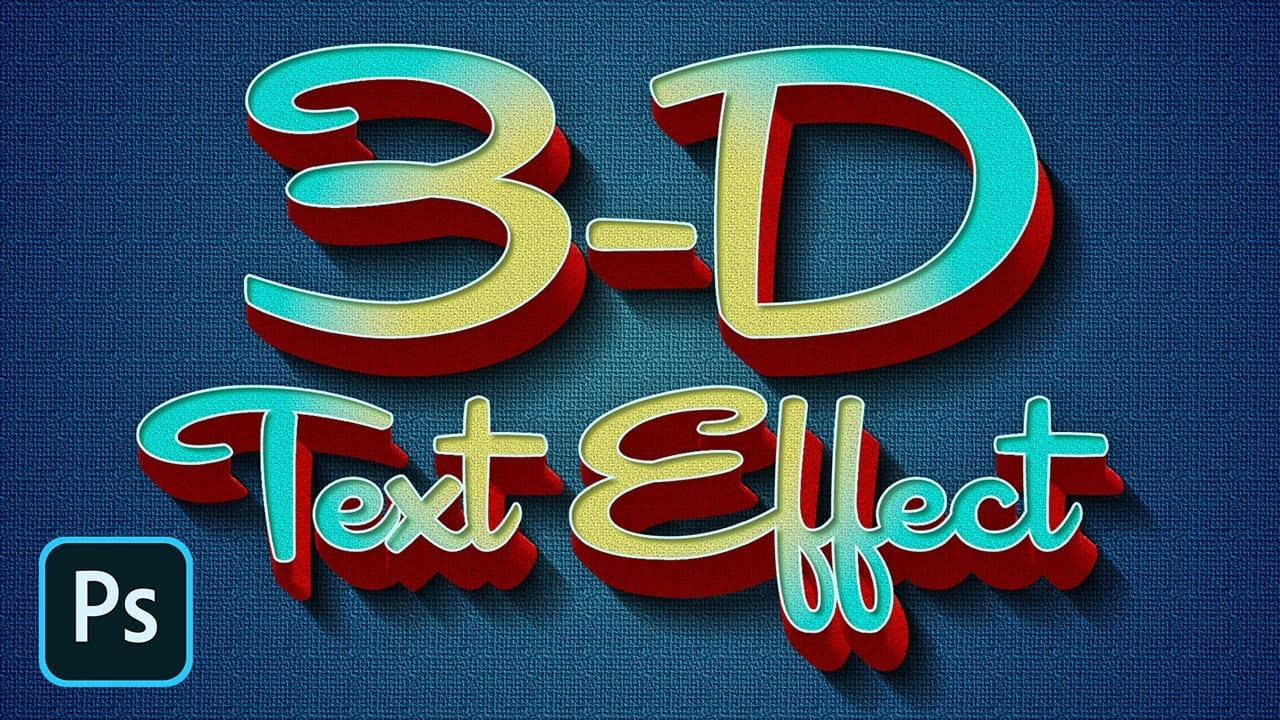
Retro design remains captivating, offering a nostalgic aesthetic that enhances modern projects. Dynamic 3D text effects are a powerful way to integrate this vintage charm into digital art, transforming flat typography into eye-catching, dimensional elements.
This tutorial comprehensively guides you through creating compelling retro 3D text in Photoshop, teaching essential techniques for depth, intricate layer styles, and using Smart Objects for flexible, editable designs.
Watch the Video
Video by Blue Lightning. Any links or downloads mentioned by the creator are available only on YouTube
Understanding the 3D Text Workflow in Photoshop
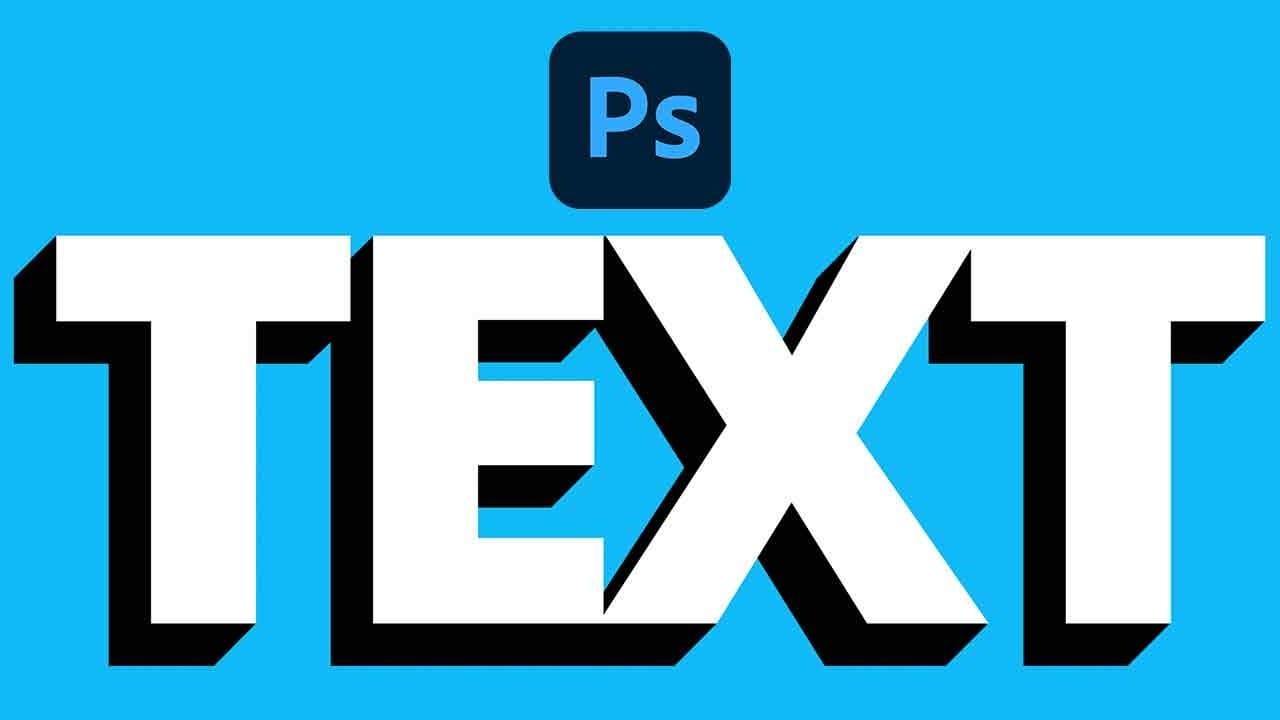
Creating realistic 3D text in Photoshop without dedicated software involves a multi-layered approach. Depth is simulated by duplicating a base text layer, each copy incrementally shifted.
This allows precise control over the perceived depth and angle. Crucially, converting the initial text to a Smart Object links all duplicates, enabling non-destructive editing. Changes to the original Smart Object automatically update all instances, streamlining revisions.
Beyond layering, layer styles like gradients, patterns, bevels, and shadows are applied to different text parts to create the signature retro 3D effect. This combination simulates light, texture, and volume, achieving the bold, glossy, and colorful aesthetic reminiscent of 1980s typography.
Practical Tips for Creating Retro 3D Text
- Utilize Smart Objects for your base text layer to enable non-destructive editing, allowing for easy updates to text content or font after creating the 3D effect.
- Create the 3D depth by duplicating your text layer numerous times (e.g., 50 copies) and shifting each copy incrementally (e.g., one pixel up and one pixel left) to build a smooth extrusion.
- Apply distinct Layer Styles to the deeper layers (e.g., Color Overlay, Bevel & Emboss) and the top layer (e.g., Gradient Overlay, Inner Shadow, Pattern Overlay) to define the text's body and surface appearance.
- Efficiently apply layer styles to multiple depth layers by copying the style from one layer and pasting it to a selection of other layers.
- Construct the surrounding stroke and shadow as separate elements, converting them into Smart Objects to allow for independent adjustments like blur filters for the shadow.
Related Articles and Tutorials about 3D Text Effects
Discover more techniques for crafting various 3D text effects and retro-inspired designs in Photoshop.


