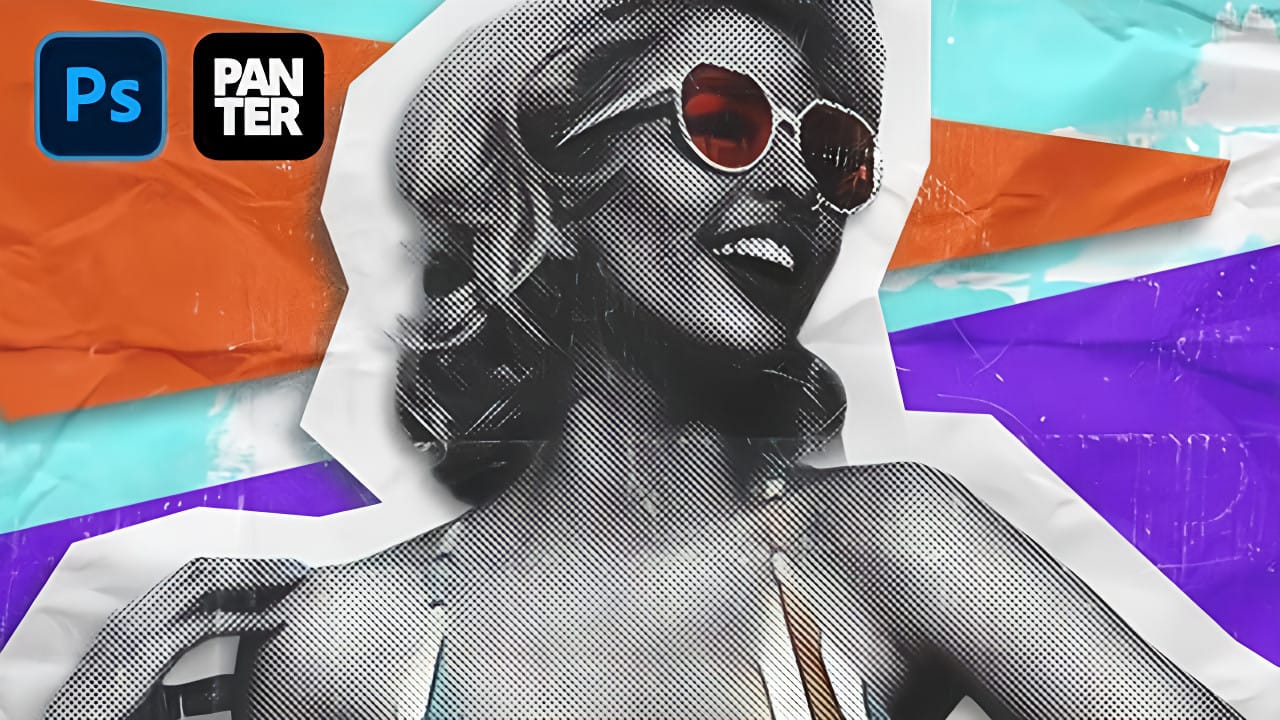
Vintage photocopy aesthetics bring a distinctive grittiness that transforms ordinary portraits into striking graphic art. The rough textures, high contrast, and bold color blocking characteristic of this style echo the experimental printing techniques that defined underground art movements and zine culture.
This tutorial demonstrates a complete workflow for achieving an authentic photocopy effect, combining Photoshop's filter gallery with precise color masking techniques to create vibrant pop art portraits.
Watch the Tutorial
Video by P A N T E R. Any links or downloads mentioned by the creator are available only on YouTube
Essential Tips for Photocopy Effects
- Convert your image to a smart object before applying filters to maintain editability
- Set foreground to black and background to white before accessing the filter gallery for proper contrast
- Maximize smoothness in torn edges filter while adjusting contrast to control the white grain density
- Use object selection tool with shift-clicking to build complex selections across multiple elements
- Apply colors on separate layers with multiply blend mode to preserve the underlying texture
Related Pop Art Tutorials
Explore more techniques for creating vibrant pop art effects and vintage-inspired designs.
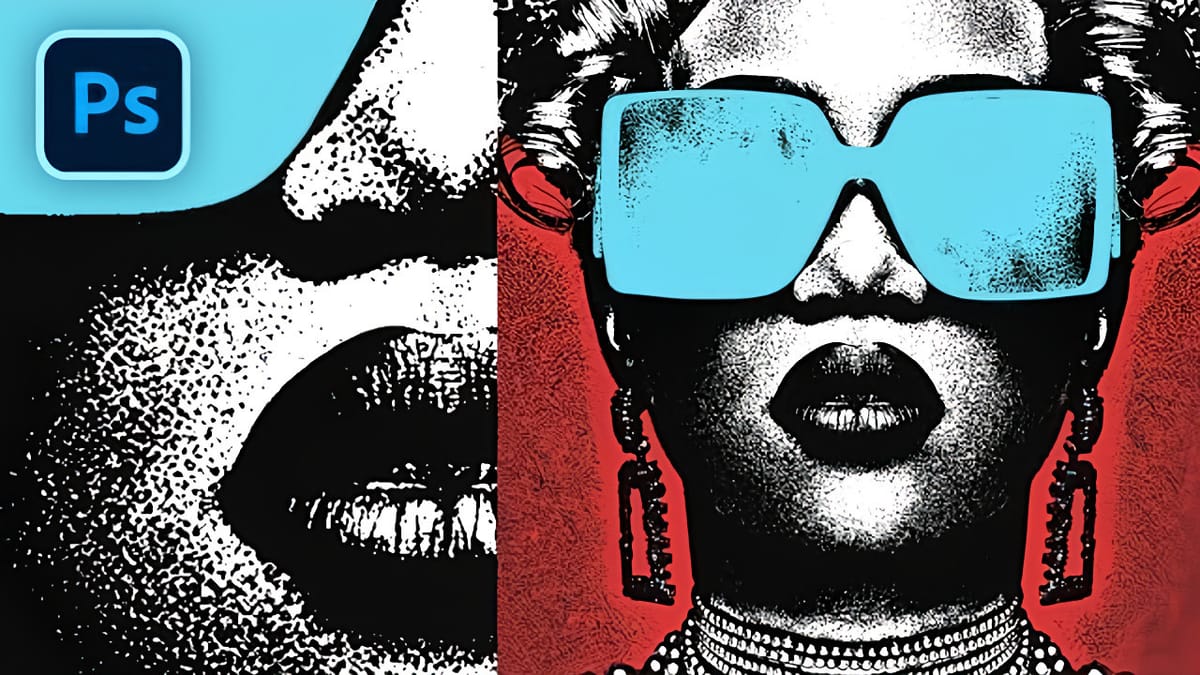
Create a Colorful Xerox Photocopy Effect in Photoshop
The distinctive look of vintage photocopying machines creates a unique aesthetic that blends sharp contrasts with colorful accents. This retro effect transforms ordinary photographs into stylized artwork reminiscent of 1980s design and underground art movements. This tutorial demonstrates how to recreate that classic xerox appearance using Photoshop’s adjustment layers, filters,
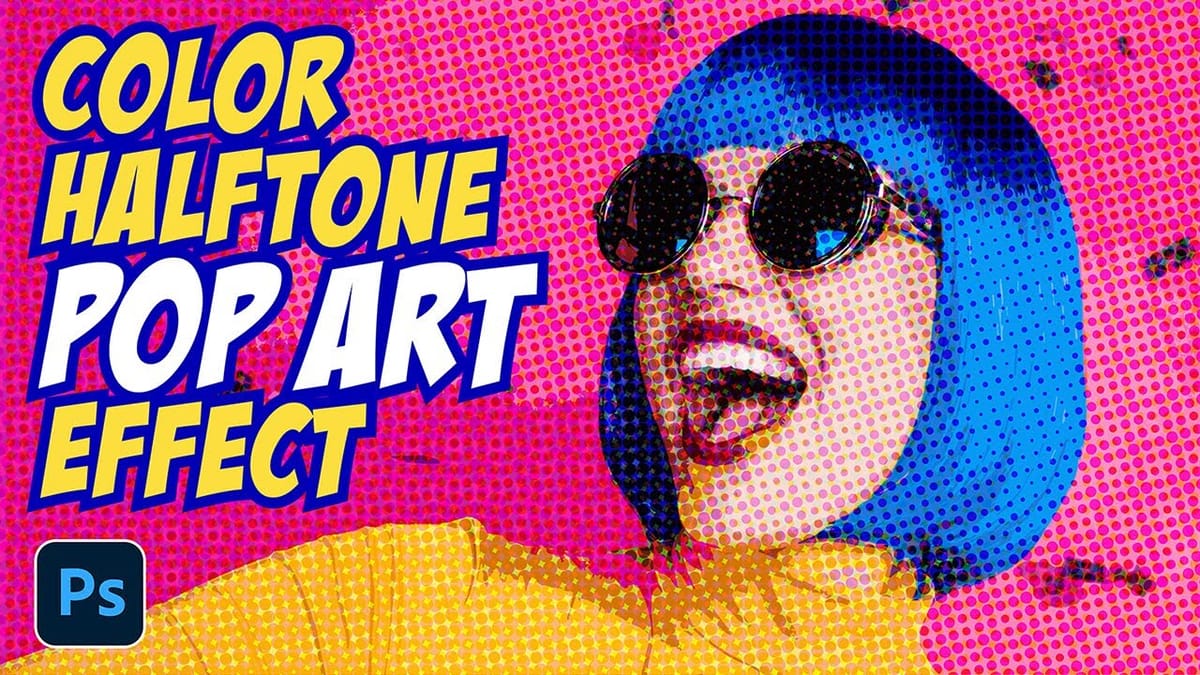
Create a Retro Pop Art Effect with Color Halftone in Photoshop
Pop art transformed ordinary subjects into bold, graphic statements through vibrant colors and distinctive printing techniques. The movement’s signature look came from commercial printing methods, especially the visible halftone dots that created depth and texture in mass-produced images. This video demonstrates how to recreate that iconic aesthetic digitally, combining artistic
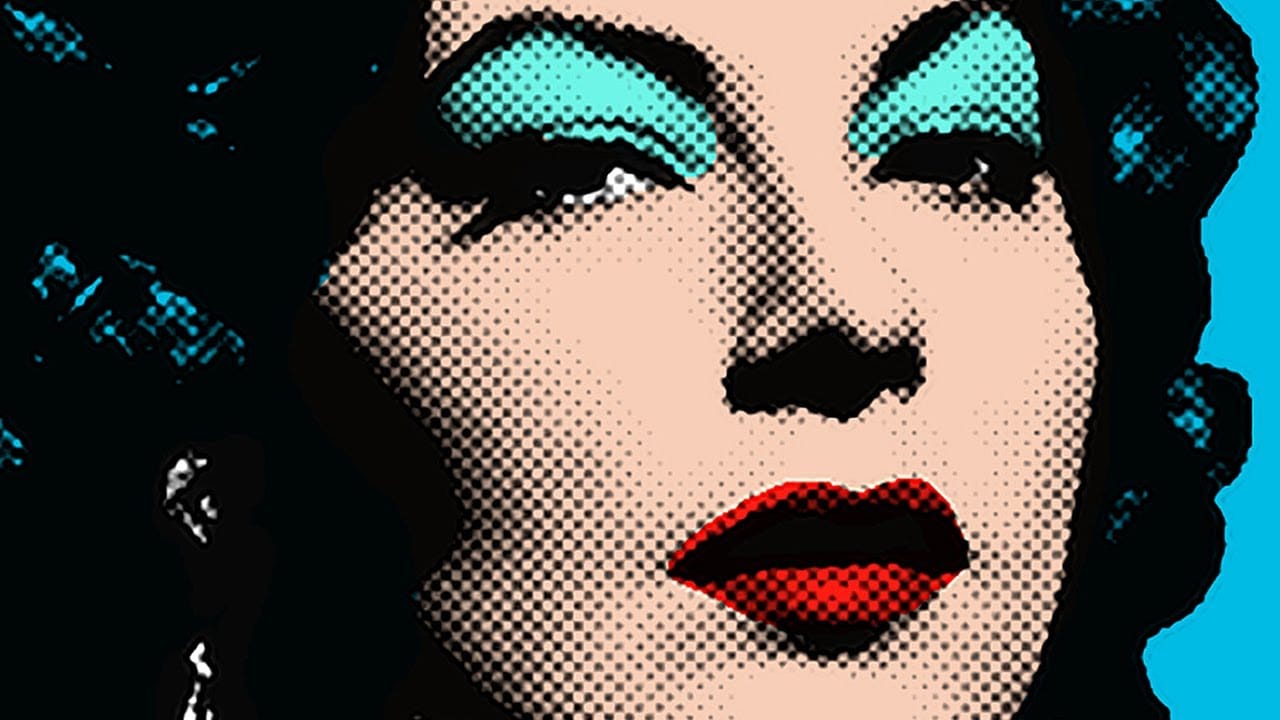
Learn how to make a Pop Art portrait from a photo in Photoshop
This tutorial explores a simplified method for transforming an ordinary photograph into a vibrant pop art portrait. It draws inspiration from the iconic celebrity silkscreens popularized by Andy Warhol, offering a distinct aesthetic that combines photography with graphic art.
Viewers will learn efficient Photoshop techniques to convert a photo into a halftone dot pattern, isolate the subject, and apply bold, flat colors, ultimately creating a striking visual piece reminiscent of classic pop art
How to Create a Grungy Pop Art Collage with Halftone Effects in Photoshop
Pop art collages capture the bold, experimental spirit of 1960s graphic design through layered compositions and striking visual contrasts. This aesthetic combines commercial printing techniques with artistic rebellion, creating designs that feel both nostalgic and contemporary.
This tutorial demonstrates how to build a complete pop art collage from a portrait photograph, incorporating halftone patterns, geometric shapes, and textural elements that define the genre's distinctive look.
Watch th