Transform an ordinary cityscape into a surreal architectural illusion that defies reality. This perspective-bending technique creates the visual impact of two worlds colliding at impossible angles.
Master the art of rotating, masking, and blending images to achieve cinematic effects that captivate viewers and challenge their perception of space.
Watch the Video
Video by Photoshop Arthouse. Any links or downloads mentioned by the creator are available only on YouTube
Essential Tips for Perspective Effects
- Enable Snap from the View menu before positioning rotated layers to ensure precise alignment at corner points
- Use the Polygonal Lasso Tool to create clean selections by clicking just outside the canvas boundaries for smoother edges
- Apply a 5-pixel feather to layer masks to soften transition edges and create more natural blending between perspectives
- Press Ctrl+Alt+Shift+E (Cmd+Option+Shift+E on Mac) to create composite snapshots that preserve your work at key stages
- Use the Dodge Tool with Midtones range and 50% exposure to brighten edge areas without affecting color saturation
More Tutorials About Perspective Effects
Explore additional techniques for creating striking perspective manipulations and spatial illusions.
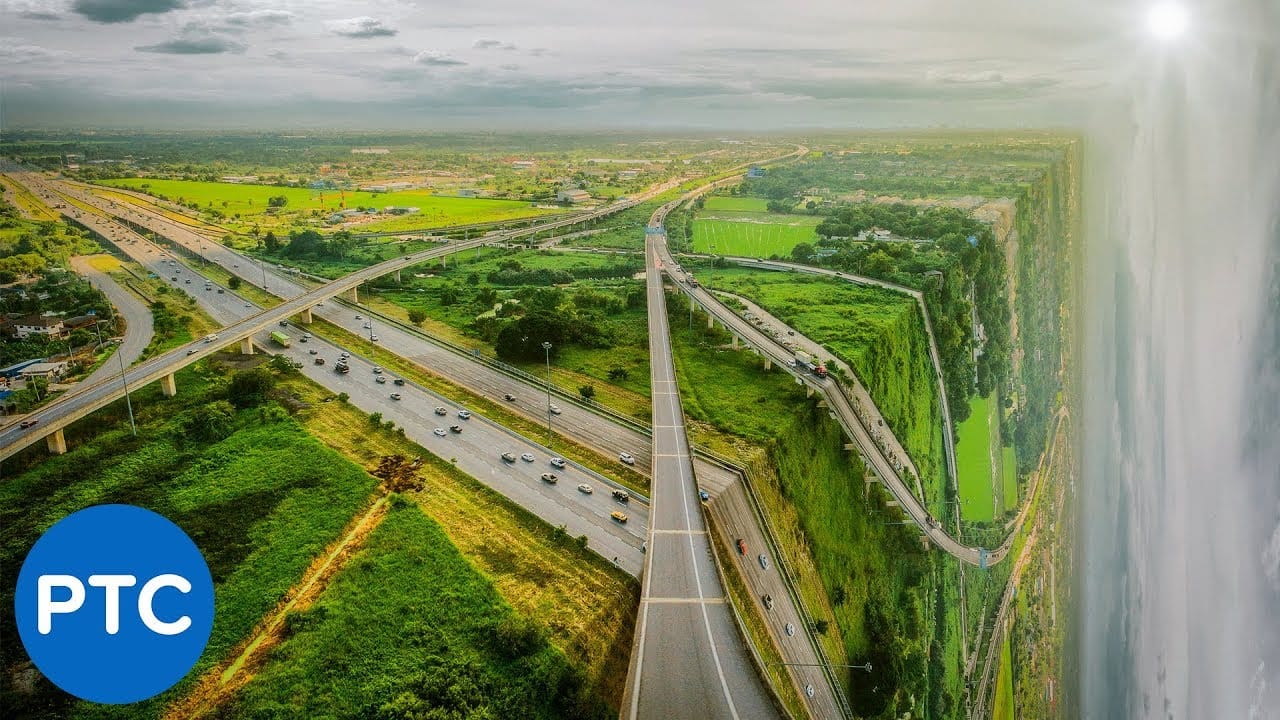
Create an Inception-like perspective bending effect in Photoshop
In this Photoshop tutorial by Jesus Ramirez from Photoshop Training Channel, you will learn how to create a perspective-bending effect. The resulting cube Earth will be a similar effect to the photo manipulations that you have seen in the movie Inception and Dr. Strange.
The Perspective photo manipulation effect in this video can be replicated with almost any landscape photo where the horizon is visible.
Watch tutorial
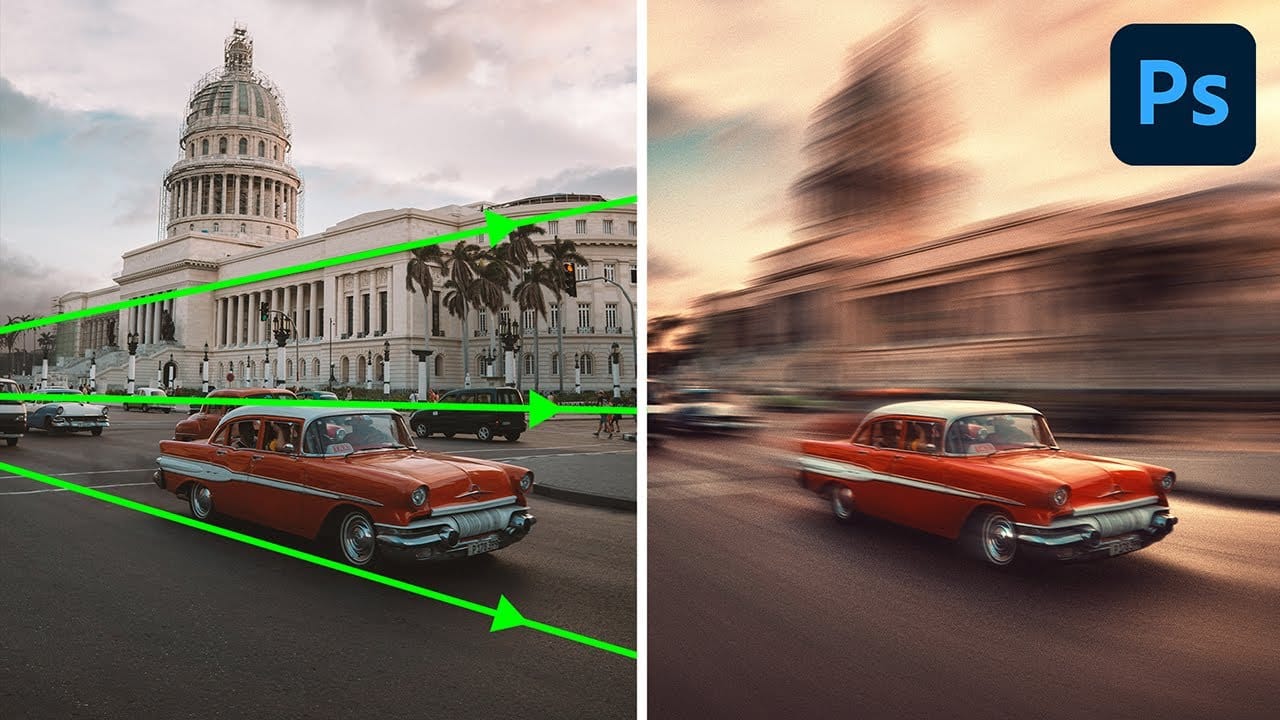
Generate a Perspective Motion effect with Photoshop
In this detailed tutorial, PiXimperfect demonstrates how to create a dynamic perspective motion effect in Photoshop. The lesson focuses on adding motion blur that aligns with the perspective of an object, making it appear as if it's moving rapidly through space. Using multiple paths to capture the perspective, you'll learn how to apply blur effects along these lines to simulate realistic motion.
The tutorial covers advanced techniques with Path Blur to not only create motion but also enhance th
How to Place Anything into Perspective in Photoshop
In this tutorial, we'll demonstrate a technique that allows you to seamlessly incorporate any object into a new scene, ensuring perfect perspective alignment. First, we'll guide you through the process of precisely cutting out the desired object using advanced selection tools. Next, we'll utilize the powerful Vanishing Point Filter to position the object within the target scene, aligning it perfectly with the existing perspective.
But we don't stop there. To achieve a truly professional-looking

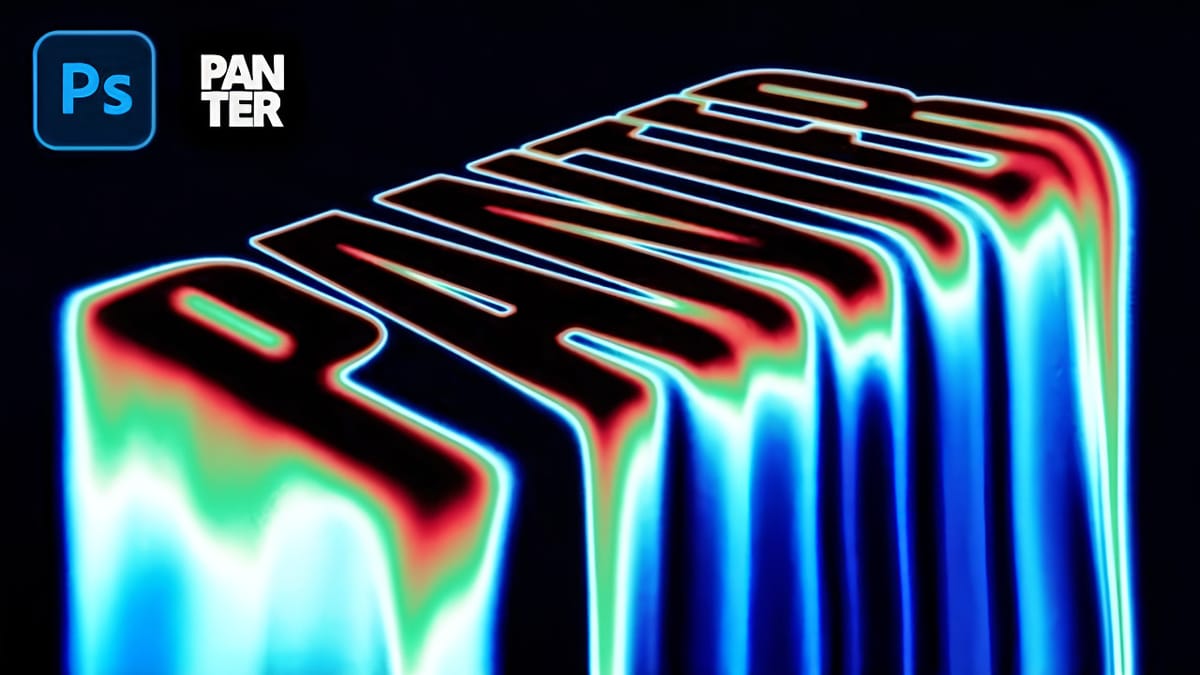
Create Liquid Melting Acid Text in Perspective in Photoshop
Acid text effects capture the raw energy of corrosive transformation, turning ordinary typography into flowing, organic shapes that appear to melt and dissolve. This distinctive visual style suggests powerful forces reshaping matter itself, creating text that seems alive with chemical reaction. The technique transforms flat letters into dimensional, perspective-distorted forms