How to Create a Melting RGB Text Effect in Photoshop

How to Create a Melting RGB Text Effect in Photoshop

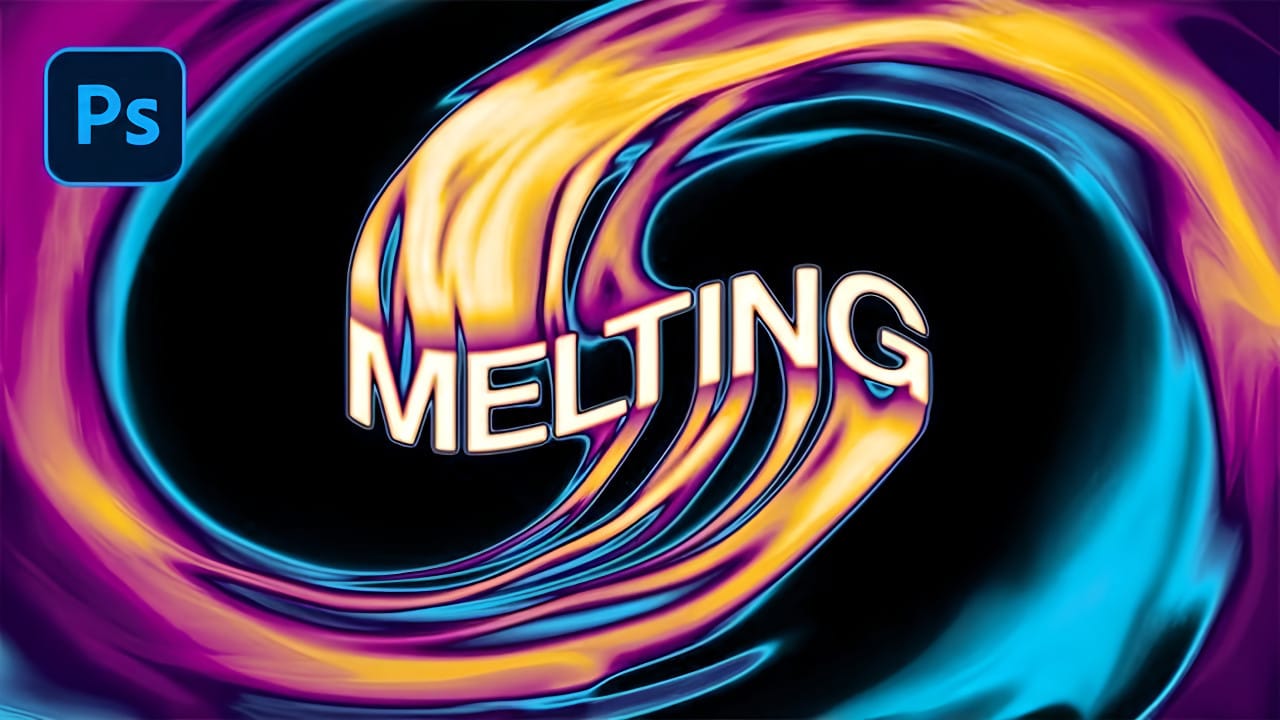
RGB chromatic aberration creates that distinctive glitched look where colors separate and shift, mimicking old TV distortions or digital malfunctions. When combined with melting effects, this technique produces text that appears to dissolve into streams of separated color channels.

This tutorial demonstrates how to combine Photoshop's Liquify filter with color overlay techniques to achieve this striking visual effect. The result transforms ordinary text into dynamic, fluid typography that seems to drip with separated red, green, and blue components.

Watch the Tutorial

Video by P A N T E R. Any links or downloads mentioned by the creator are available only on YouTube

Understanding RGB Color Separation Effects

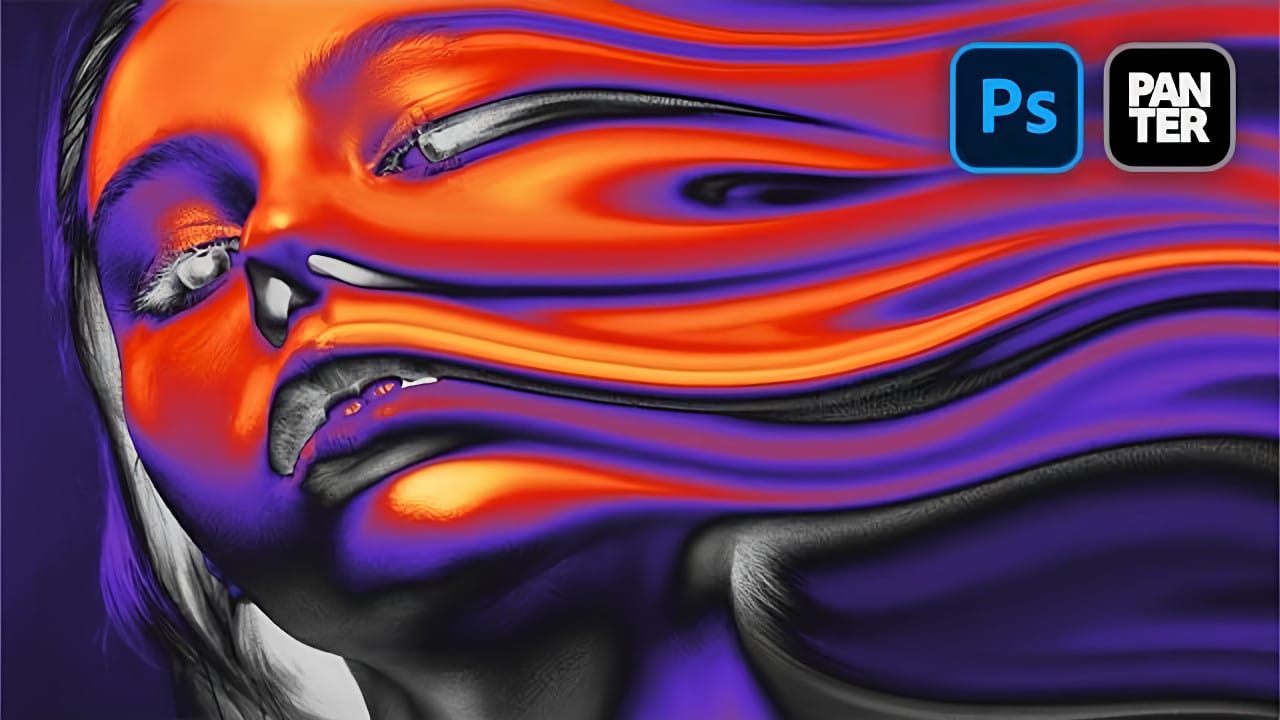
The RGB melting effect relies on chromatic aberration principles where individual color channels become displaced from their normal positions. This creates the illusion that light itself is being refracted through the text, similar to how a prism splits white light into component colors.

The melting component adds organic flow to what could otherwise be a rigid digital glitch. By warping the text first and then applying color separations, the effect suggests that the very pixels are becoming unstable and flowing like liquid.

  • Liquify transformations create the base melting structure
  • Color overlay techniques generate separated RGB channels
  • Layer displacement produces the chromatic aberration effect
  • Mixer brush blending adds realistic color mixing at boundaries

Practical Tips for RGB Melting Effects

  • Use expanded or bold fonts to provide more surface area for the melting distortions
  • Keep Forward Warp tool settings moderate to maintain readable text structure while creating drips
  • Convert layers to smart objects before color overlays to preserve editing flexibility
  • Set mixer brush to 1% spacing for smooth color blending between RGB channels
  • Enable Sample All Layers on the mixer brush to blend colors from multiple text copies

Explore more melting and distortion effects for creative text design.

Create a Spinning Melting Fire Text Effect in Photoshop
Fire effects transform ordinary text into dynamic visual statements that command attention. The melting, flowing appearance mimics liquid fire or molten metal, creating depth and movement that static text simply cannot achieve. This technique combines warping, gradient mapping, and strategic blurring to build layers of flowing color. The smudge tool becomes your primary instrument for sculpting those signature dripping effects that make text appear to melt before your eyes. Watch the Tutorial
How to Create a Liquid Acid Melting Effect in Photoshop
The liquid acid effect transforms ordinary portraits into surreal, otherworldly visuals that seem to melt and flow across the canvas. This distinctive distortion technique creates an organic, fluid appearance that suggests corrosive forces reshaping reality itself. This tutorial demonstrates how to achieve this striking visual using Photoshop's smudge tool combined with strategic color grading and noise textures to enhance the melting illusion. Watch the Video Tutorial The Psychology of Dis
Create a frosty text effect in Photoshop
Are you looking to add some winter magic to your Photoshop designs? This tutorial from Advanced Photoshop Magazine has got you covered. You can learn how to create a stunning frosty text effect, complete with icicles and a wintry vibe. The step-by-step instructions make it easy to follow along and achieve the desired result. You'll start by setting up your document and choosing the font you want to use. Then, you'll add the icy texture and elements to bring the text to life. The tutorial even s
Create a Fire and Rust Text Effect in Photoshop
If you're looking to add some fiery flair to your text, this tutorial has you covered. The team at TutsPlus walks you through the process of creating a striking fire and rust text effect in Photoshop. First, you'll learn how to style and texture a rusty, weathered look for your text. This involves using various tools and techniques to achieve an authentic, gritty appearance. Once the base is set, the tutorial then demonstrates how to incorporate flames using the Flame filter, as well as other s

Get tutorials & freebies delivered to you.

Subscribe to the Photoshop Roadmap newsletter, a weekly roundup of new tutorials, insights and quality downloads, trusted by 6500+ readers.

You might also like

How to Use Gemini 2.5 Nano Banana AI in Photoshop 2026

Photoshop 2026 introduces Gemini 2.5 Nano Banana, a powerful AI model that transforms how you edit images. This advanced tool maintains scene coherence while allowing dramatic changes to poses, backgrounds, and camera angles. The technology understands context and lighting, creating realistic results that feel naturally integrated into your original...

How to Access Adobe's Free Stock Photos in Photoshop and Create Photo Collages

Adobe now includes thousands of free stock photos directly in Photoshop, making it easier than ever to find professional images for your projects. These royalty-free images work perfectly for creating dynamic photo collages without leaving the application. This tutorial covers three different methods to access these free stock images and...

Adding Atmospheric Texture Layers in Photoshop for Moody Images

Victorian London emerges from fog-shrouded streets in classic Sherlock Holmes films, where every shadow tells a story and atmosphere becomes a character itself. The interplay of light, mist, and aged textures creates that unmistakable cinematic mood that draws viewers into another world. This video demonstrates how texture layers transform ordinary...

Master Layer Comps in Photoshop for Faster Design Workflow

Design iterations can quickly spiral into chaos without proper version control. Layer Comps in Photoshop offers a powerful solution that most designers overlook, letting you save snapshots of your layer panel's visibility, position, and appearance at different stages of your project. This hidden feature transforms how you approach...

How to Create a Can Mockup in Photoshop Using Smart Objects and Masks

Professional can mockups transform flat designs into realistic product presentations that clients can instantly visualize. This technique combines precise measurement, smart object workflow, and blending modes to wrap your graphics seamlessly around curved surfaces. The process creates reusable templates that automatically apply proper perspective and lighting effects to any design...

Cutting Out Complex AI Images Using Channel Masking in Photoshop

AI-generated images often contain intricate details that challenge standard background removal tools. When automatic selection methods fail to capture complex edges and fine details, manual techniques become essential. This technique demonstrates how to use channel masking to create precise selections that preserve every detail of your AI artwork. Watch the...

You’ve successfully subscribed to Photoshop Roadmap
Welcome back! You’ve successfully signed in.
Great! You’ve successfully signed up.
Success! Your email is updated.
Your link has expired
Success! Check your email for magic link to sign-in.