How to Create a Long Exposure Glow Effect in Photoshop

How to Create a Long Exposure Glow Effect in Photoshop

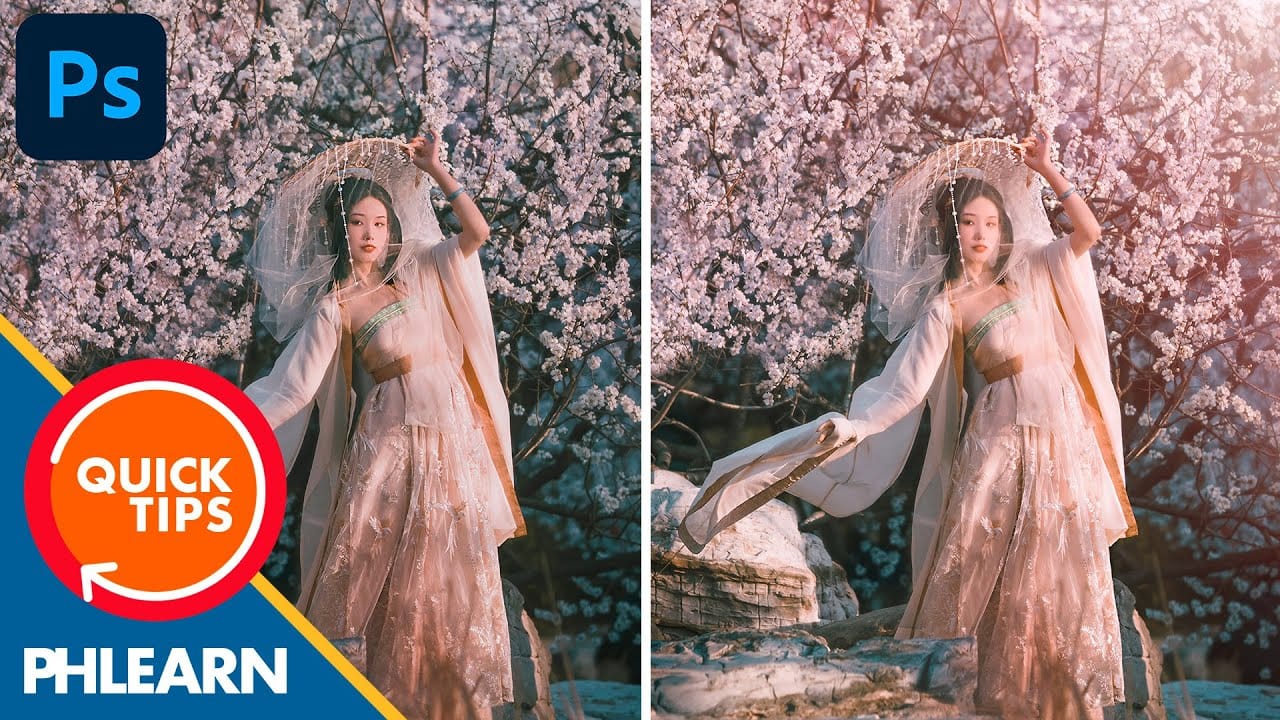
Motion blur and glowing light trails create some of photography's most captivating visual effects. The ethereal quality of long exposure photography transforms ordinary subjects into dreamlike compositions with flowing energy and luminous movement.

This technique recreates that signature glow digitally, allowing you to achieve stunning motion effects without specialized camera equipment or perfect shooting conditions.

Watch the Tutorial

Video by P A N T E R. Any links or downloads mentioned by the creator are available only on YouTube

Understanding Digital Long Exposure Effects

Traditional long exposure photography captures light movement over extended time periods, creating natural motion trails and glowing effects. Digital recreation of this technique relies on motion blur filters and strategic layer blending to simulate the same luminous quality.

The key to convincing results lies in understanding how light behaves during actual long exposures. Moving light sources create bright streaks that fade gradually at the edges, while stationary elements remain sharp. Screen blend mode effectively mimics this behavior by brightening underlying pixels based on the blur layer's values.

Smart object workflows preserve editing flexibility throughout the process. This approach allows for non-destructive adjustments to blur settings, opacity levels, and positioning without compromising image quality or requiring complete reconstruction of the effect.

Essential Tips for Motion Glow Effects

  • Convert your base layer to a smart object before applying motion blur to maintain editing flexibility
  • Use Screen blend mode for glow layers to create realistic light interaction with the background
  • Create multiple blur duplicates at different positions to enhance the ghosting effect
  • Remove backgrounds from subjects first to prevent unwanted blur extending into empty areas
  • Add film grain as a final step to integrate digital effects with photographic realism

Explore more techniques for creating luminous effects and atmospheric lighting in your digital artwork.

How to create a sun glow effect in Photoshop
In this tutorial, Aaron Nace shows how to add a vibrant sun glow effect to your photos with ease. The process involves a few straightforward steps to simulate the warm, radiant look of sunlight. Aaron explains how to use blending modes, gradients, and layer adjustments to achieve a natural and eye-catching glow. The tutorial includes a free Sun Glow Gradient, which you can download and use immediately to enhance your images. This effect is perfect for adding a dreamy, sunlit atmosphere to your
Create the Cinematic Bloom Glow Effect in Photoshop
This guide will walk you through the steps to create a stunning bloom effect using Photoshop and DaVinci Resolve. This technique enhances your highlights, infusing your photos and videos with a cinematic glow that adds a dreamy atmosphere.The bloom effect simulates the appearance of black diffusion filters commonly found in photography and cinematography. These filters soften images and contribute a soft, glowing quality to highlights. This approach is ideal for anyone looking to enrich their v
Creating a 3D Glowing Text Effect in Photoshop
Adding depth and luminosity to text can transform a simple design into something visually striking. The combination of 3D extrusion and glow effects creates text that appears to leap off the page, making it perfect for logos, headers, and eye-catching graphics. This tutorial demonstrates how to build a complete 3D text effect with glowing elements using Smart Objects and layer effects. The technique covers everything from creating dimensional text to applying multiple glow layers for enhanced v
Create a Dreamy Lighting Portrait Effect in Photoshop
In this tutorial presented by Andrei Oprinca from PSD Box, you will explore the process of creating a beautiful spotlight effect in Photoshop. By utilizing the brush tool, you can achieve a dreamy lighting effect that enhances any image. The technique is straightforward, making it accessible for users at various skill levels. However, it does require a bit of patience to get the desired outcome. As you follow along, you will learn how to manipulate the brush settings and layer styles to achieve

Get tutorials & freebies delivered to you.

Subscribe to the Photoshop Roadmap newsletter, a weekly roundup of new tutorials, insights and quality downloads, trusted by 6500+ readers.

You might also like

Complete Photoshop Editing Workflow: 5 Steps from Raw to Polished

Photoshop offers endless possibilities for photo enhancement, but many photographers never move beyond basic adjustments because the software feels overwhelming. This comprehensive workflow breaks down photo editing into five manageable stages that work consistently across different photography styles. The systematic approach covers everything from initial raw processing to advanced lighting...

Photoshop Workspace Basics: Navigation, Zooming, and Essential Interface Elements

Photoshop's interface can feel overwhelming when you first open the program. Dozens of panels, tools, and menus compete for attention, making simple tasks feel complicated. This tutorial breaks down the essential workspace elements and teaches fundamental navigation skills that form the foundation of efficient Photoshop work. Watch the...

How to Restore Old Damaged Photos Using Nano Banana in Photoshop

Old family photos with scratches, tears, and missing sections can seem beyond repair. Google's Nano Banana AI model, now integrated into Photoshop, makes full restoration possible in minutes rather than hours. This powerful tool excels at maintaining facial characteristics while automatically filling in damaged areas and adding realistic...

How to Get Higher Quality Results from Photoshop's Generative Fill Tool

Photoshop's Generative Fill creates impressive AI extensions, but the results often look blurry and pixelated when viewed at full size. This quality limitation makes many AI-generated areas unusable for printing or large displays. This technique shows how to work around the 1024x1024 pixel quality limit to create much...

How to Use Photoshop's Liquify Tool for Non-Destructive Portrait Retouching

Clothing wrinkles, hair that lacks volume, and awkward fabric bunching can distract from an otherwise great portrait. Photoshop's Liquify tool offers a powerful solution for smoothing out these issues while preserving the natural look of your subject. This tutorial demonstrates how to use the Liquify tool non-destructively with...

You’ve successfully subscribed to Photoshop Roadmap
Welcome back! You’ve successfully signed in.
Great! You’ve successfully signed up.
Success! Your email is updated.
Your link has expired
Success! Check your email for magic link to sign-in.