How to Create a Liquid Acid Melting Effect in Photoshop

How to Create a Liquid Acid Melting Effect in Photoshop

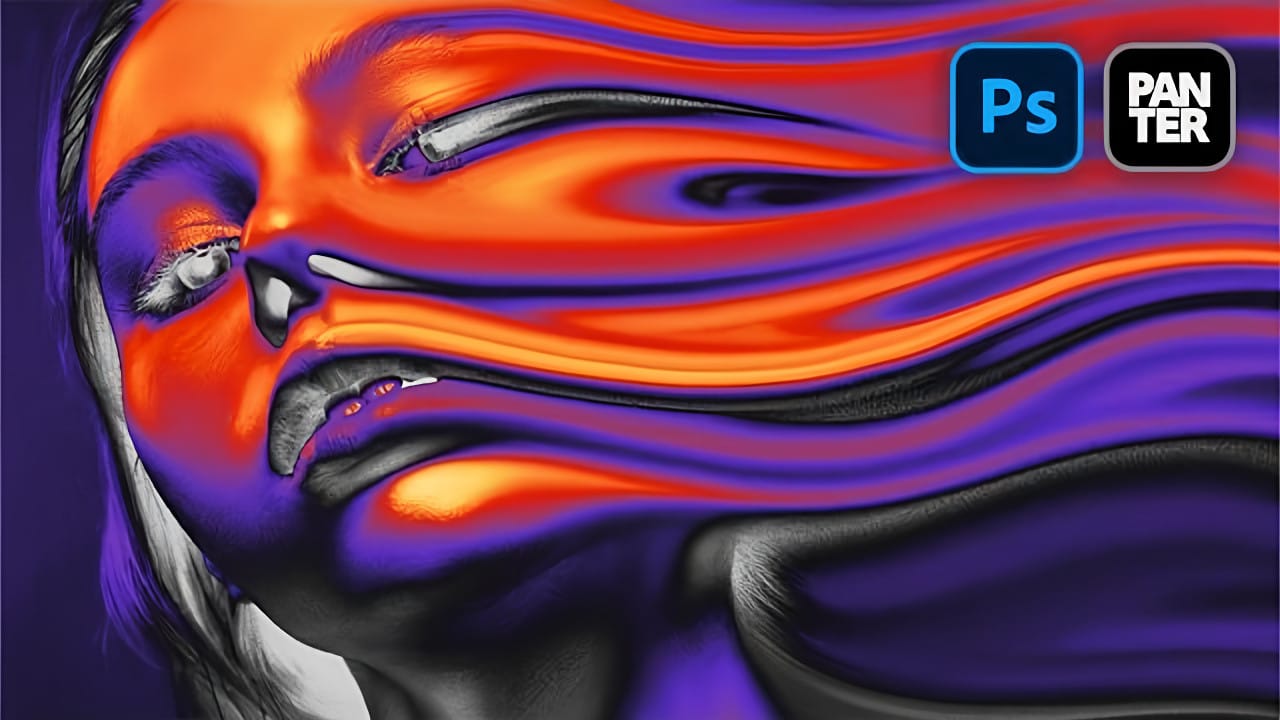
The liquid acid effect transforms ordinary portraits into surreal, otherworldly visuals that seem to melt and flow across the canvas. This distinctive distortion technique creates an organic, fluid appearance that suggests corrosive forces reshaping reality itself.

This tutorial demonstrates how to achieve this striking visual using Photoshop's smudge tool combined with strategic color grading and noise textures to enhance the melting illusion.

Watch the Video Tutorial

Video by P A N T E R. Any links or downloads mentioned by the creator are available only on YouTube

The Psychology of Distortion Effects

Liquid distortion effects tap into our fascination with transformation and decay. The melting aesthetic suggests powerful forces at work, whether supernatural, chemical, or psychological. This visual language has deep roots in surrealist art and horror imagery, where distorted human features represent altered consciousness or external threats.

Digital artists often use these techniques to convey themes of change, vulnerability, or otherworldly influence. The organic flow patterns mimic natural processes like erosion or dissolution, creating an unsettling but compelling visual narrative. The effect works particularly well on facial features because viewers instinctively recognize the distortion as unnatural.

Modern applications range from album covers and movie posters to social media art and conceptual photography. The technique bridges traditional artistic concepts with digital manipulation capabilities, allowing precise control over what appears to be chaotic transformation.

Essential Tips for Liquid Acid Effects

  • Use images sized around 1080p for optimal smudge tool performance and processing speed
  • Set the smudge tool to zero hardness and 90% strength for smooth, flowing distortions
  • Add noise layers with screen blend mode to create realistic texture variations in smooth areas
  • Apply gradient maps with yellow, red, purple, and gray stops to achieve the characteristic acidic color palette
  • Use layer masks to selectively remove unwanted distortion areas while preserving important details

Explore more creative distortion and surreal portrait techniques.
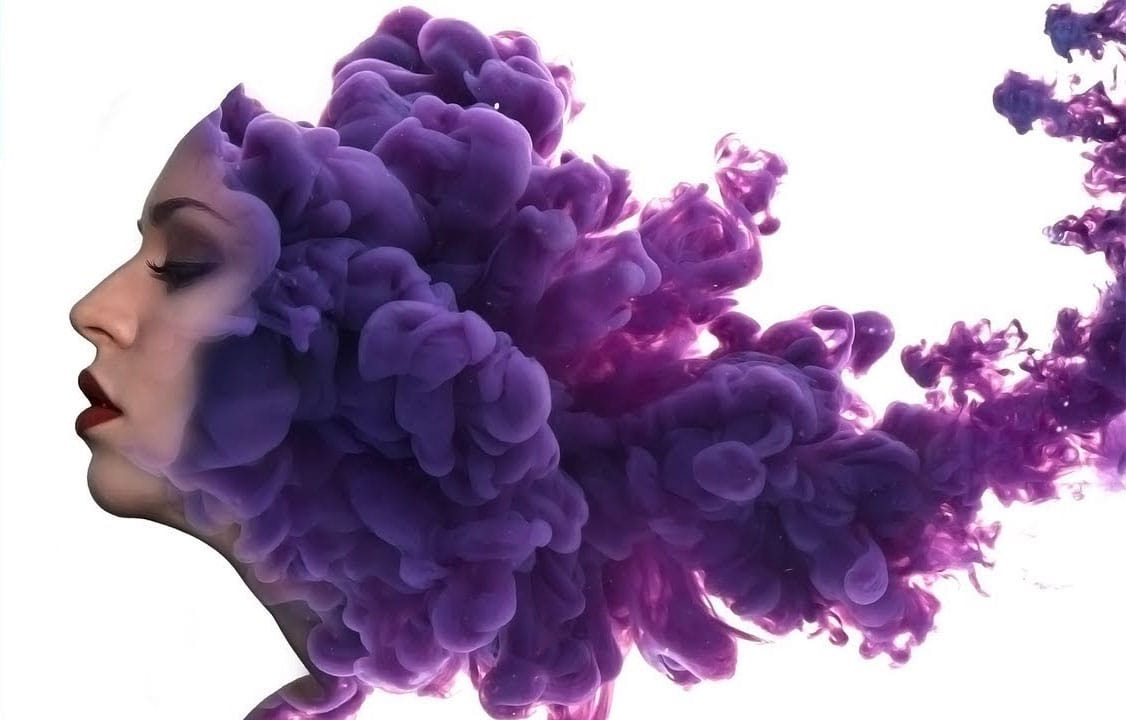
Create a surreal ink in water portrait effect in Photoshop
This tutorial by Photoshop Tutorials Channel will show you how to create surreal portraits. Learn how to seamlessly blend a human face with an "ink in water" stock photo, crafting a dreamlike and captivating image. The video will guide you through using layer masks and filters to achieve a harmonious fusion, where the textures of the ink and the details of the face intertwine for a truly surreal effect. Unleash your creativity and explore the possibilities of photo manipulation in this unique t
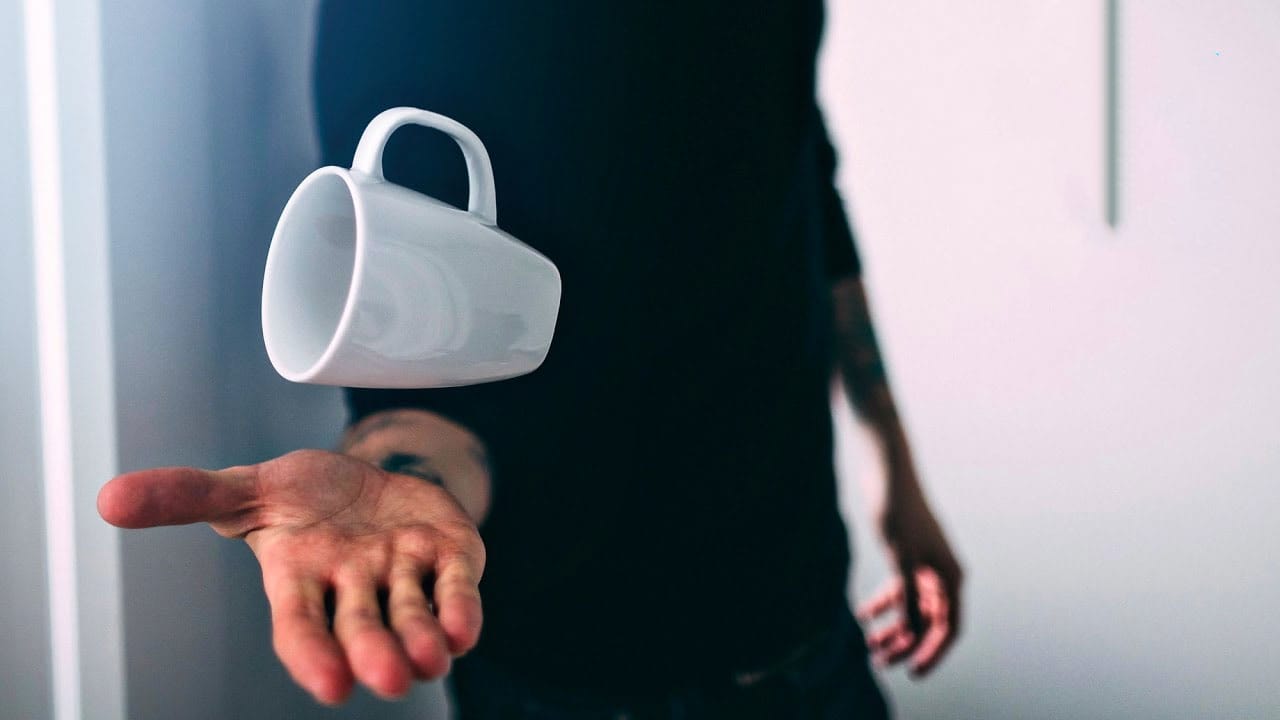
How to make stuff float in Photoshop
You can easily make stuff float on photos by searching for a stock image, cutting the object and pasting it in a layer of your psd file. There are millions of drawbacks in using that technique, being the correct lighting and the getting the exact object the main ones. In this video tutorial by Patrick McKinnon, you will learn, in detailed steps, how to make a photoshoot of your object and how to apply some Photoshop magic to create the perfect floating object scene, with the perfect lighting an
Create Creepy Lighting and Mysterious Atmosphere Effects in Photoshop
This tutorial offers a clear guide on creating eerie lighting and mysterious atmospheric effects in Photoshop. You will learn how to enhance your photos by manipulating different lighting techniques. The author explains the process step by step, starting with how to select the right colors and apply various effects to a chosen stock image. Each technique is thoroughly detailed, making it easy for you to follow along. The end results are impressive, showcasing how these methods can transform an
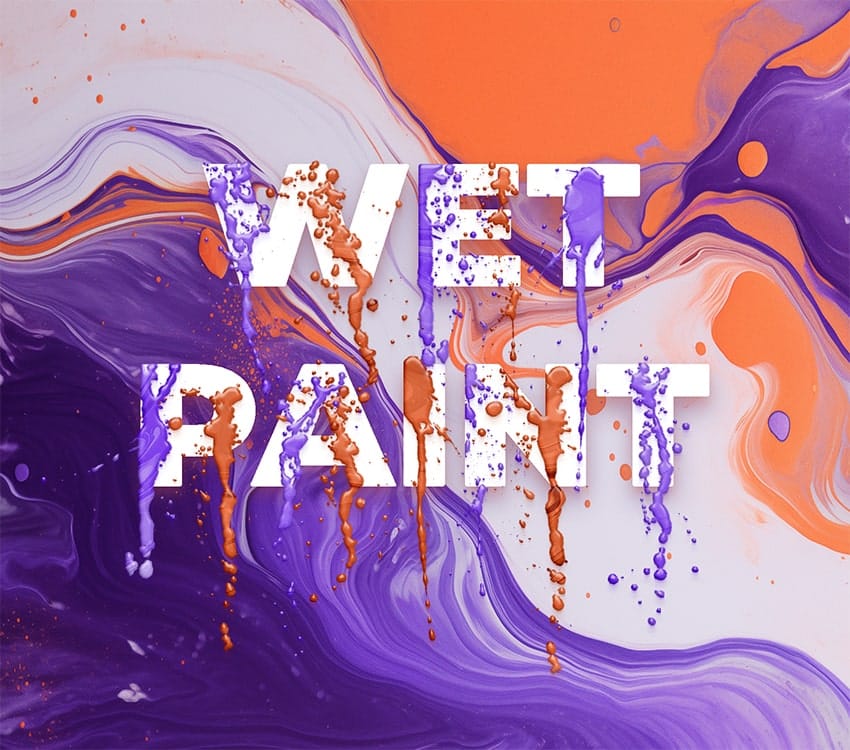
How to create a dripping paint text effect in Photoshop
In this tutorial, you will discover how to create a striking paint-dripping effect using Adobe Photoshop. This guide breaks down the process into clear, manageable steps, making it easy for you to follow along, regardless of your skill level. First, you will start by preparing the base image, where you will add the paint element. Then, you'll learn how to manipulate and position the paint to achieve the desired dripping effect. Each step includes helpful tips and tricks to enhance your work. F

Get tutorials & freebies delivered to you.

Subscribe to the Photoshop Roadmap newsletter, a weekly roundup of new tutorials, insights and quality downloads, trusted by 6500+ readers.

You might also like

Complete Photoshop Editing Workflow: 5 Steps from Raw to Polished

Photoshop offers endless possibilities for photo enhancement, but many photographers never move beyond basic adjustments because the software feels overwhelming. This comprehensive workflow breaks down photo editing into five manageable stages that work consistently across different photography styles. The systematic approach covers everything from initial raw processing to advanced lighting...

Photoshop Workspace Basics: Navigation, Zooming, and Essential Interface Elements

Photoshop's interface can feel overwhelming when you first open the program. Dozens of panels, tools, and menus compete for attention, making simple tasks feel complicated. This tutorial breaks down the essential workspace elements and teaches fundamental navigation skills that form the foundation of efficient Photoshop work. Watch the...

How to Restore Old Damaged Photos Using Nano Banana in Photoshop

Old family photos with scratches, tears, and missing sections can seem beyond repair. Google's Nano Banana AI model, now integrated into Photoshop, makes full restoration possible in minutes rather than hours. This powerful tool excels at maintaining facial characteristics while automatically filling in damaged areas and adding realistic...

How to Get Higher Quality Results from Photoshop's Generative Fill Tool

Photoshop's Generative Fill creates impressive AI extensions, but the results often look blurry and pixelated when viewed at full size. This quality limitation makes many AI-generated areas unusable for printing or large displays. This technique shows how to work around the 1024x1024 pixel quality limit to create much...

How to Use Photoshop's Liquify Tool for Non-Destructive Portrait Retouching

Clothing wrinkles, hair that lacks volume, and awkward fabric bunching can distract from an otherwise great portrait. Photoshop's Liquify tool offers a powerful solution for smoothing out these issues while preserving the natural look of your subject. This tutorial demonstrates how to use the Liquify tool non-destructively with...

You’ve successfully subscribed to Photoshop Roadmap
Welcome back! You’ve successfully signed in.
Great! You’ve successfully signed up.
Success! Your email is updated.
Your link has expired
Success! Check your email for magic link to sign-in.